
Excessive light reflection can ruin a good photograph, disrupting its vibe and detail, irrespective of how great the rest of the photo is. No one wants their pictures to be ruined by glare. Hence, removing glare from photos is of utmost importance. Fortunately, there are ways to address this problem. If you want to learn how to remove glare from your photos, then this article is a must-read for you.

How to Remove Glare from Photo Using Photoshop
Sometimes, when taking pictures, some unwanted glare around you. Well, for this case, we can use Photoshop to remove it.
Step 1. Open the photo in Photoshop.
If it is a RAW file, photoshop will automatically open the ACR workspace. If it is a JPEG file, click menu Filter > Camera Raw Filter to open the ACR workspace.
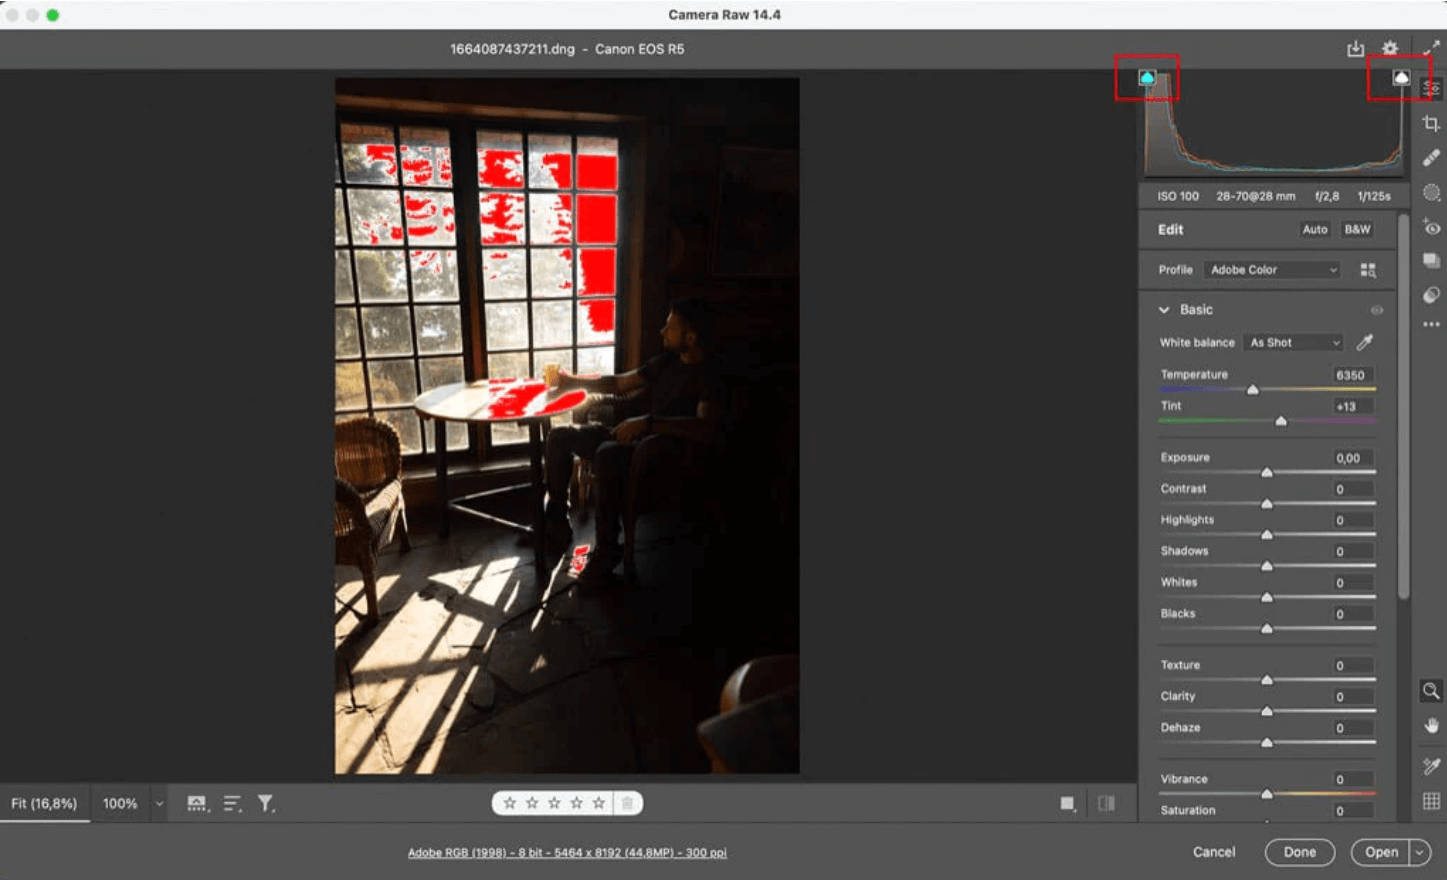
Step 2. Enable clipping warnings
You will see a histogram on the top right corner of the screen. Click the arrows to enable the clipping warnings so that the red color will cover the highlights. You can see all the glare more easily in the photo.
Step 3. Adjust white and highlights
Adjust the white and highlight sliders until you are satisfied with the brightest areas of the photo.
Step 4. Adjust Dehaze
To recover the contrast, you need to adjust the Dehaze slider to remove the fog. You will receive blue-clipping warnings if you remove the haze too much. This shows you are losing details of the shadows.
If you want to refine the photo more elaborately, these optional steps can be helpful.
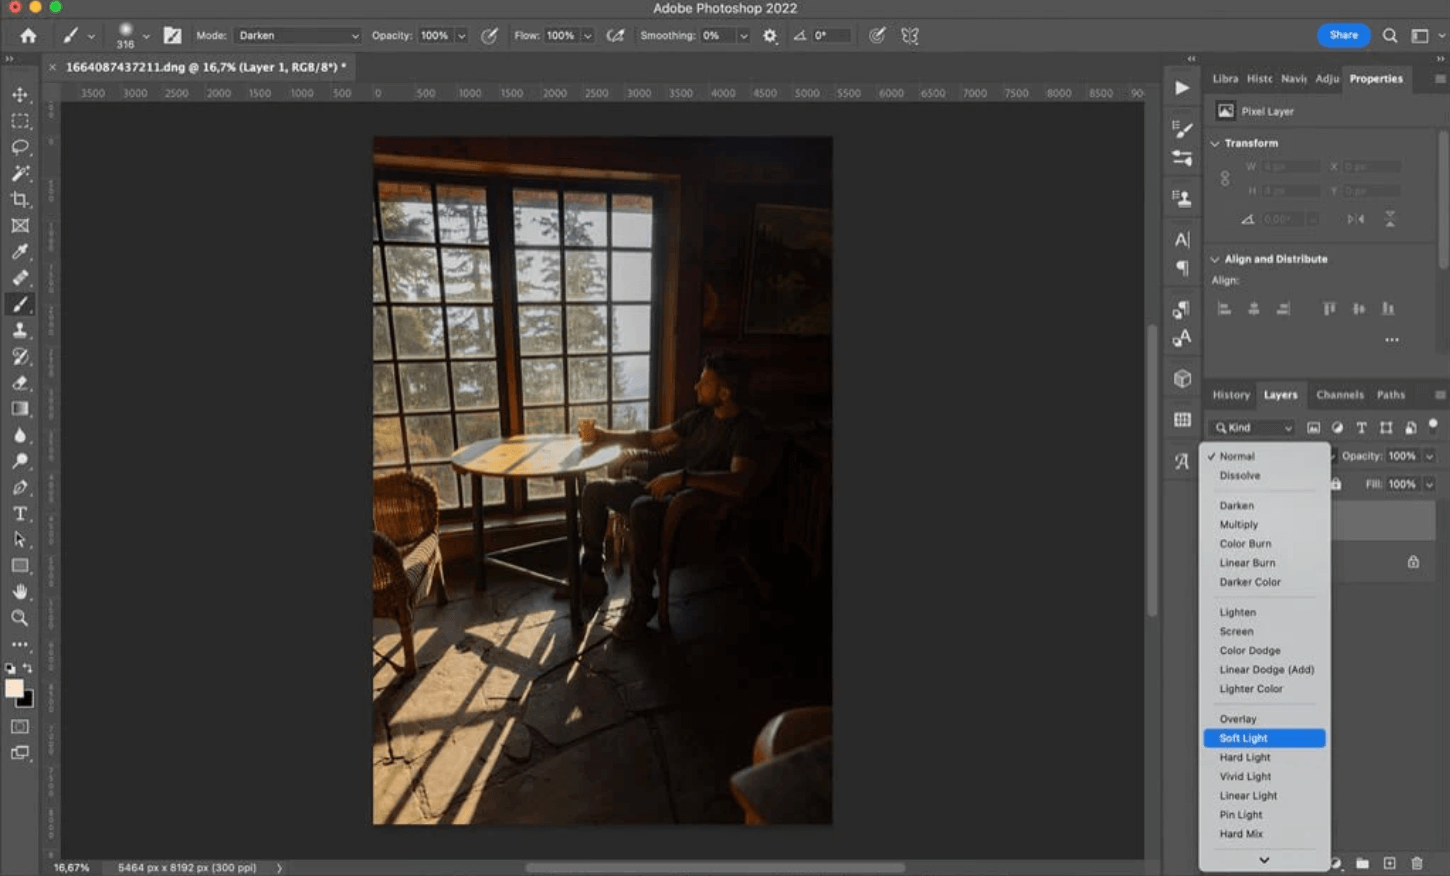
Step 5. Add new layer
At the bottom right panel, click the New Layer button to add a new layer.
Step 6. Change the blending mode
Change to blending mode to soft light; you can adjust the parameters to fit the light and darkness until you are satisfied.
Step 7. Use the brush tool to remove glare
Paint with black on the new layer will make the part darken, while white will make the park lighter. So, paint it with black brush to darken the glare and fit the whole vibe of the photo.
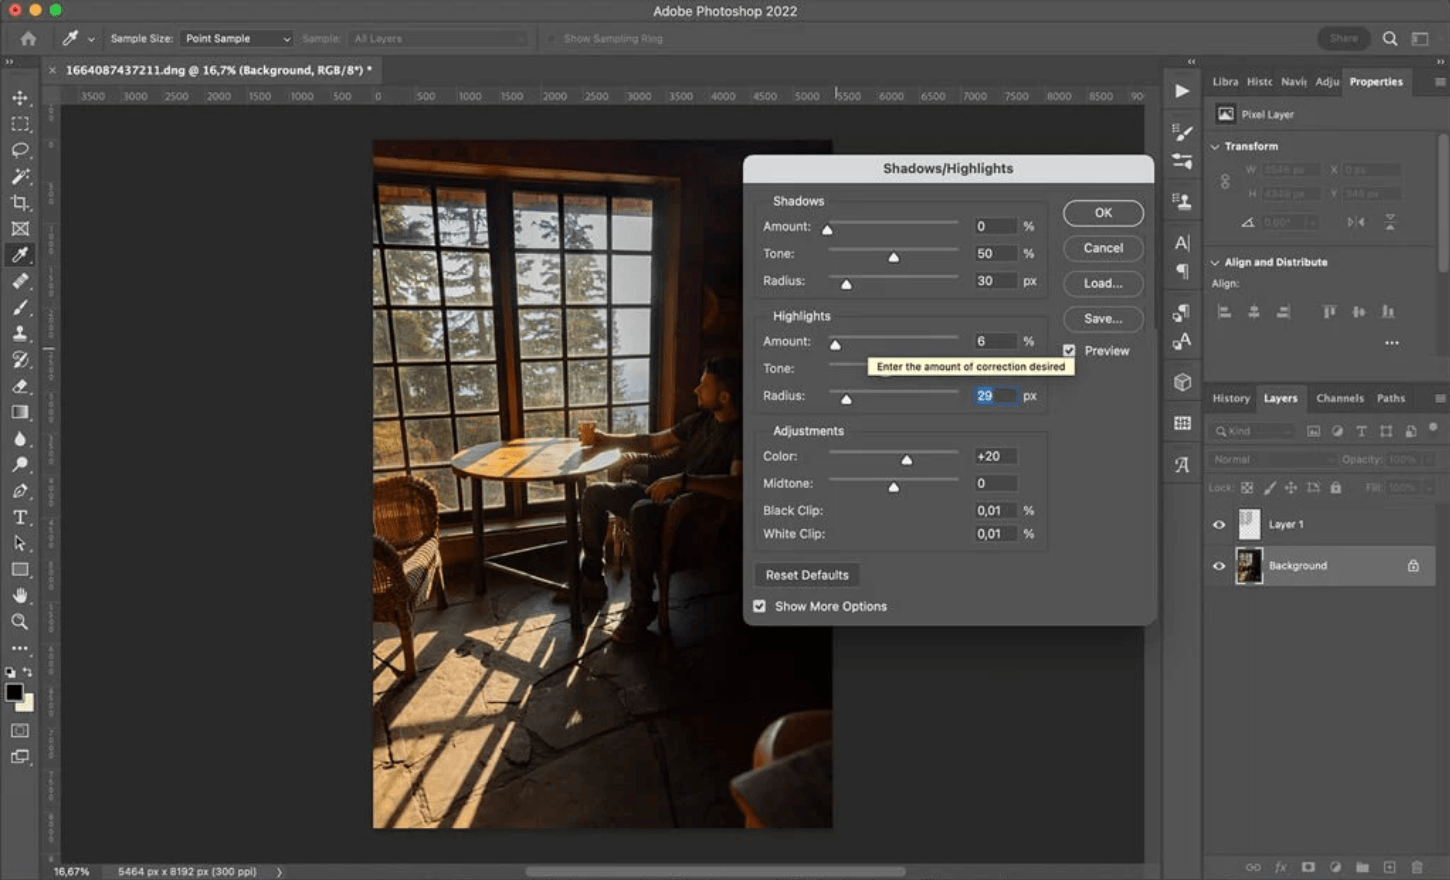
Step 8. Adjust highlight and shadow
Go to Image>Adjustments>Shadows/Highlights, and adjust the highlight and shadow until you are satisfied.
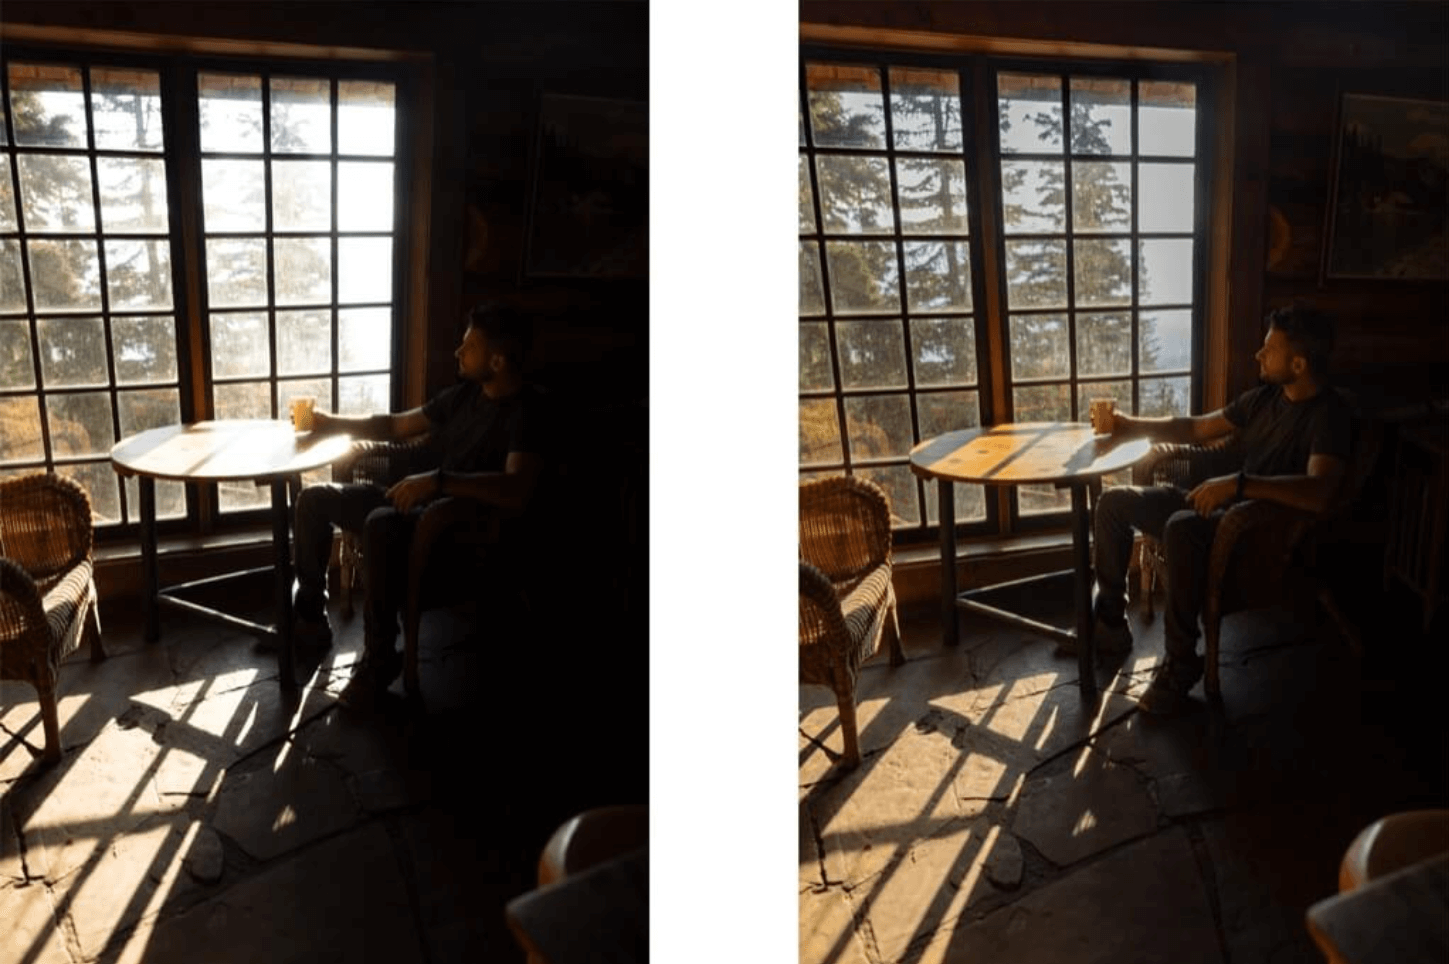
Step 9. Work done.
After all the steps are done, your photo could be softer without glares.
How to Remove Glare from Photo Online
Photoshop is a professional photo editor that requires some skilled knowledge. For average users, it is difficult to use. Here, we are going to introduce some online photo editors that are easy to use.
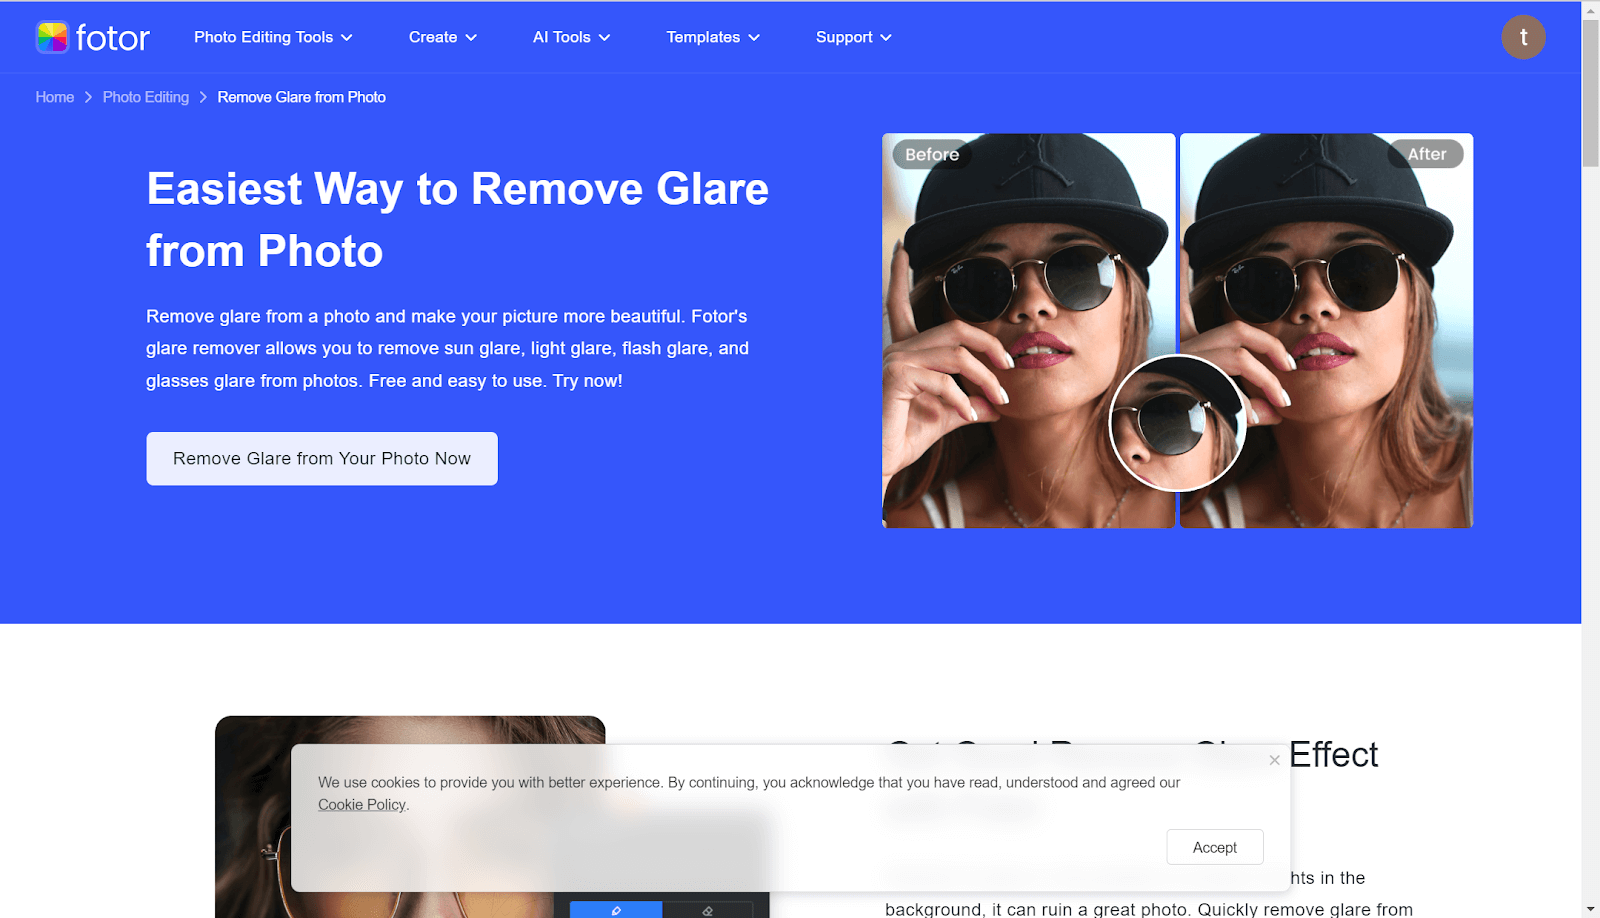
Fotor
Fotor is an online photo editing platform cooperating with AI techs. It is a one-stop solution for both beginners and experienced users to create innovative photos.
It provides multiple features to edit the photo. Such as one-tap enhancing tools, graphic design tools, magical removal tools, adding effects, and applying templates. For removing the glare from a photo, it is a good choice. It can select the part of glare accurately and easily remove it with AI technology. However, sometimes, the result needs more refinements. Here are the steps.
Step 1. Go to the Fotor website. Upload the photo you want to edit.
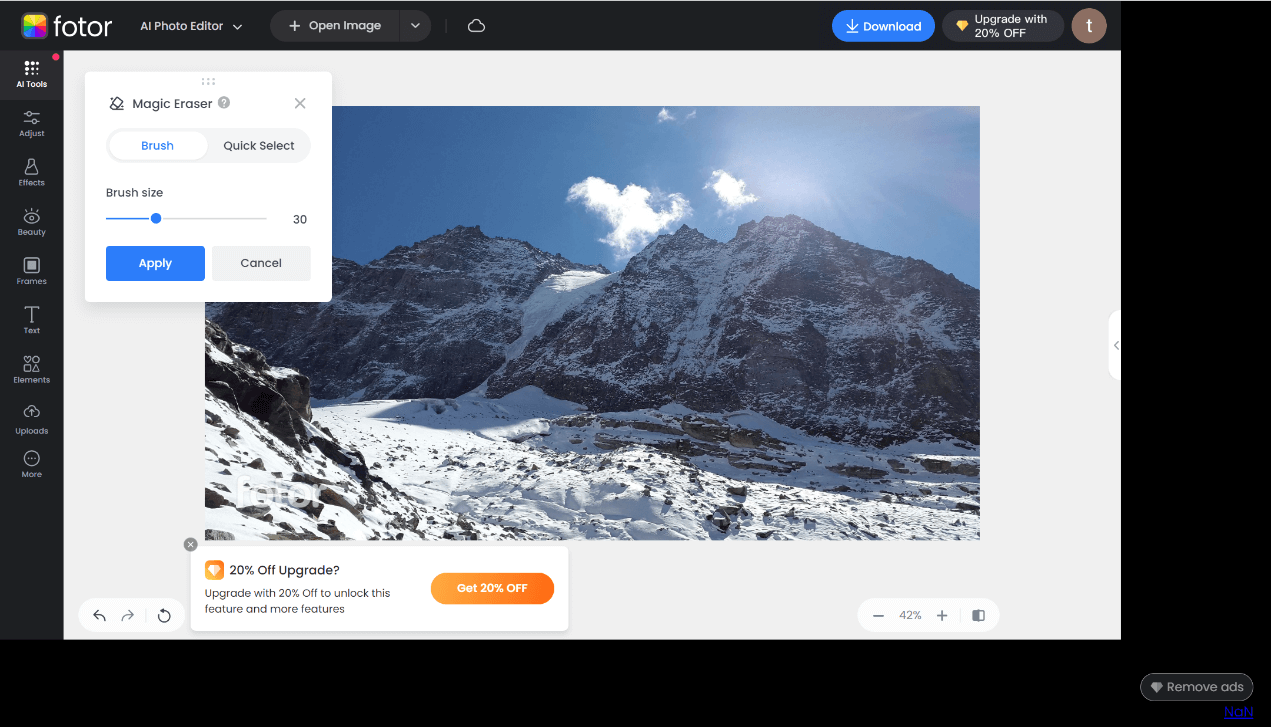
Step 2. From the left panel, choose the Magic Eraser tool.
Step 3. Mark the part of the glare you want to remove.
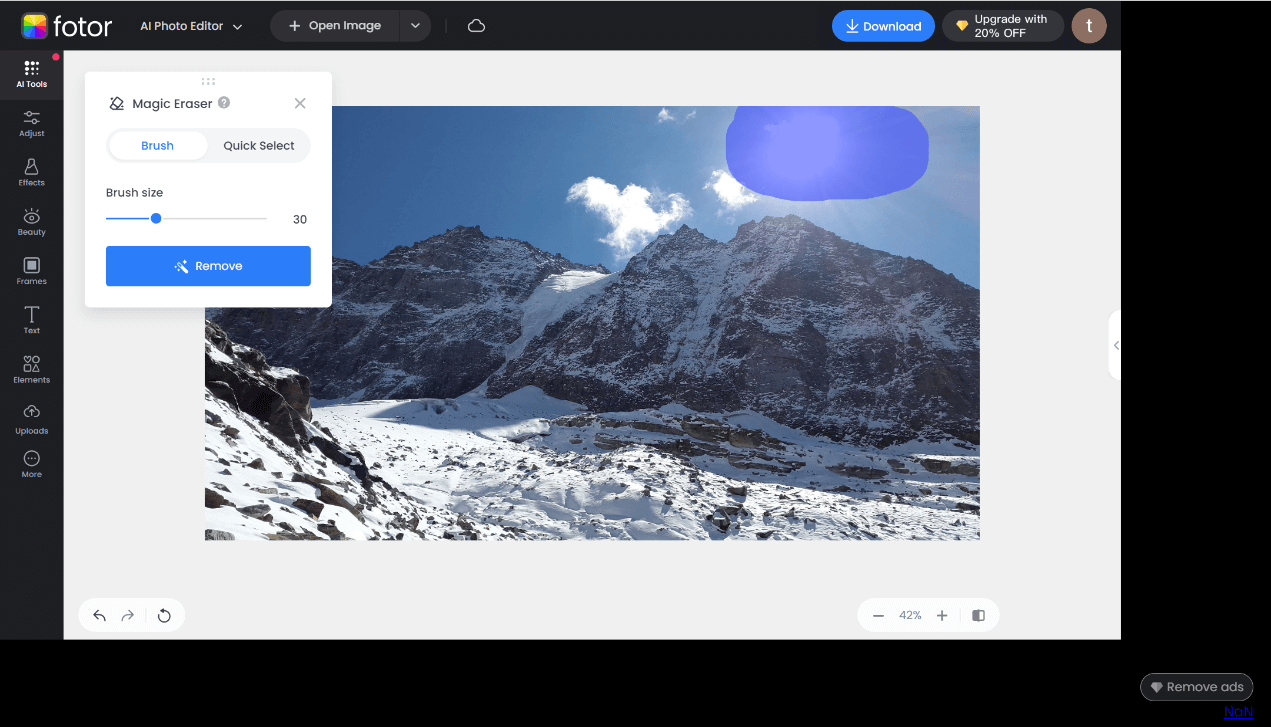
Step 4. Click on the Remove button to remove the glare in just seconds.
💰 Price:
- Starts at $8.99 per month
😍 Pros:
- AI magic tool for removing glares automatically.
- Advanced HDR technology.
- Edit adjustments
- Regularly updated new features
- A tutorial guide is available
😖 Cons:
- Premium purchase is needed for AI editing
LightX Editor
Similar to Fotor, LightX is an AI-powered photo editing tool with versatile features, including a glare remover. It has a user-friendly interface, offering toolkits for selective editing, smart brushes, advanced color adjustments, etc.
This AI glare remover can eliminate glare and reflections effectively, and red eye removal is available. Also, it can get rid of sunlight, flashlights, and some reflections. In just a few steps, you can remove the glare from a photo.
Step 1. Go to the LightX glare remover website.
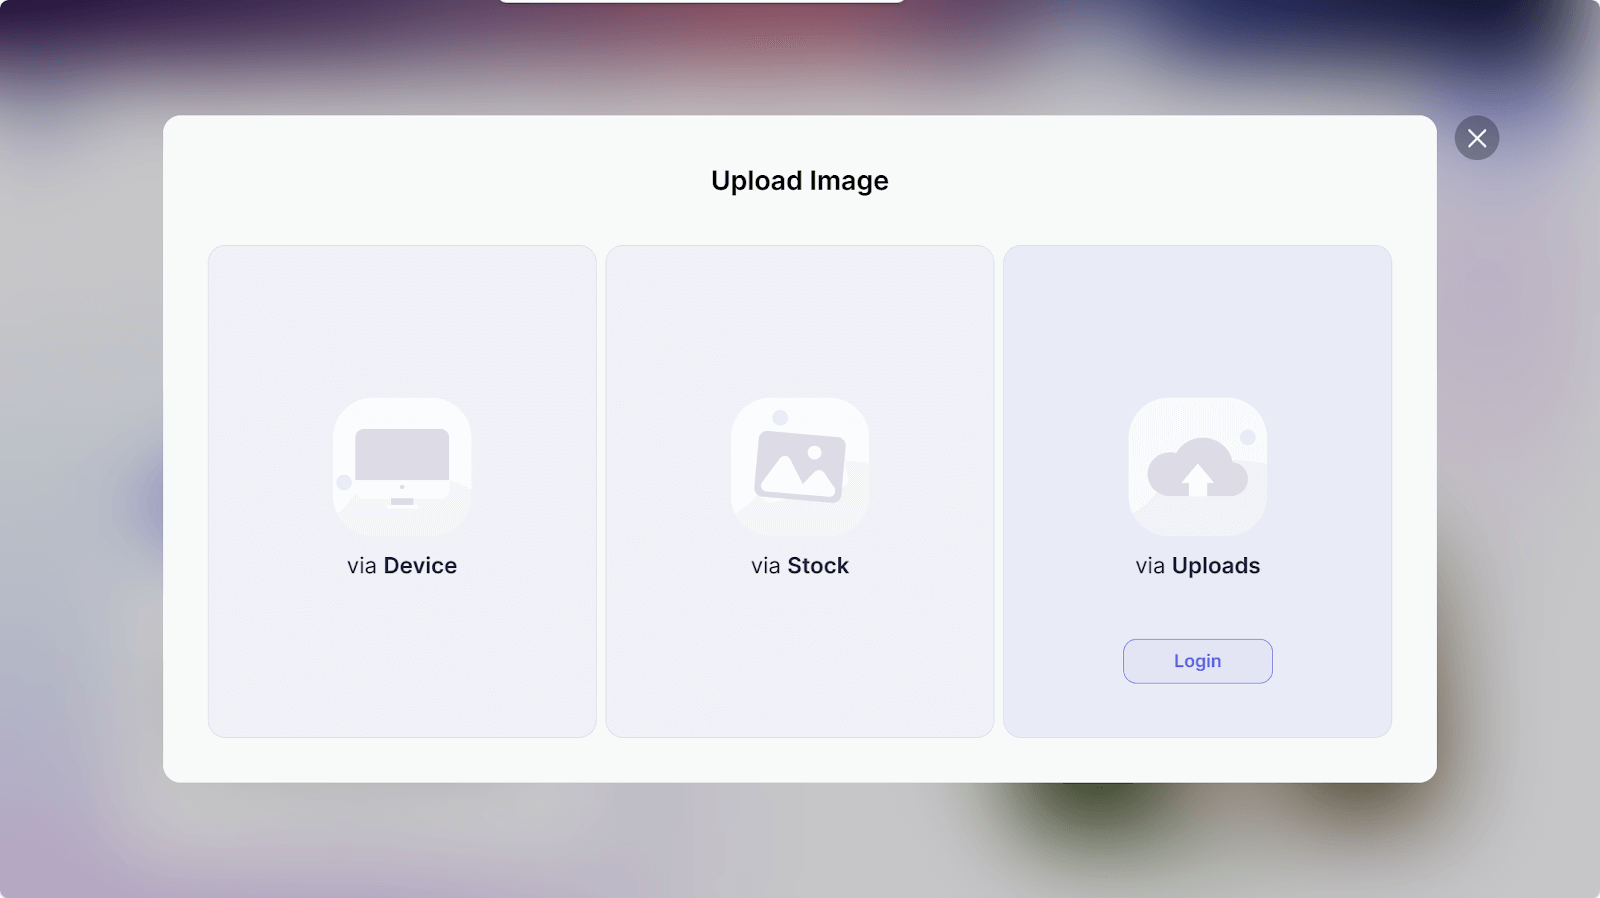
Step 2. Click on the Upload button to upload the photo you want to edit.

Step 3. You have three options to upload the photo that you want to edit via computer, Stock, or Uploads.
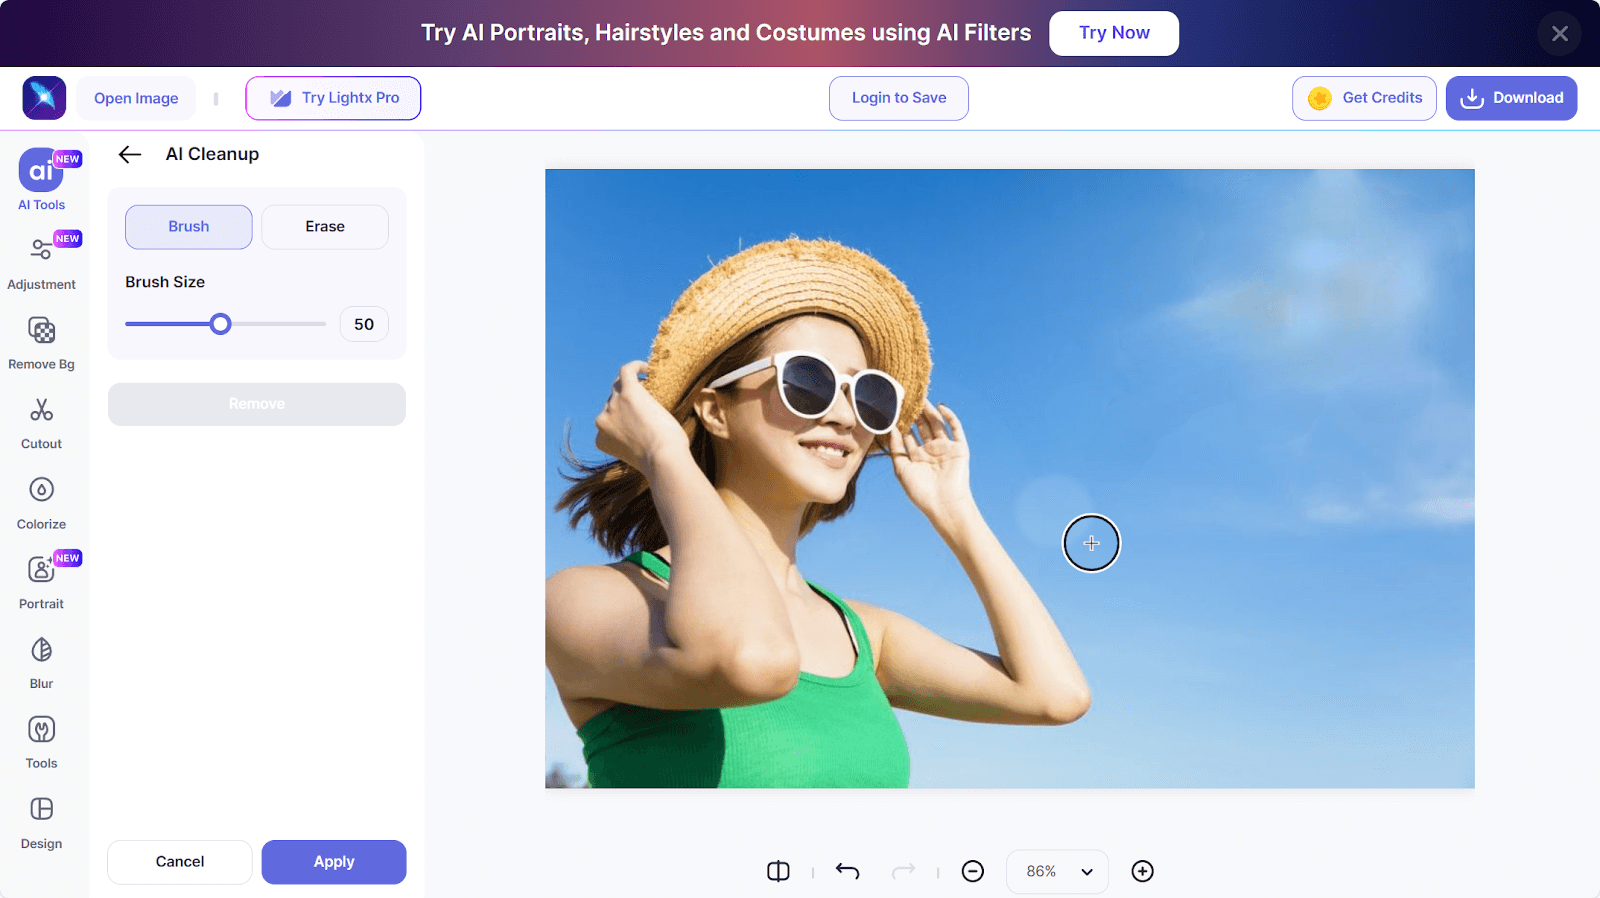
Step 4. Use the AI tool to mark the glare part to be removed and click on the Remove button.
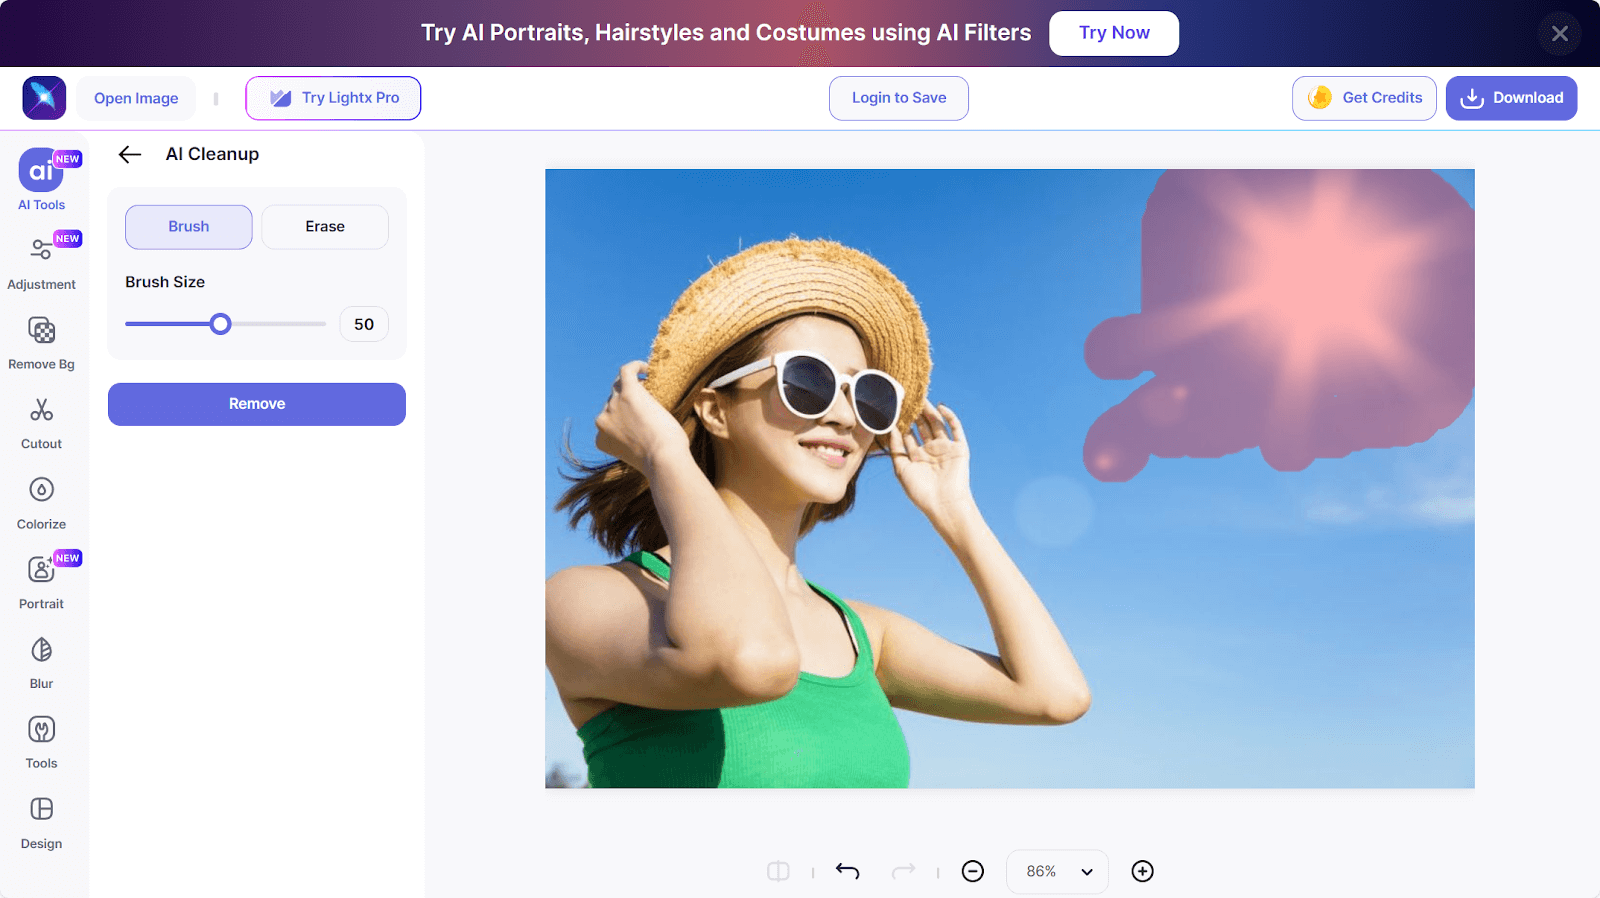
Step 5. The glare will be automatically removed.
💰 Price:
- Starts at $3.99 per month.
😍 Pros:
- AI glare removal is available
- Multiple tools for enhancement
- Simple and easy to use
- The free version is available and 10 daily free AI credits
😖 Cons:
- The result is not accurate
Magic Studio
Magic Studio is the third AI-powered photo editor that we introduce to you. This comprehensive photo editor supports erasing multiple objects from the photo you don’t like, including glare.
However, after the testing, the result is not as good as our expectations. It cannot compare with the above two options. But, it is easy and simple to use. If you are satisfied with the result, it is still a decent option.
Step 1. Go to the LightX glare remover website.

Step 2. Click on the Upload button to upload the photo you want to edit.
Step 3. Upload the photo that you wish to remove the glare.
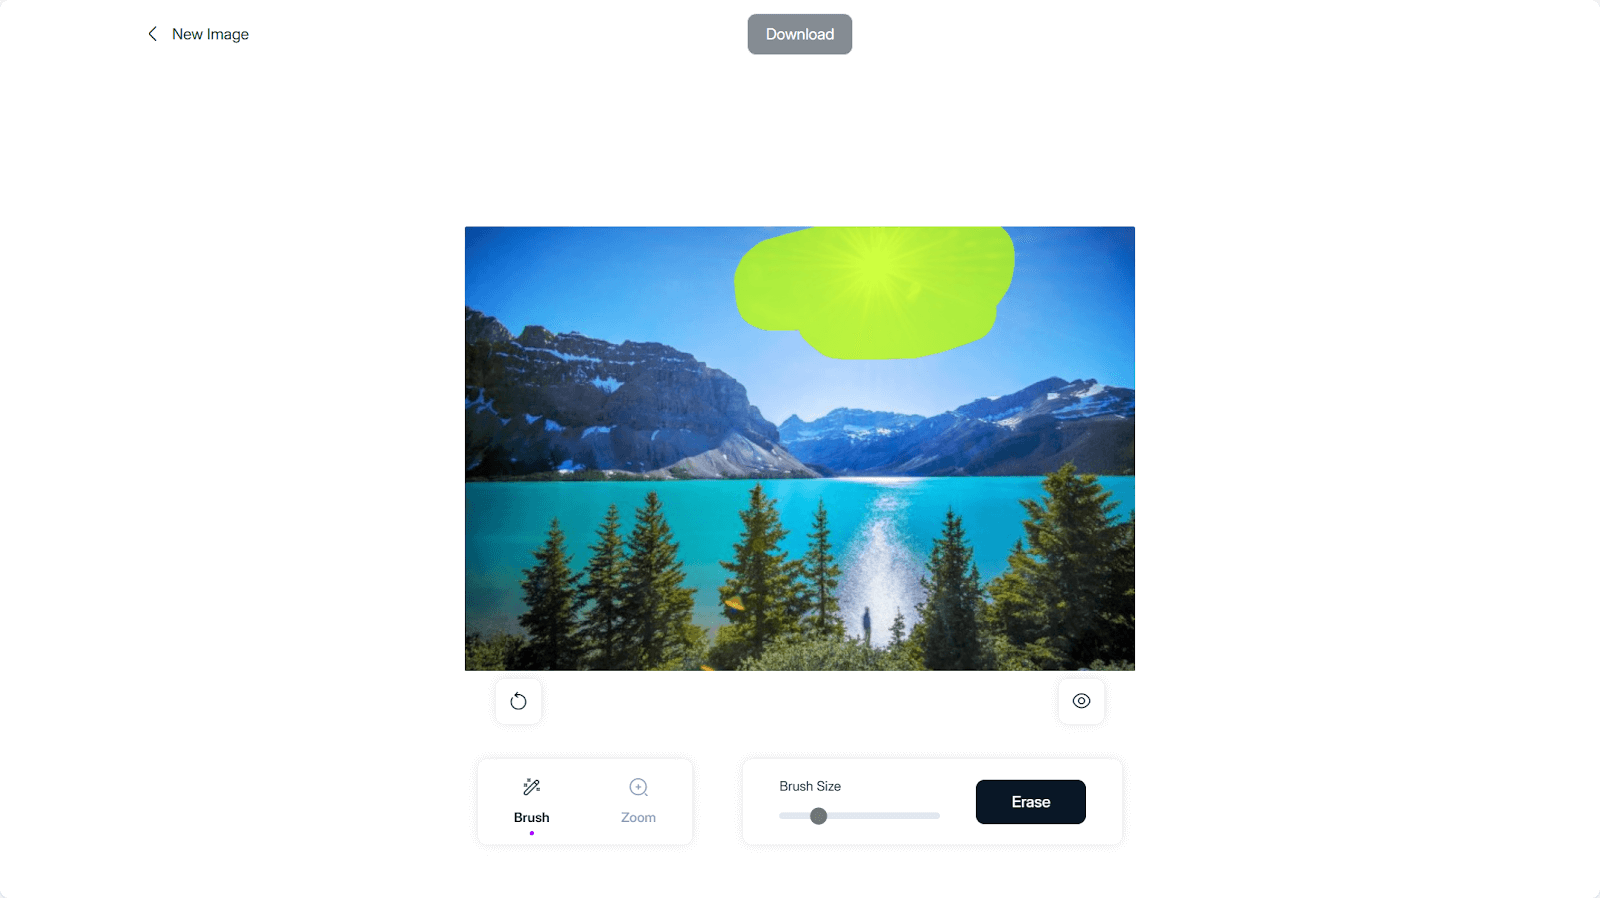
Step 4. Use the AI tool to mark the glare part to be removed and click on the Remove button.
Step 5. The glare will be automatically removed.

💰 Price:
- Starts at $ 4.99 per month
😍 Pros:
- AI-powered automatic removal of glare
- Simple and easy to use
😖 Cons:
- The result is not accurate
How to Remove Glare from Photo on iPhone
If you are more comfortable using your iPhone to edit photos, that’s OK. We get you three photo editing apps on your iPhone to remove the glare.
Lightroom Photo & Video Editor
Lightroom Photo & Video Editor is a powerful tool for editing photos by Adobe for iOS. It got a high 4.8 score on the Apple store and gained millions of users.
This versatile photo editor is AI-powered. It can instantly boost your photo in one tap with auto, add aesthetic bokeh effects, quickly retouch portraits, and most importantly, it can remove the glare from the photo as you wish. It can precisely remove the glare on the glasses, and you can adjust it by using the contrast, exposure, and highlights and shadows sliders. However, more advanced features require subscribing to the in-app purchase.

😍 Pros:
- It is reliable and produced by Adobe
- Powerful clone tool to remove the glare from a photo.
😖 Cons:
- No blending modes
- Cannot add a new layer
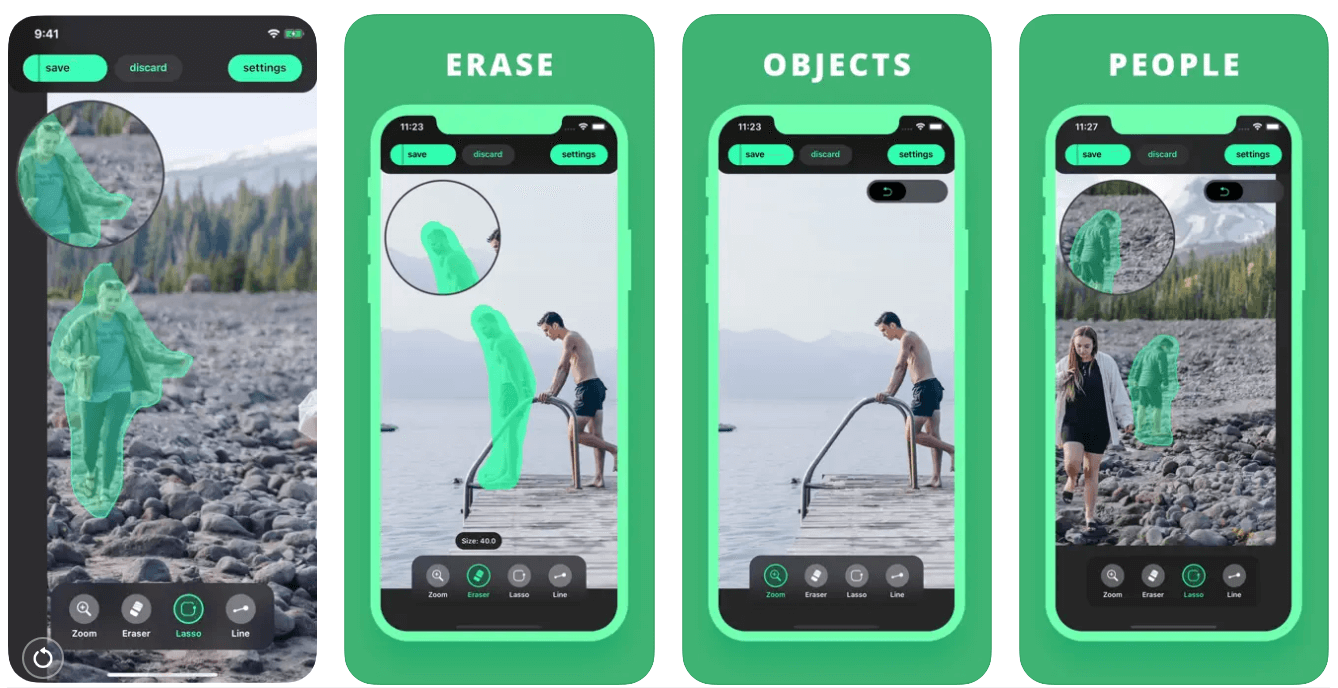
Remove Objects
Remove Objects is a photo editor that is designed to remove unwanted objects. You can use it to use the unwanted glare as well. It got a 4.8 high score too, in the Apple store.
However, if you want to use the smart eraser, you need to subscribe to unlock Smart Erase.
😍 Pros:
- Automatica removal of glare by AI
- AI can automatically complete the missing sections of a photo.
- Simple to use and easy steps.
😖 Cons:
- No advanced tools for enhancement
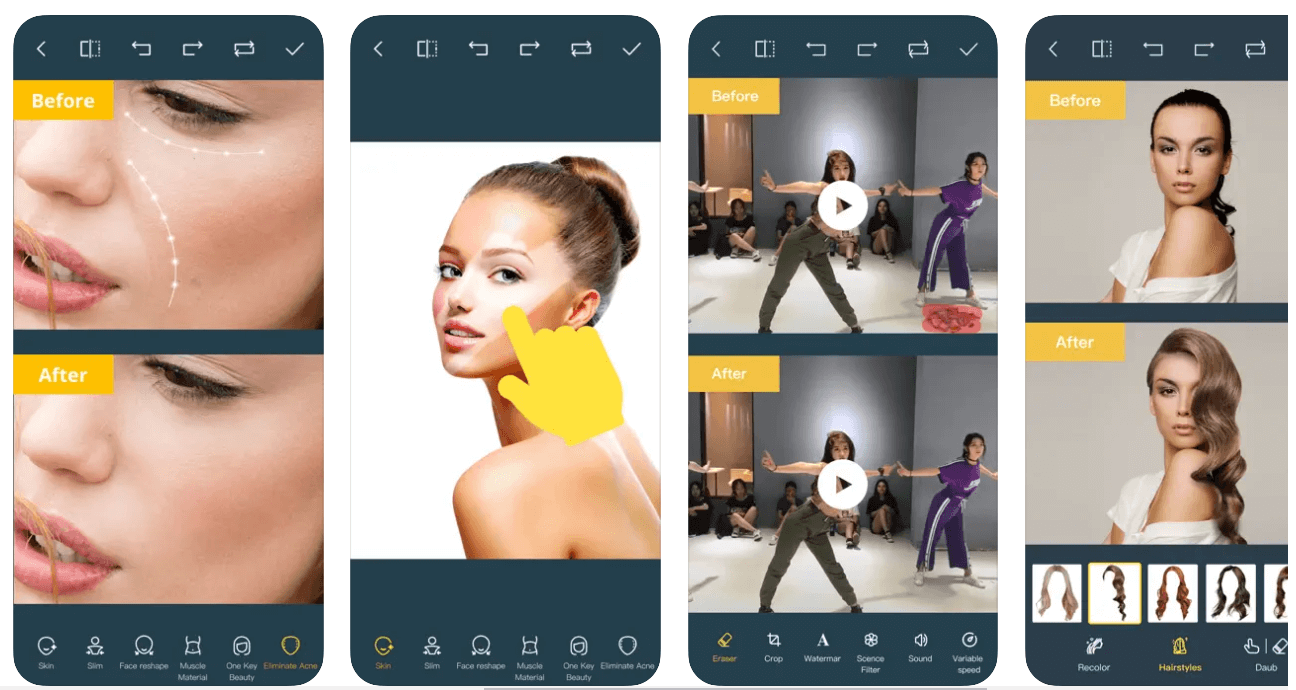
Photo Retouch-Object Removal
Photo Retouch-Object Removal is also designed to remove unwanted objects using AI technology. It offers multiple features like filling color, face blur, beautifying the body and face, etc. So, it is more effective to remove the glare when the glare appears on the face. Simply select the glare part and apply the eraser.
However, you must subscribe to it after the limited period of free trial.
😍 Pros:
- Easy to use
- Intuitive interface
- Advanced removing tools
😖 Cons:
- You need to fill in the payment information on the subscription before the free trial.
How to Remove Light Glare from Photo
For complicated or large areas of light glare, Photoshop is still recommended for elaborate, subtle refinement and adjustment.
Step 1. Open Photoshop and load the photo.
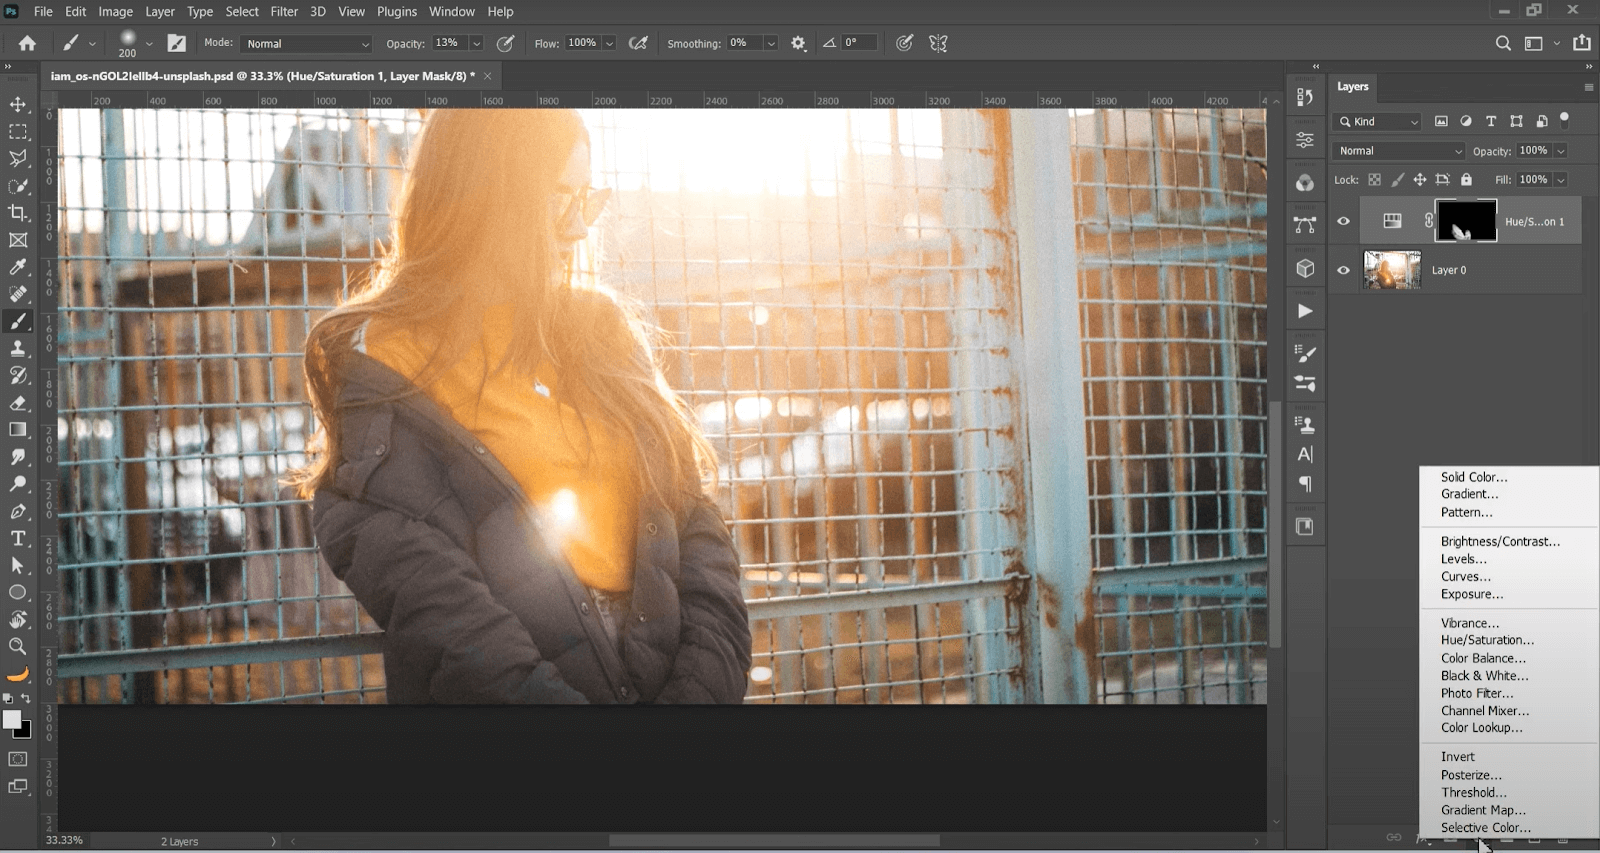
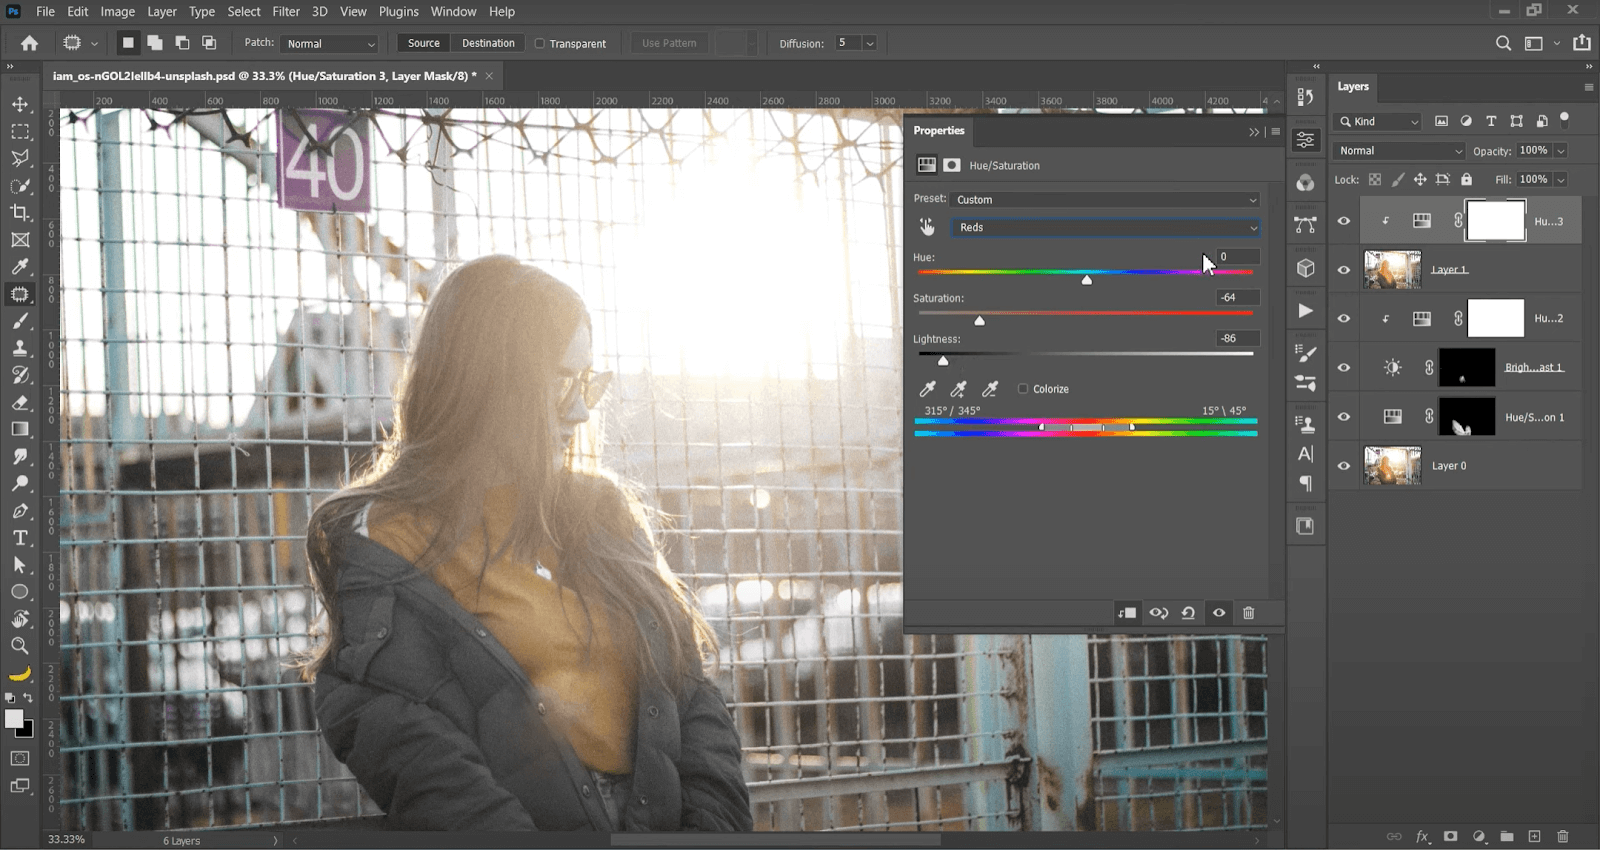
Step 2. Unlock the photo layer and choose the Hue/saturation.
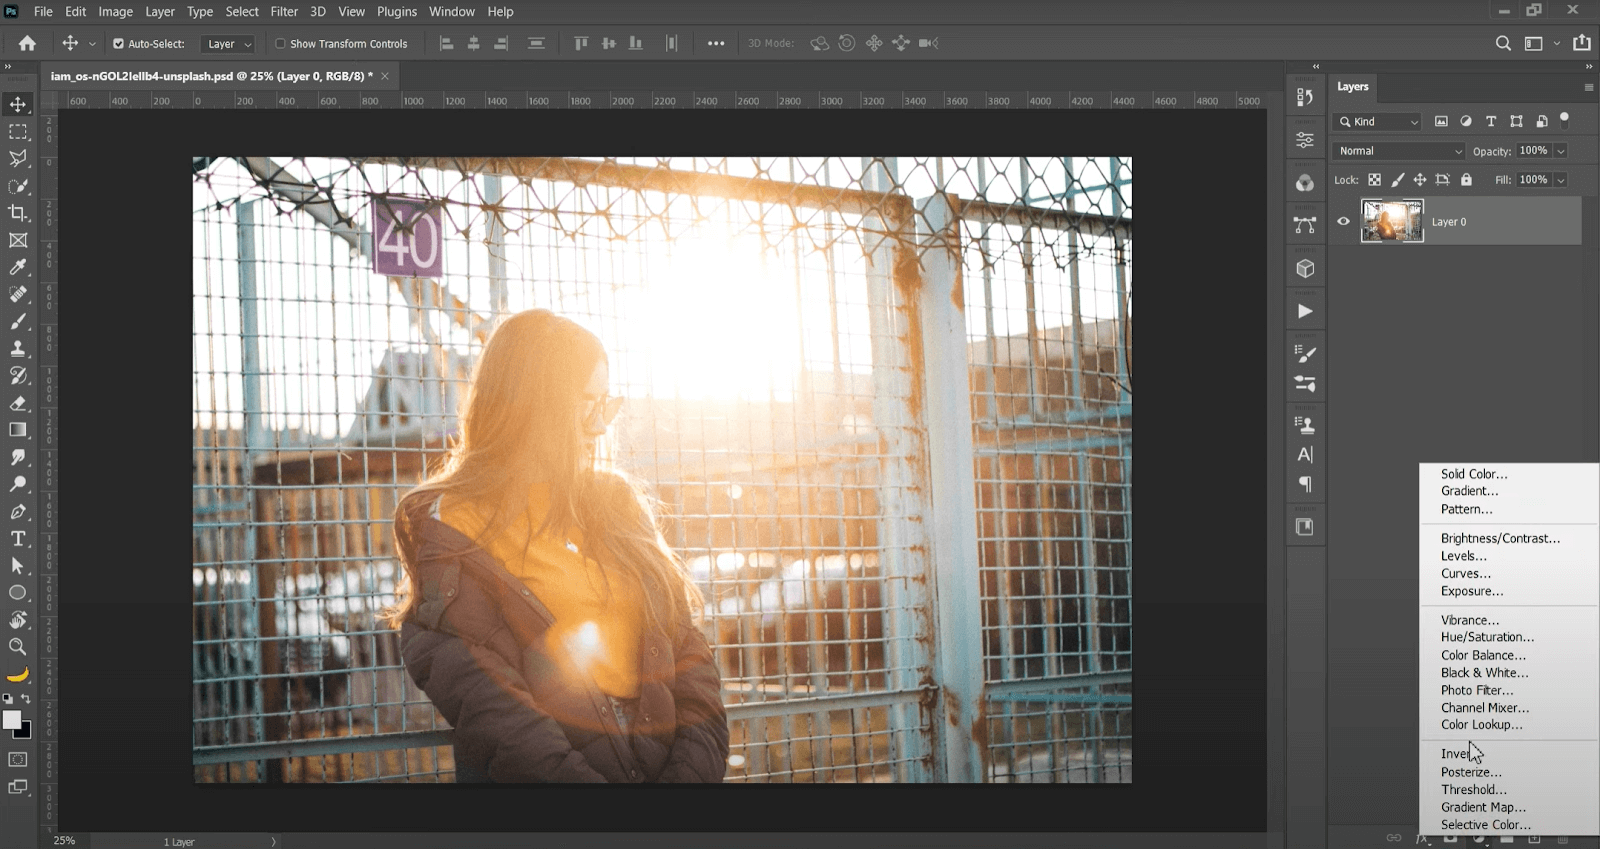
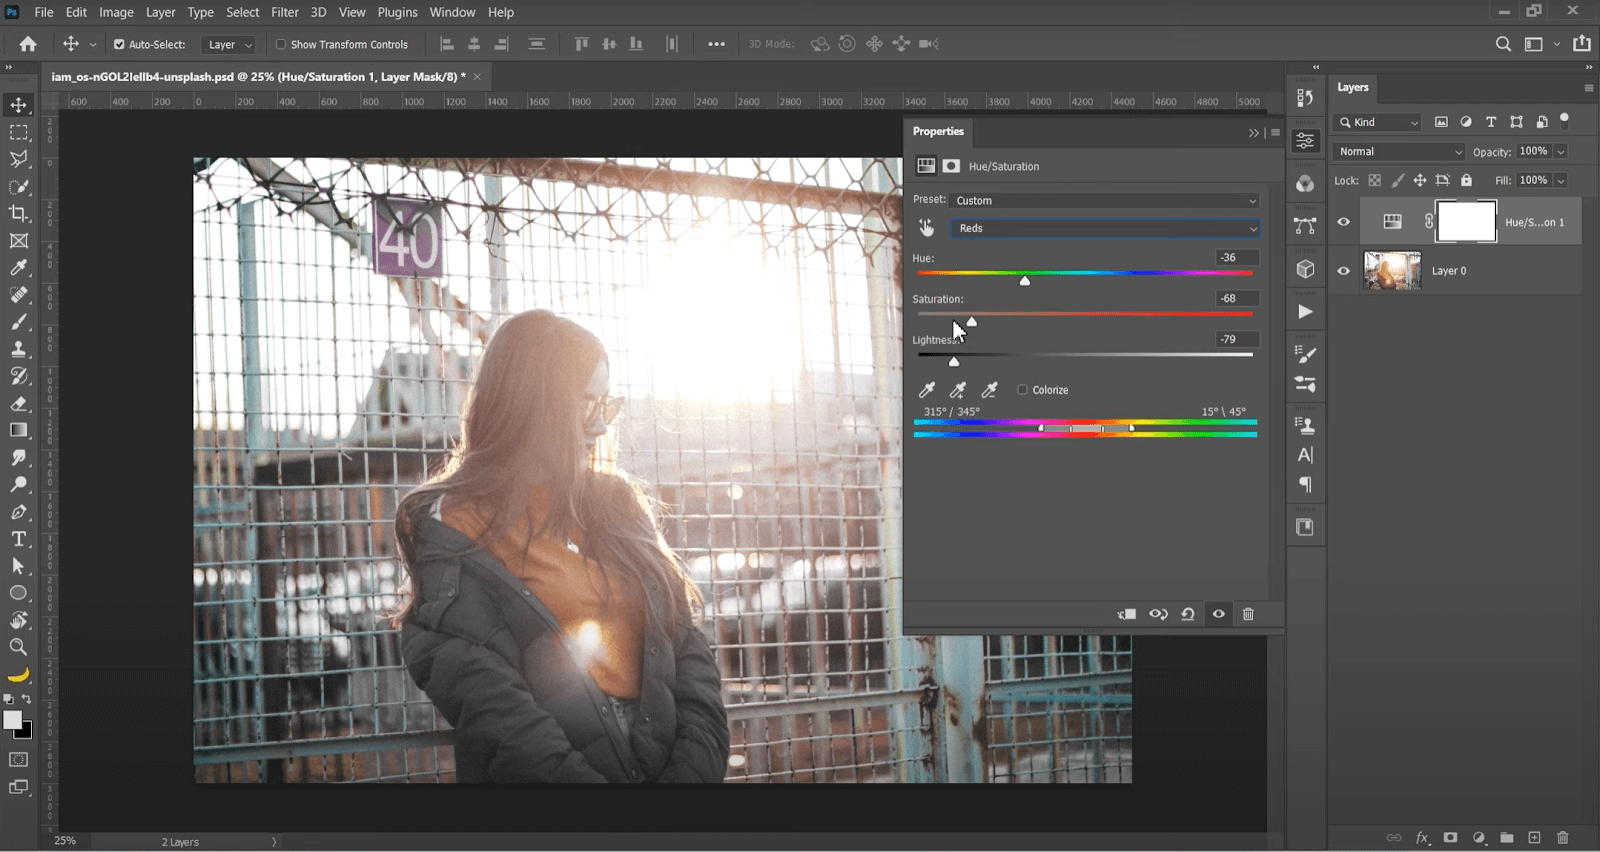
Step 3. Choose red and adjust the Hue, Saturation and Lightness to negative values.
Step 3. Press Ctrl + I to invert the image.
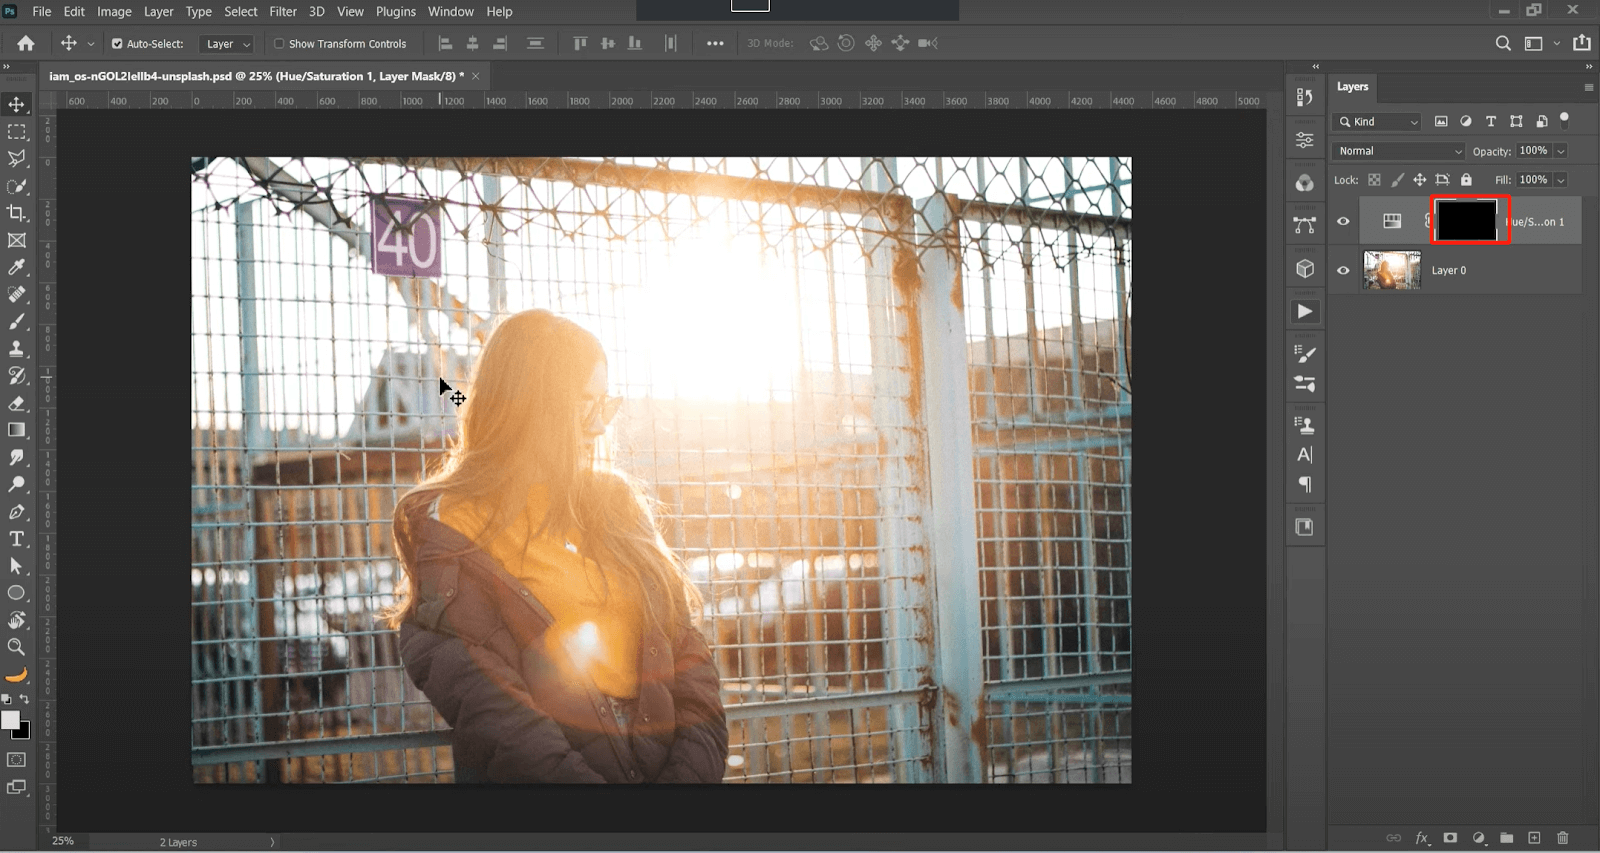
Step 4. Use the brush to paint with white color to (Adjust the opacity and size.) the glare parts.

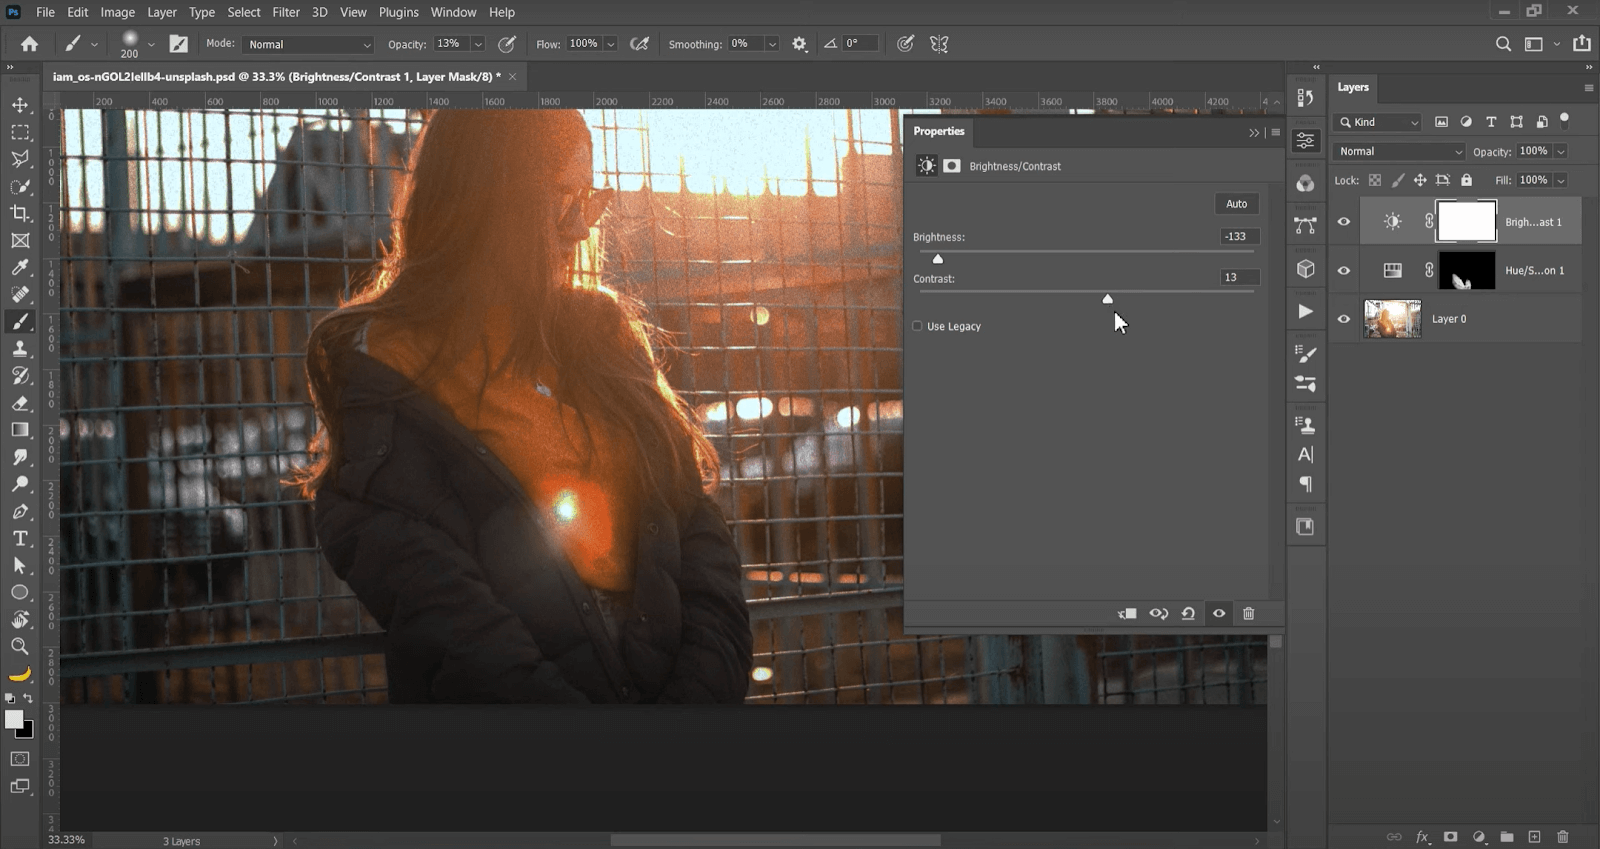
Step 5. Choose Brightness/Contrast.
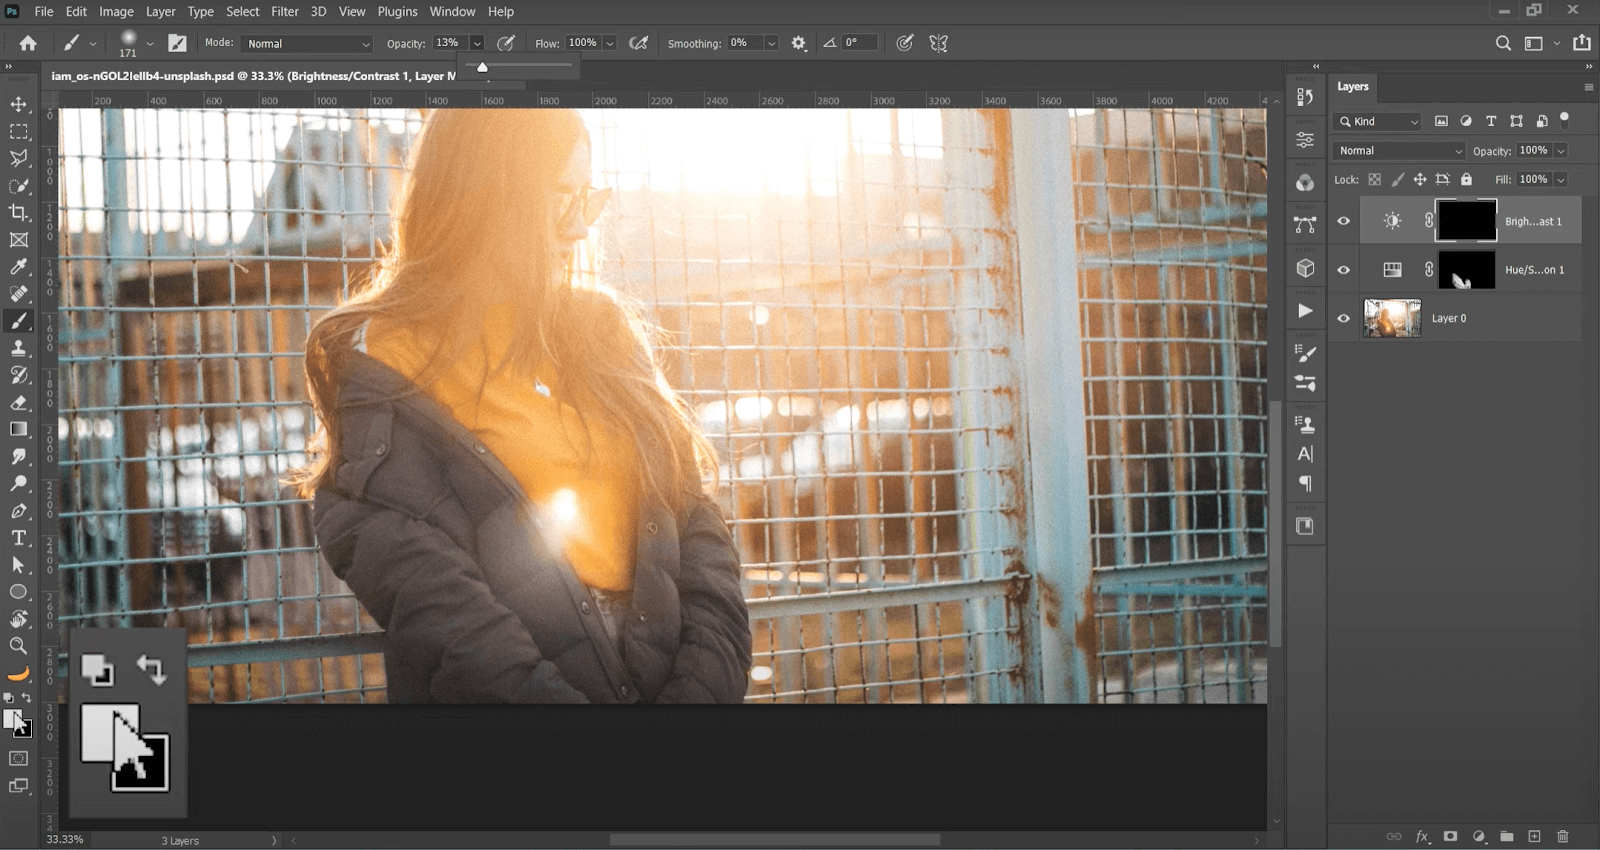
Step 6. Adjust the Brightness to the negative value and Contrast to positive. Press Ctrl + I again.
Step 7. Use the Brush tool (adjust the size and opacity) to paint the glare part with white color.
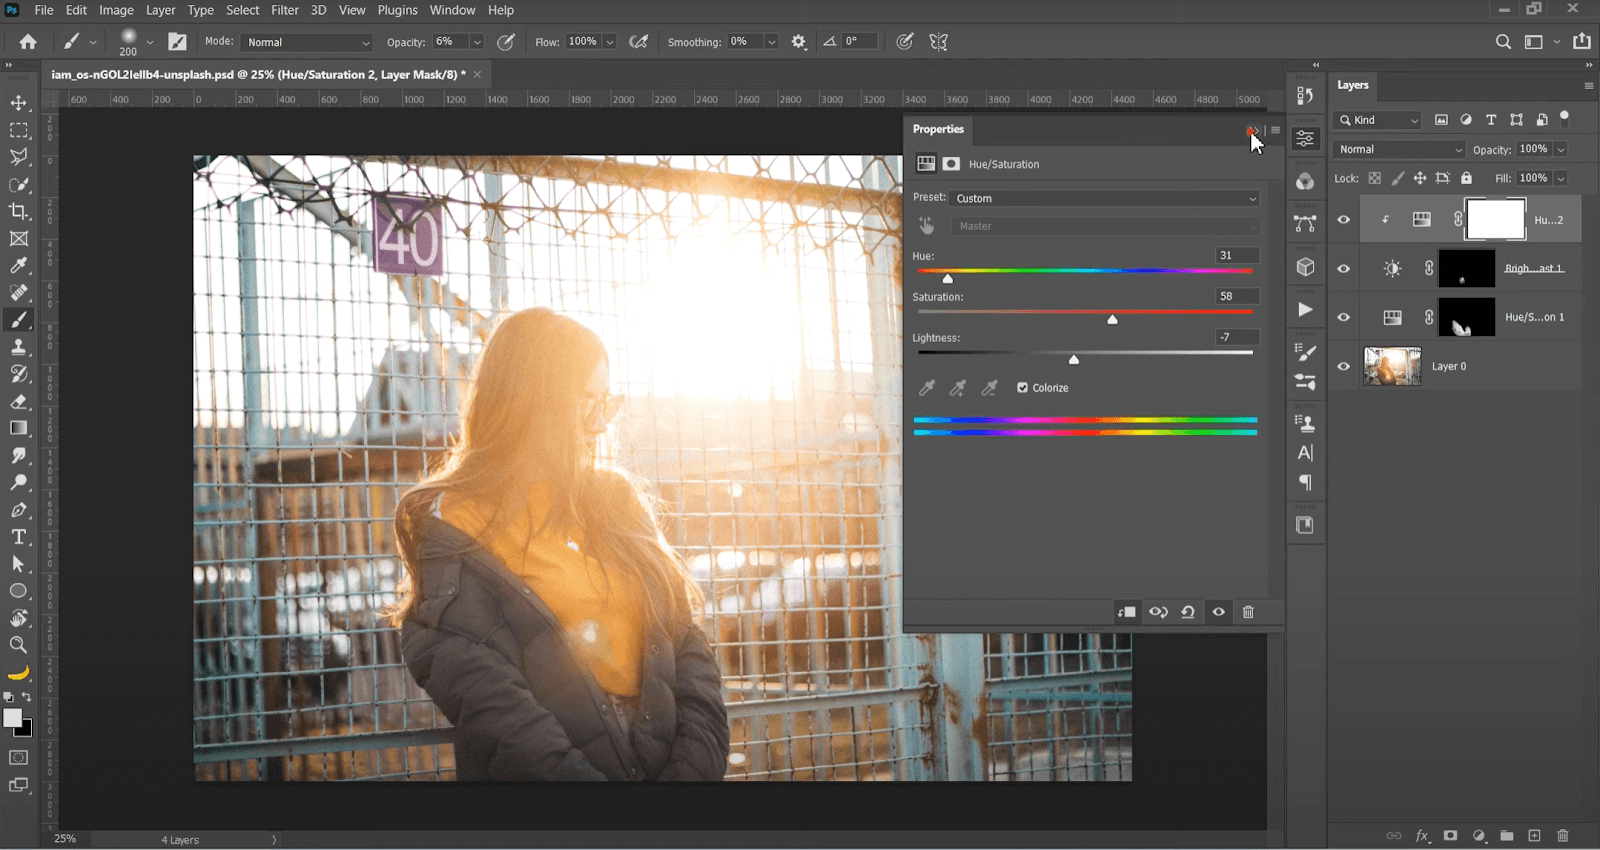
Step 8. Select the first layer. Choose Hue/Saturation again and enable Colorize. And then adjust the Hue/Contrast/Lightness to highlight the light part.
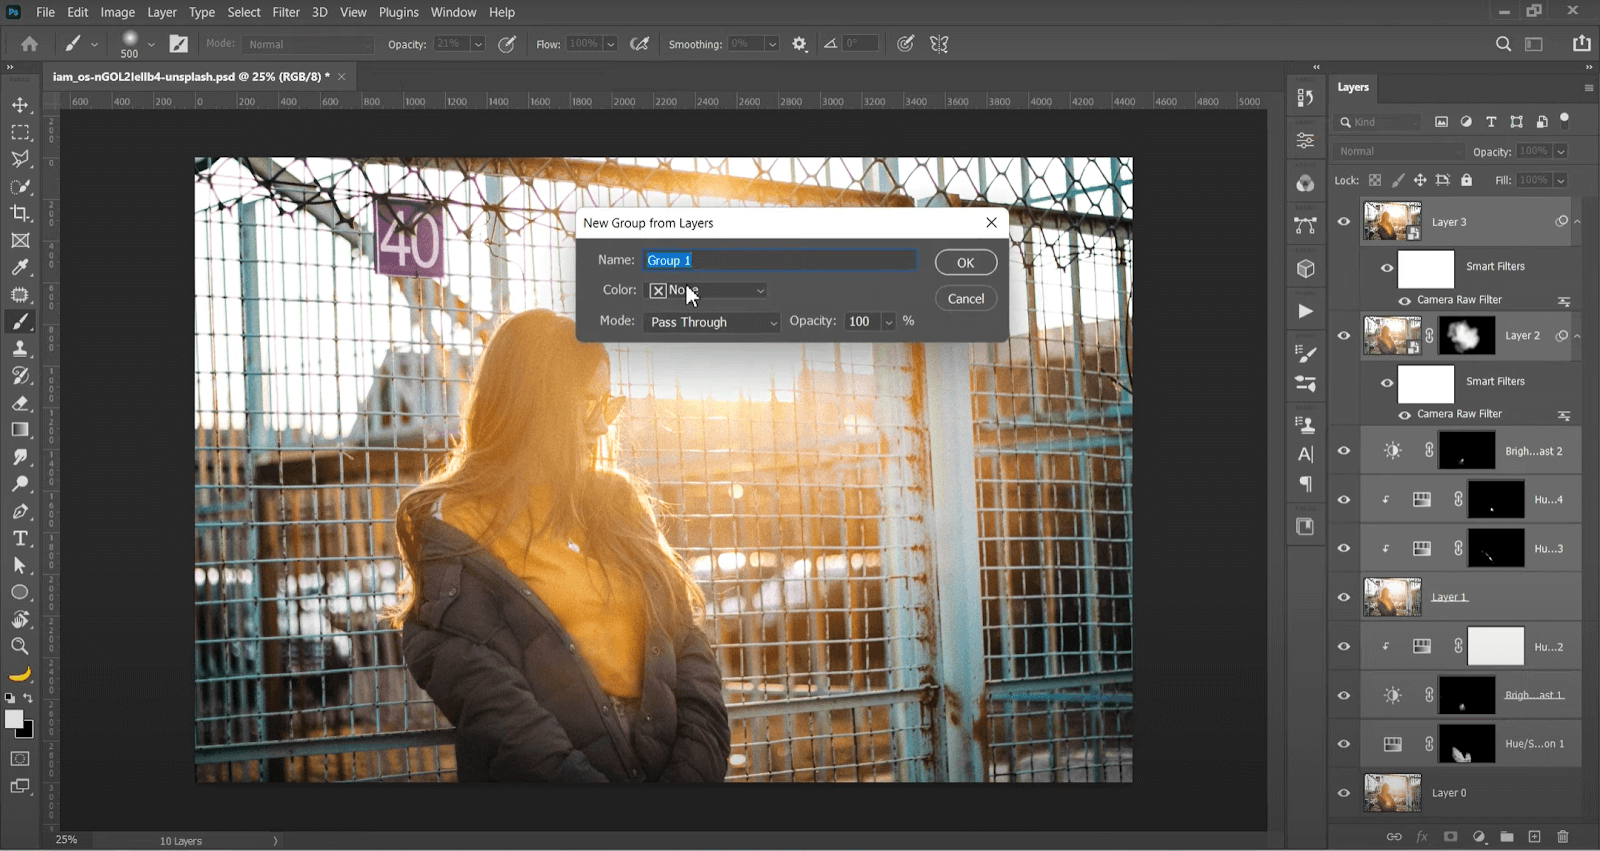
Step 9. Press Ctrl + Shift + Alt + E to flatten the layers.
Step 10. Use the Patch tool to do more refinement jobs. Select the glaring part and choose the normal part to heal it.
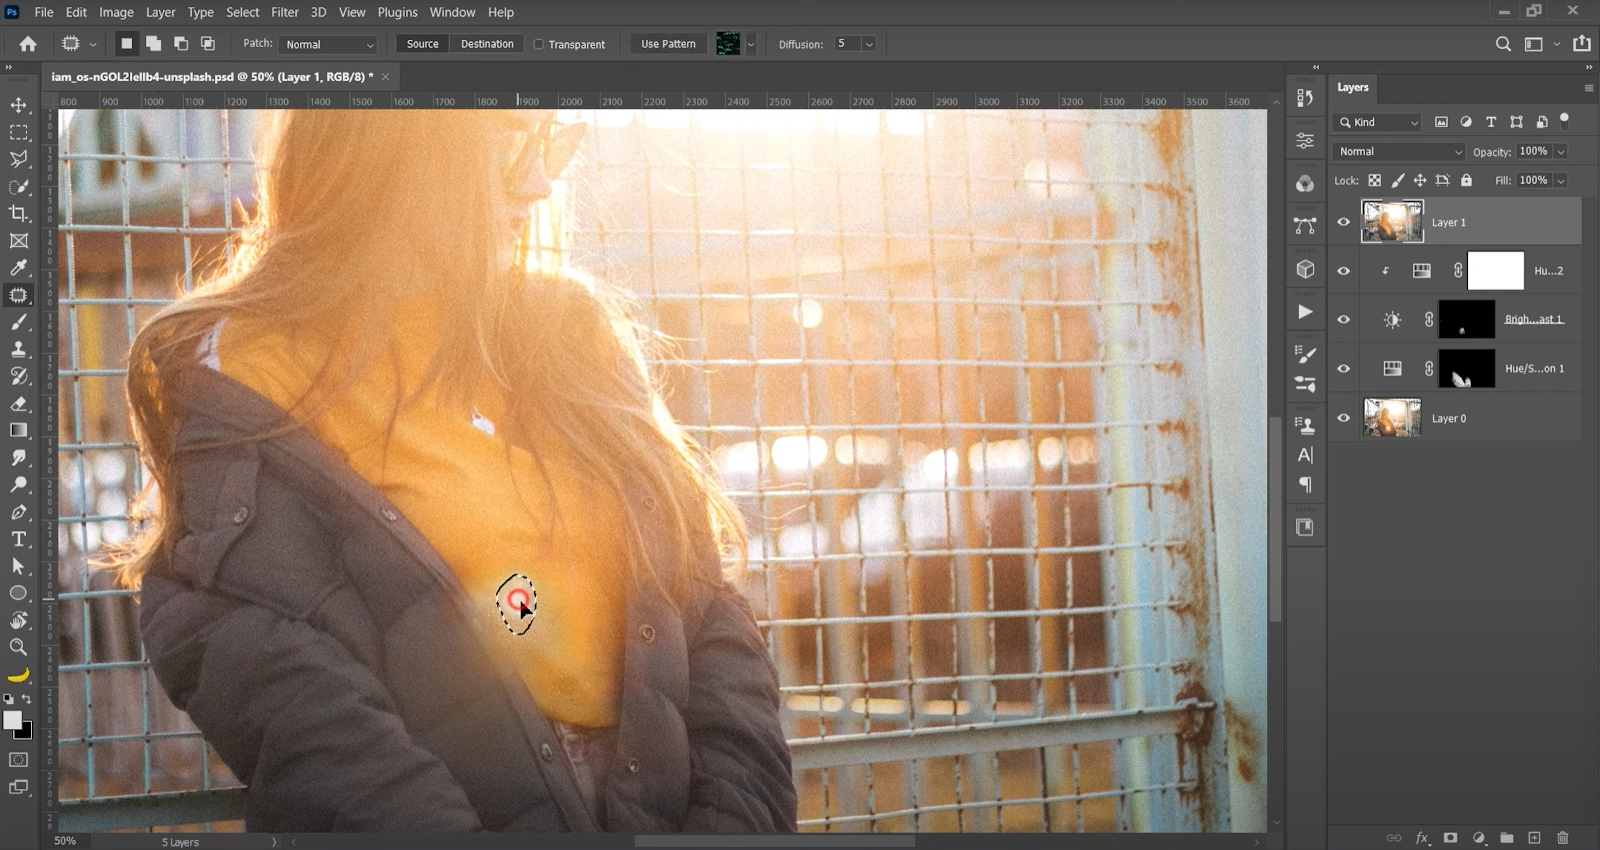
Step 11. Choose red again and adjust Saturation and Lightness. Press Ctrl + I to invert selecting an image.
Step 12. Repeat this to select the glare and heal it with normal parts until you are satisfied.
Step 13. Once you are done, merge these layers into one.
Step 14. The glare is much less than in the original photo.

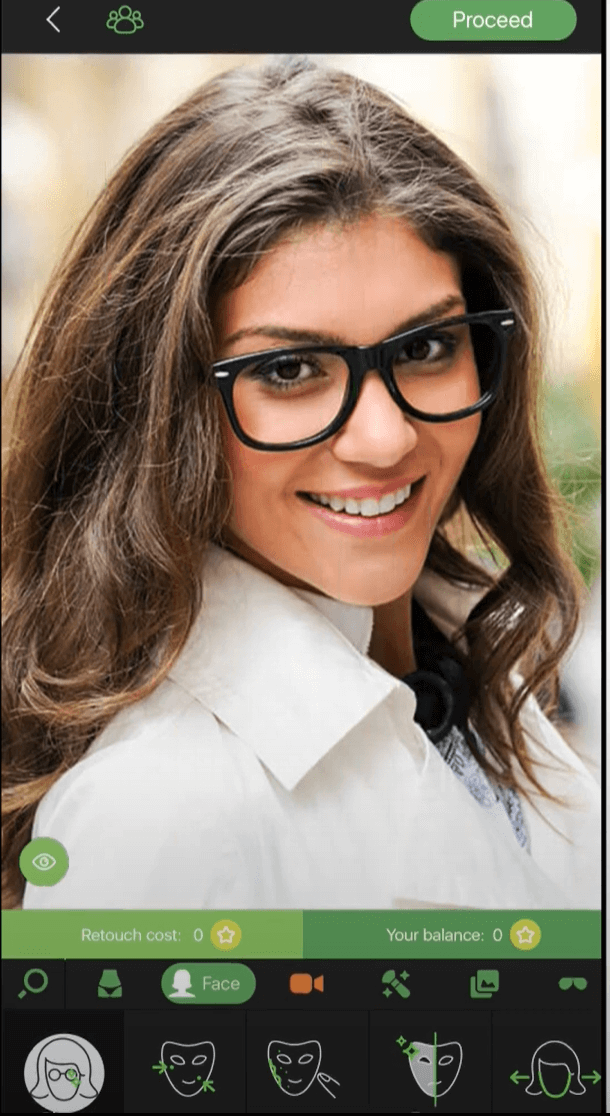
How to Remove Glasses Glare from Photo
Removing glass glare is simple. Many AI-powered apps can do this, such as the RetouchMe photo editor.
Step 1. Download and install it.
Step 2. Choose the Face section > Glare from glasses.
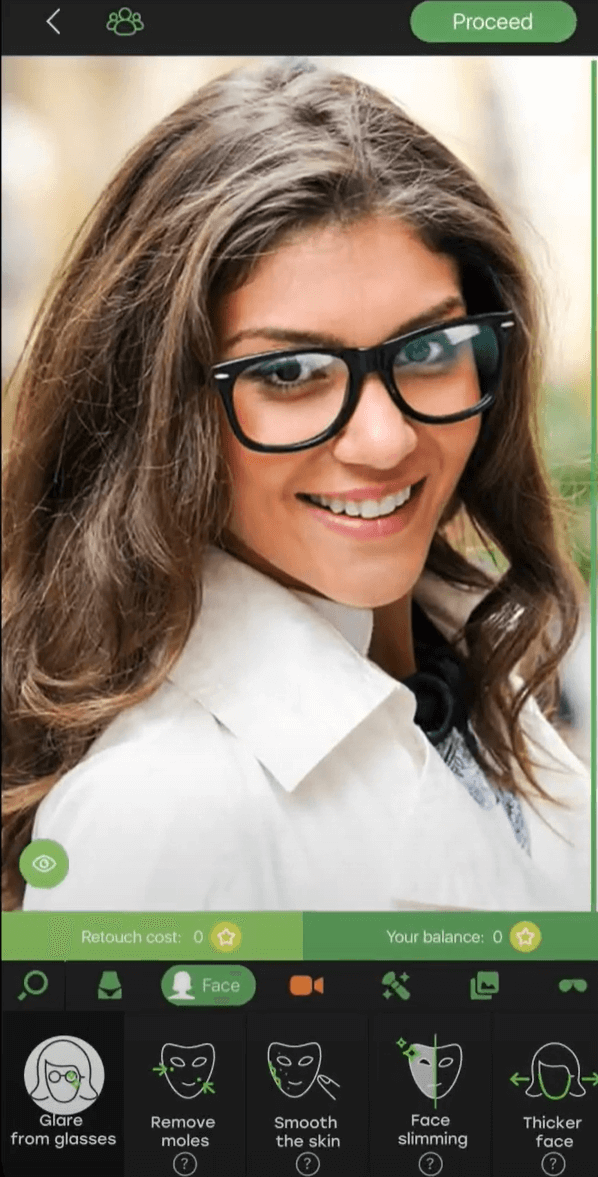
Step 3. The glare will be automatically removed.
Conclusion
Removing glare is now easier than ever before with the help of AI. Each tool has its pros and cons in meeting the specific requirements of users. For complicated tasks, powerful and professional software like Photoshop is still recommended. However, it is more suitable for professionals. If you need basic editing and don’t need larger refinement, other online platforms and apps are suited for beginners.