
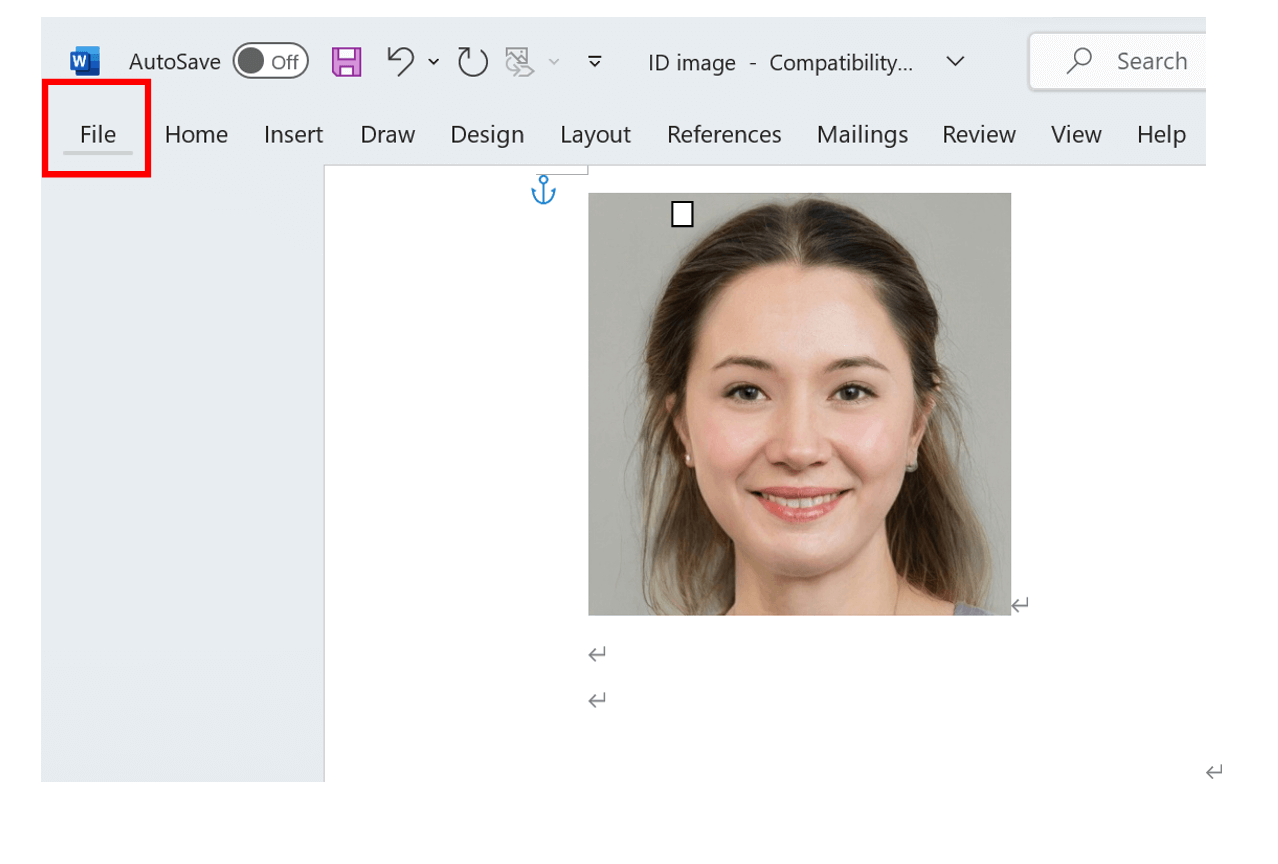
Need a 2×2 photo for NBI clearance, a job application, or a school form? The photo you take in a photography studio might not be good-looking and you cannot improve it as you want. A high-quality ID image made by a professional photographer also costs a lot. To save the trouble, what you can do as a substitute is to make a 2×2 image by yourself. By doing this, you don’t have to be a Photoshop master. In the following paragraphs, we will present how to make 2×2 photos in Microsoft Word with basic skills — and clear up a common mix-up with Philippine passport photos.
Is 2×2 the same as a Philippine passport photo?
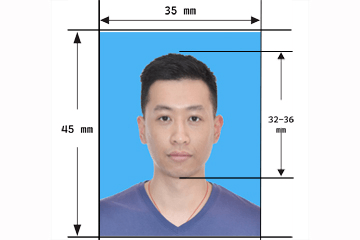
Not necessarily — this is the most common mix-up for Filipino applicants. The Philippine ePassport, issued by the DFA, uses a 35mm × 45mm photo (roughly 1.38 × 1.77 inches), not 2×2 inches. On top of that, at most DFA branches your photo is captured on-site by a data encoder during your appointment, so you don’t need to prepare or print a photo at all for a regular passport application.
So when do you actually need a 2×2 photo? The most common cases in the Philippines are:
- NBI Clearance — especially for OFW, overseas/mailed applications, and embassy or consulate submissions, which typically ask for one or two 2×2 colored photos with a white background, taken within the last 3 to 6 months.
- Job application forms, school forms, and some visa forms that specifically ask for “2×2” or “2 inches by 2 inches.”
- Older or replacement IDs that still reference the 2×2 standard.
If your form says “Philippine passport,” use the 35×45mm DFA format instead. If it says “2×2,” this guide is exactly what you need.
What are the 2X2 picture dimensions?
As you will cut the picture into 2×2 on your own, you need to know the precise dimensions of the 2×2 picture:
✅ The 2×2 picture size in inches is 2 in x 2 in.
✅ The 2×2 picture size in centimeters (cm) is 5.08 cm x 5.08 cm.
✅ The 2×2 picture size in millimeters (mm) is 50.8 mm x 50.8 mm.
✅ The 2×2 picture size in pixels is 600 x 600 pixels at 300 DPI. This is a good baseline for most printed or uploaded 2×2 photo requirements — check your specific form for any exact upload spec before submitting.
Photo content rules to check before you submit
Getting the size exactly right doesn’t help if the photo itself gets your application rejected. A few things worth confirming before you submit any 2×2 photo for an official purpose:
- Background: For NBI clearance and most official forms, a plain white background is the safe default — avoid colored, patterned, or shadowed backgrounds.
- Glasses: If the photo is for a Philippine passport, note that glasses have not been allowed in DFA passport photos since 2018. Some forms that only ask for a general 2×2 photo (like certain job or school forms) may be more flexible — check the specific instructions for your form.
- Recency: Most agencies expect a photo taken within the last 3 to 6 months.
- Editing: It’s fine to use an editor to crop, resize, and set a clean white background — but avoid heavy skin-smoothing, face-reshaping, or beautify filters. Photo verification is getting stricter across many types of official documents, and a natural, accurate likeness is always the safer choice.
How to make a 2×2 Picture in Microsoft Word
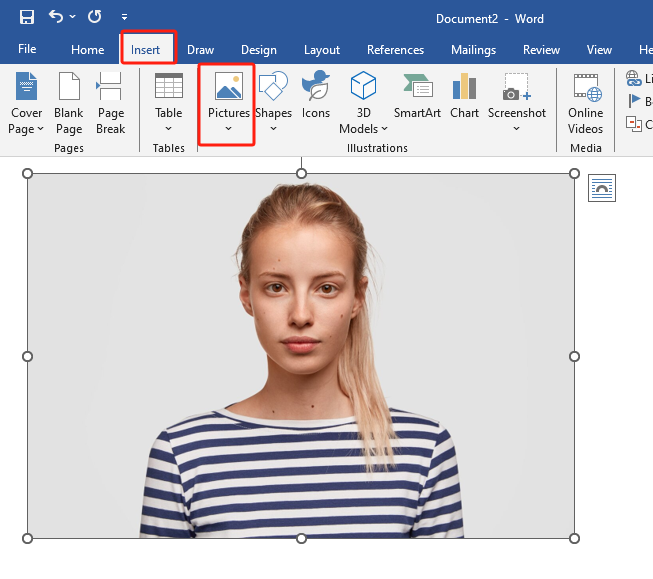
Step 1. Open Microsoft Word and create a blank document. Click the Insert tab and then click Pictures.
Step 2. Select the photo that you want to use and click the Insert button to insert the picture into your Word document. Take note that the photo must be formal to be put on an official document.

You can also right-click the picture and select Copy on the menu, then paste it into the new Word document by right-clicking the blank page and selecting Paste.
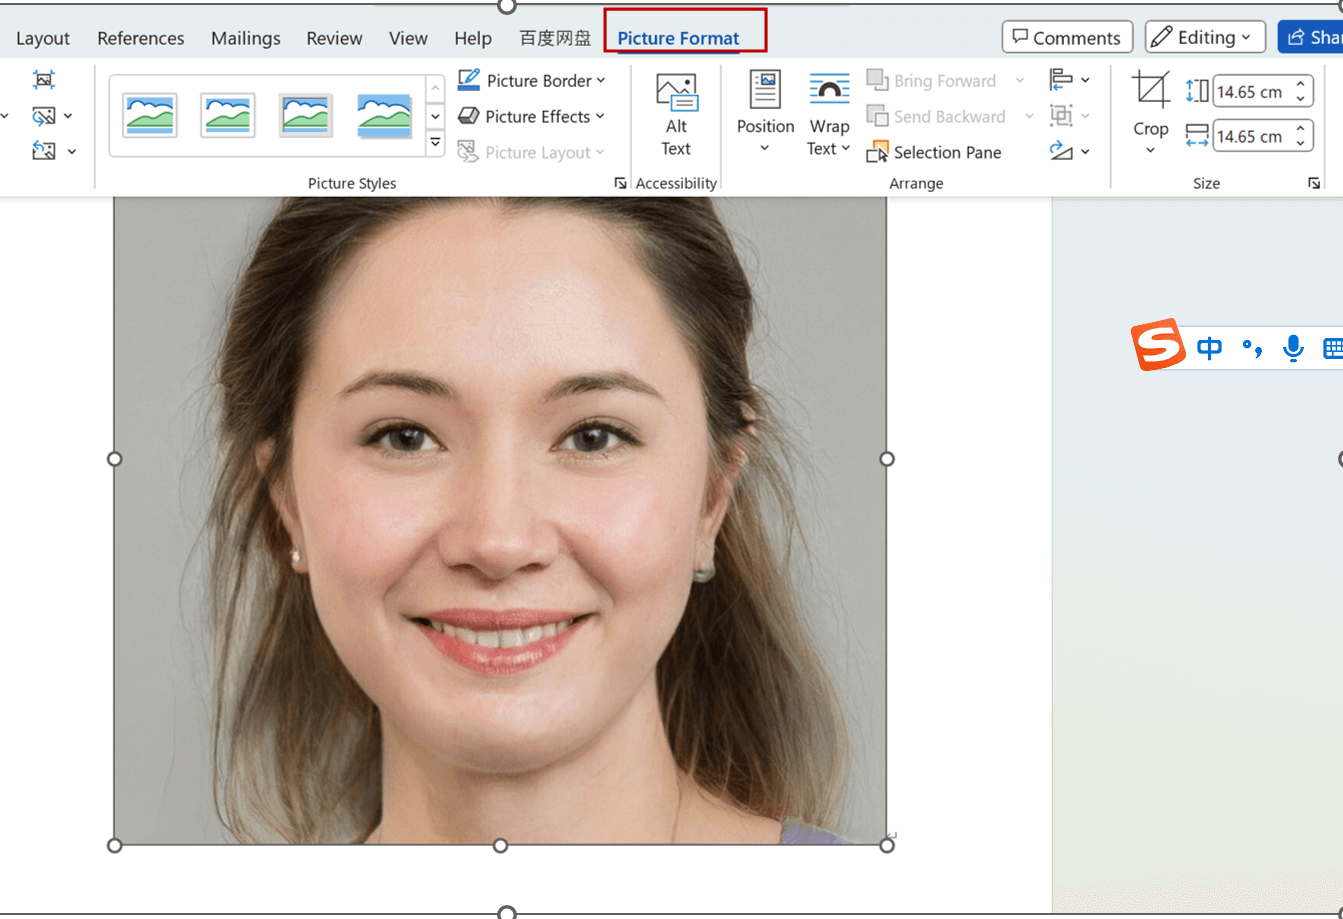
Step 3. The next step is to simply left-click on the picture and a tab at the top of your Microsoft Word program that says Picture Format should appear. The Format menu contains several image editing options such as Adjust, Size, and Picture Styles.
Step 4. Click the Crop button in the area of Size and select Aspect Ratio to make it 1:1. This ensures that the edited photo will always have a square shape.
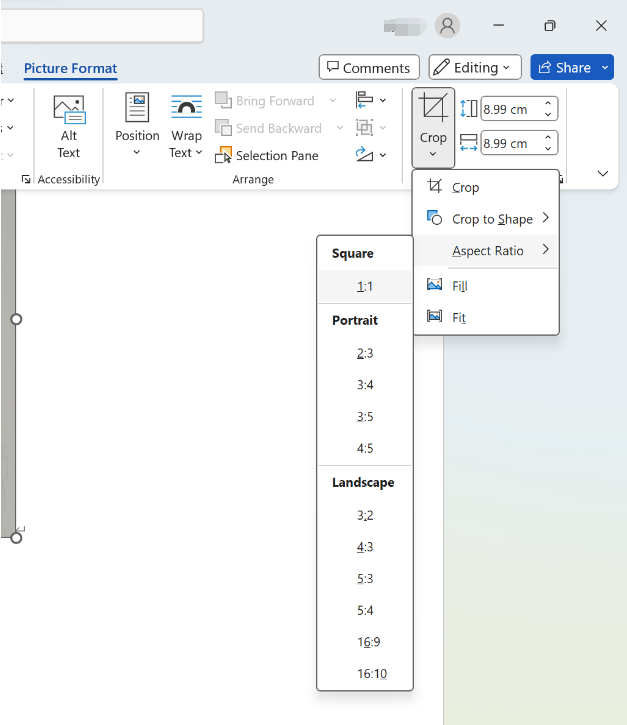
You will notice a square canvas covering the photo. Everything outside the square canvas will be cut out of the photo after cropping.
You can adjust the crop by resizing the canvas. Move the cursor to the black line on the edge of the canvas and then drag it around. Complete the cropping by clicking the Crop button once more, or simply click anywhere outside the photo.
Step 5. Once you’re satisfied with the appearance of the photo, it’s time to resize it to the 2×2 picture size. On the area of Size, you can see the height and width of the picture. Adjust both sizes to 5.08 cm. Your photo has now been resized.

That’s it! Now you have made a 2×2 picture using Microsoft Word. You may save the picture to your computer by right-clicking the photo and selecting Save as Picture.
How to resize pictures without losing quality in Microsoft Word?
Sometimes, when we zoom in or zoom out images, the pixels of images will change, too. The quality of pictures gets worse as we enlarge photos. So how to adjust pictures and maintain the picture resolution at the same time?
Step 1. After inserting or copy-pasting your pictures in Microsoft Word, press File from the upper-left corner of the File window.
Step 2. Then go to Options and choose Advanced. You can find the Image Size and Quality section.
Step 3. Tick the box for Don’t compress images in the file and press OK.

Step 4. Then you can resize the image by dragging the corner circles. If you have a specific size in mind, you can find the Size on the top right corner of the screen. Click Size and enter the dimensions in the Shape Height and Shape Width fields.
Then you will have an adjusted photo without losing its quality.
How to Save Your 2×2 Picture as JPEG or PNG
When you finish making your 2×2 ID image in Microsoft Word, you perhaps want to save it as a picture file(JPEG or PNG). Then you can use it in different situations, from your passport to your LinkedIn profile.
To save your picture as JPEG or PNG, right-click the picture and select Save as Picture.
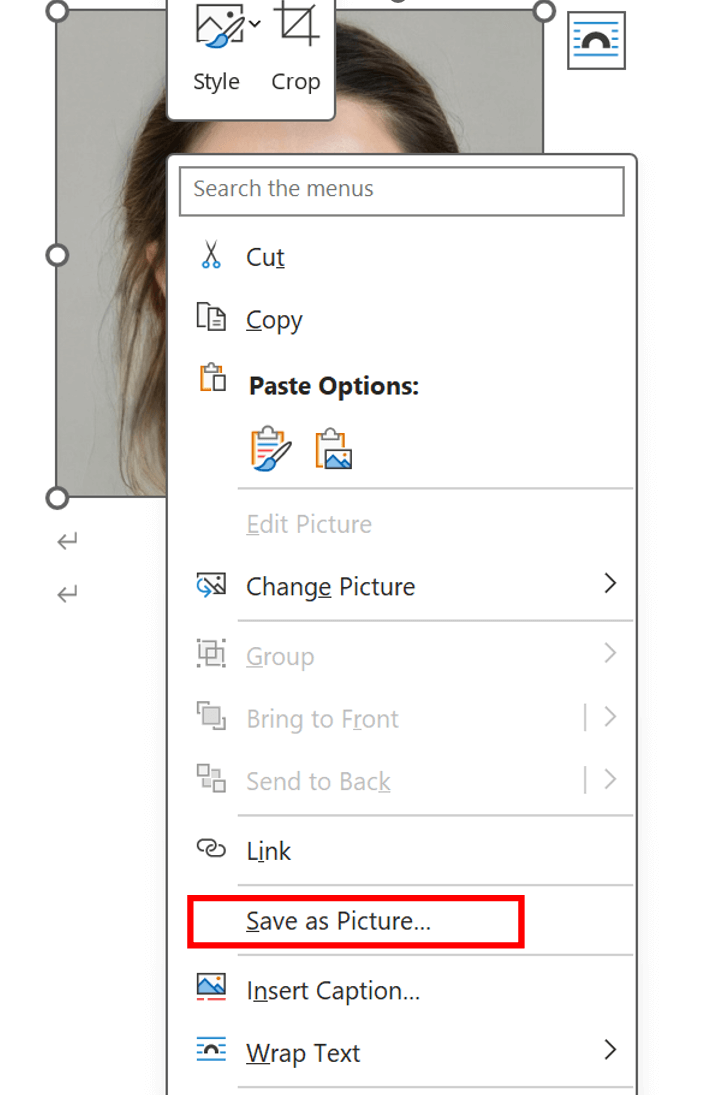
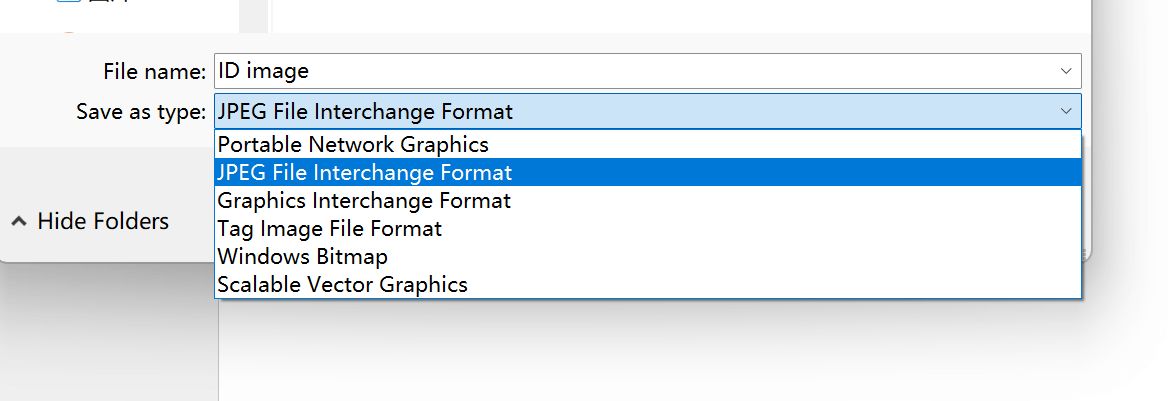
Then a new dialogue box will pop up. You can give a new name to the picture file so you can find it next time.
For Save as Type, remember to choose JPEG File Interchange format or Portable Network Graphics (PNG).
Then click save when you are done. You can now attach the photo to your emails, website accounts, online applications, and many more.
How to make a 2×2 picture in a different background?
Step 1. Start with putting your pictures in the Word document.
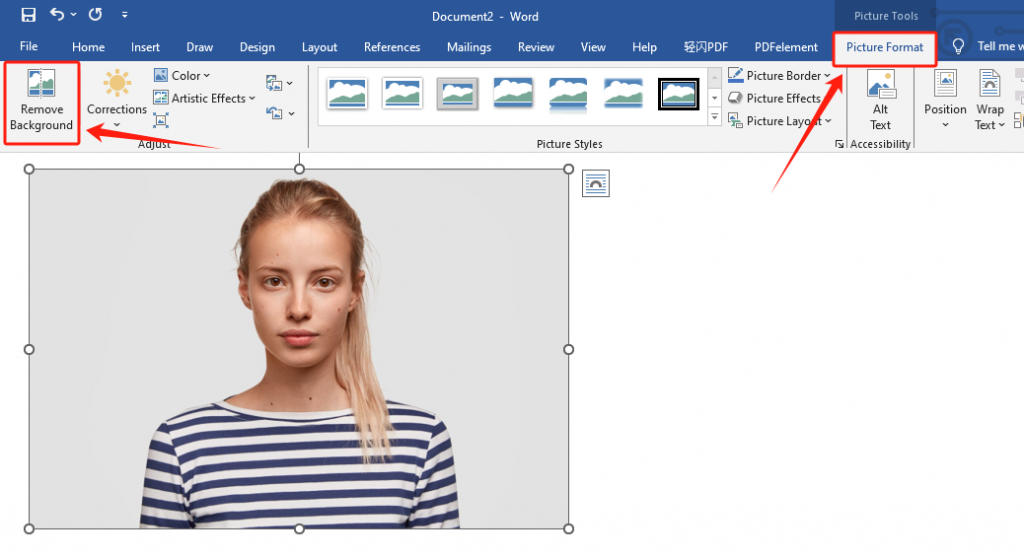
Step 2. Click the picture and then you can see the Picture Format on the top of your toolbar. Now click the Picture Format, the option of Remove Background will be the first on the menu.
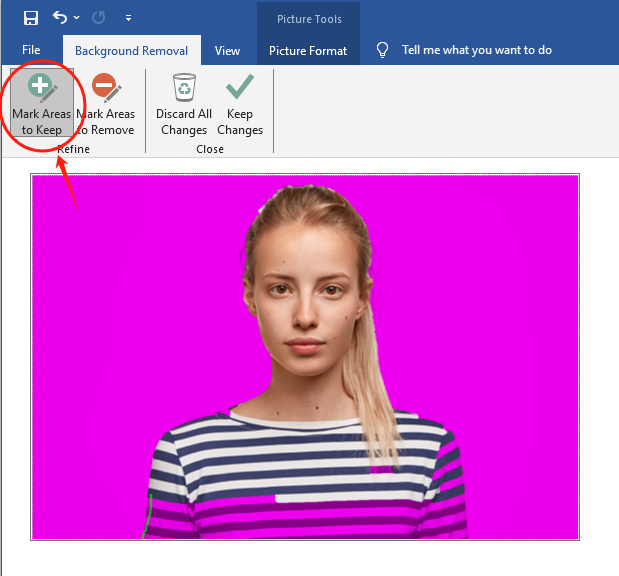
Step 3. You can either choose to mark the area to keep or mark the area to remove.
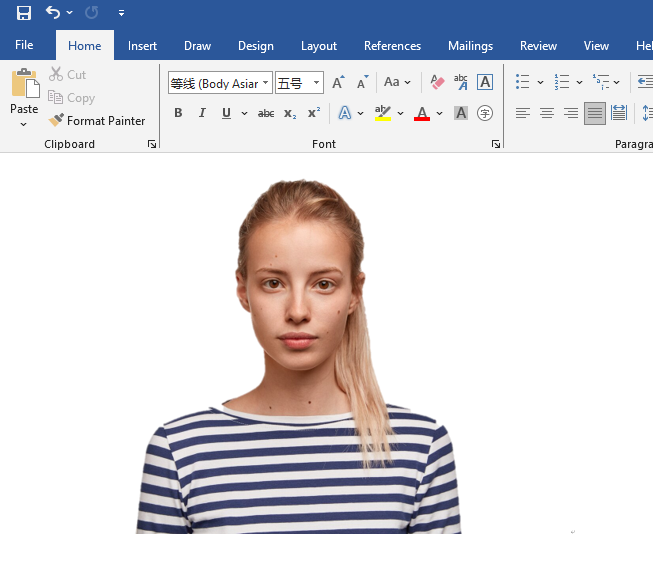
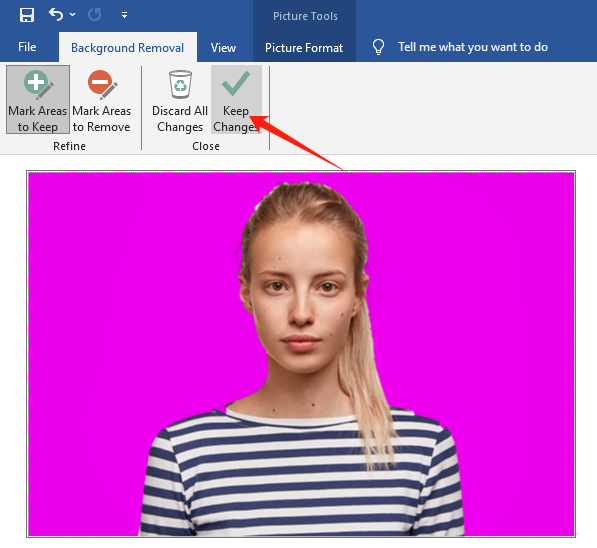
Step 4. Once you are done, click Keep the changes. Then you will have the background removed.
Remember: for official documents such as NBI clearance, a plain white background is the safest choice — avoid colored or creative backgrounds.
📖 Read Also: Top 7 Tools to Remove Background Online
How to make 2X2 Picture Online?
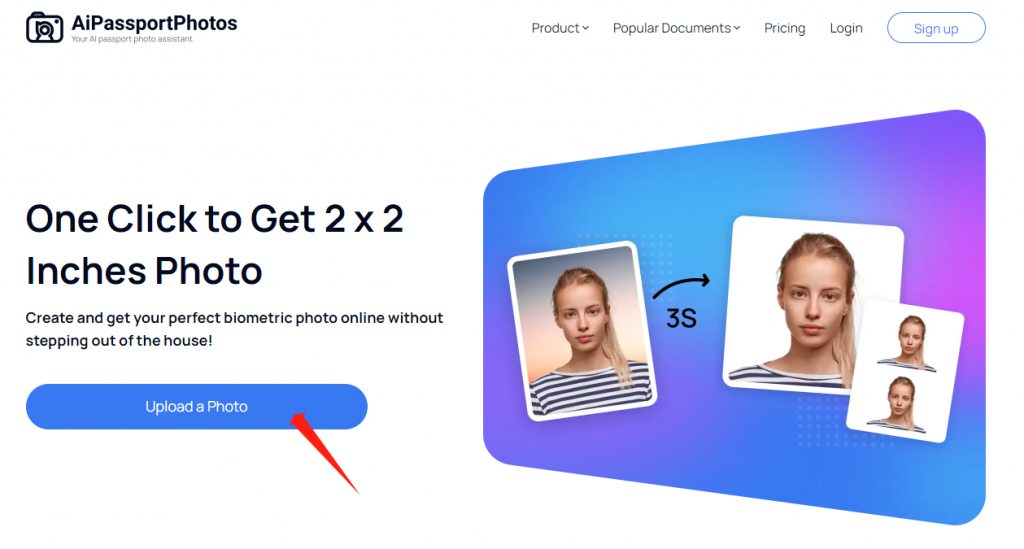
Step 1: Enter AiPassportPhotos and click “Upload a photo”
Step 2: When the dialogue box pops up, go to the folder where you can select the photo that you want to use.
Step 3: AiPassportPhotos will make it to an 2×2 image in a few seconds automatically.
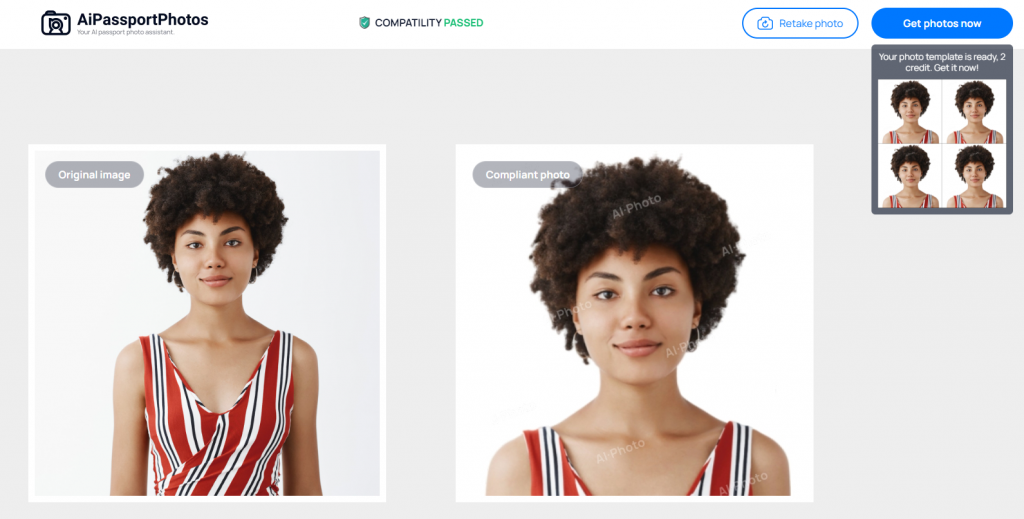
Step 4: If you are satisfied with the image, click Save and choose where you want to store it.
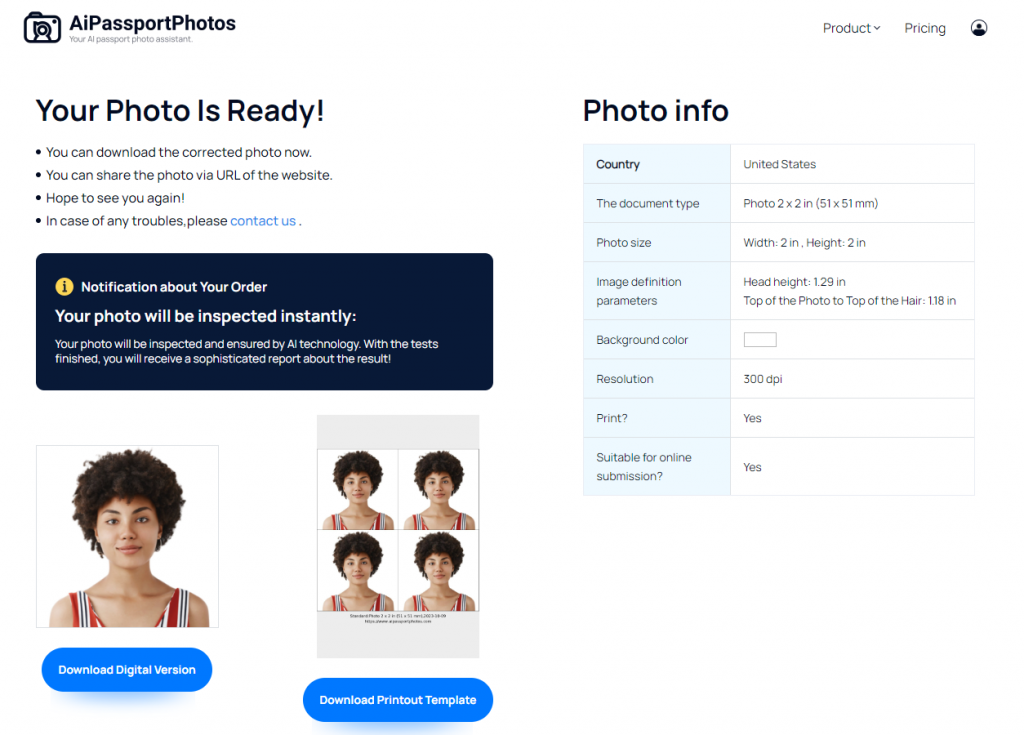
This is often the fastest route if you’re preparing a 2×2 photo for NBI clearance (especially for OFW, mailed, or embassy applications) or any form that specifically asks for a 2×2 size — the tool handles the cropping and white background for you, so you can skip the manual Word steps above if you’d rather not do them by hand. As with any photo for an official purpose, start from a natural, recent photo rather than a heavily filtered one.
How do I create a 2×2 photo in PDF?
To convert 2×2 images to PDF format, you can open Adobe Acrobat online or use the default Photos or Preview apps on Windows PCs and Macs, respectively.
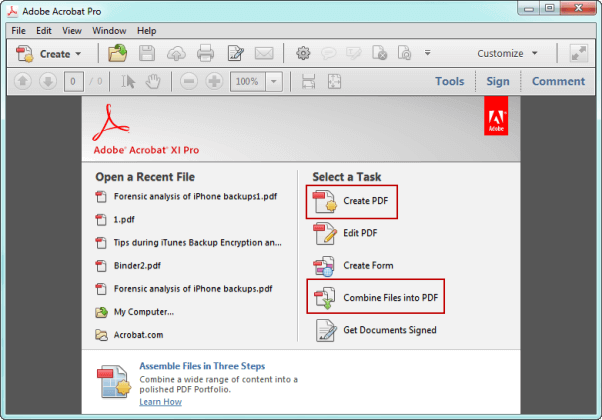
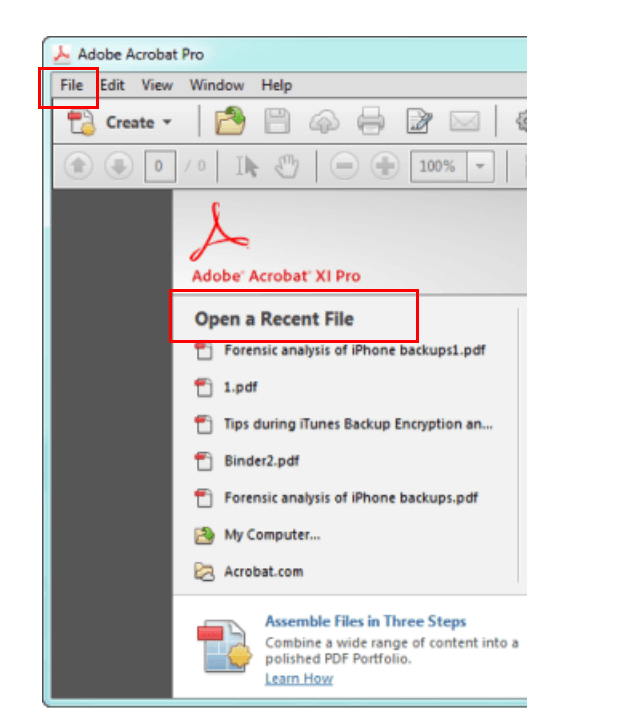
Step 1: Open Adobe Acrobat on your computer.
Step 2: Click on “Create PDF” or “Create” in the toolbar.
Step 3: Select “From File” and choose the 2×2 images you want to convert to PDF. You can select multiple images by holding down the Ctrl key (or Command key on Mac) while selecting the images.
Step 4: Click on “Open” to import the selected images into Adobe Acrobat.
Step 5: Arrange the images in a 2×2 grid by dragging and dropping them into the desired positions.
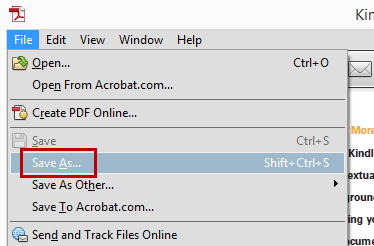
Step 6: Once the images are arranged, click on “File” and then “Save As” to save the PDF file.
Step 7: Choose the location where you want to save the PDF file and give it a name.
Step 8: Click on “Save” to convert and save the 2×2 images as a PDF file.
FAQ
Is a 2×2 photo the same as a Philippine passport photo?
No. The DFA uses 35×45mm for Philippine ePassports, and the photo is usually taken on-site at your appointment. 2×2 inches applies to things like NBI clearance, job forms, and some school or visa forms — check what your specific form asks for.
Do I need to submit a printed 2×2 photo for NBI clearance?
If you’re applying in person in the Philippines, your photo is often taken at the branch during your appointment. If you’re an OFW, applying by mail, or applying through an embassy or consulate, you typically still need to bring or submit a printed 2×2 colored photo with a white background, taken within the last 3 to 6 months.
Can I use an edited or beautified photo for NBI clearance or other official forms?
It’s best to avoid it. Cropping, resizing, and setting a clean white background are all fine — but skip skin-smoothing, face-reshaping, or beauty filters, since the photo should still be a natural, accurate likeness of you.
Wrap it up
In conclusion, creating a 2×2 photo by yourself is a smooth process. By following the steps outlined above, you can easily turn your selfie into an ID image. Just remember to double-check which size your specific document actually requires — 2×2 inches and the Philippine passport’s 35×45mm are not the same — and to keep the photo itself natural and unedited if it’s for an official purpose. Pick the right software or online tool that suits your needs, adjust the image dimensions and resolution to ensure optimal quality, and you’ll be able to create professional-looking 2×2 photos on your own.
📚 Further Reading: Top 7 2×2 Picture Maker Online Tools You Should Try