
Whether you want to beautify portraits, fix imperfections, or improve the quality of your images, learning how to retouch within Photoshop is a skill worth learning. Photoshop is an incredibly powerful tool for making fine changes or drastic changes with precision. In this guide, we’ll explain the retouch meaning, introduce important retouching tools within Photoshop, and show you how to improve your images step by step.
What is photo retouching?
Photo retouching means the small adjustments or changes to a photo to make it visually better. It can involve removing a blemish in the skin or dust specks, smoothing wrinkles, fixing exposure, or lighting. The aim is to make the photo look clean and professional, while not changing the person significantly.
In Photoshop, we have tools that specifically let us retouch the image. It allows you to paint over areas you want to fix, replicate clean parts of the area you are working on, or peacefully merge them together. So, that’s the basic retouch meaning—fixing small blemishes to improve appearance.
Photo retouching tools in Photoshop
If you are not too familiar with retouching tools in Photoshop, not to worry. Photoshop has many very useful and simple tools that can help you correct your pictures for quick and easy retouching. Each tool works differently, so you can easily and effectively choose the simplest one to use for what you want to correct in your photograph.
Healing brush tool
The Healing Brush Tool allows you to paint over a spot or area that needs fixing. It automatically copies textures and nearby colors to help blend the fix into the rest of the photo. The Healing Brush Tool is an excellent option for removing small blemishes or scars on the skin while keeping it smooth.
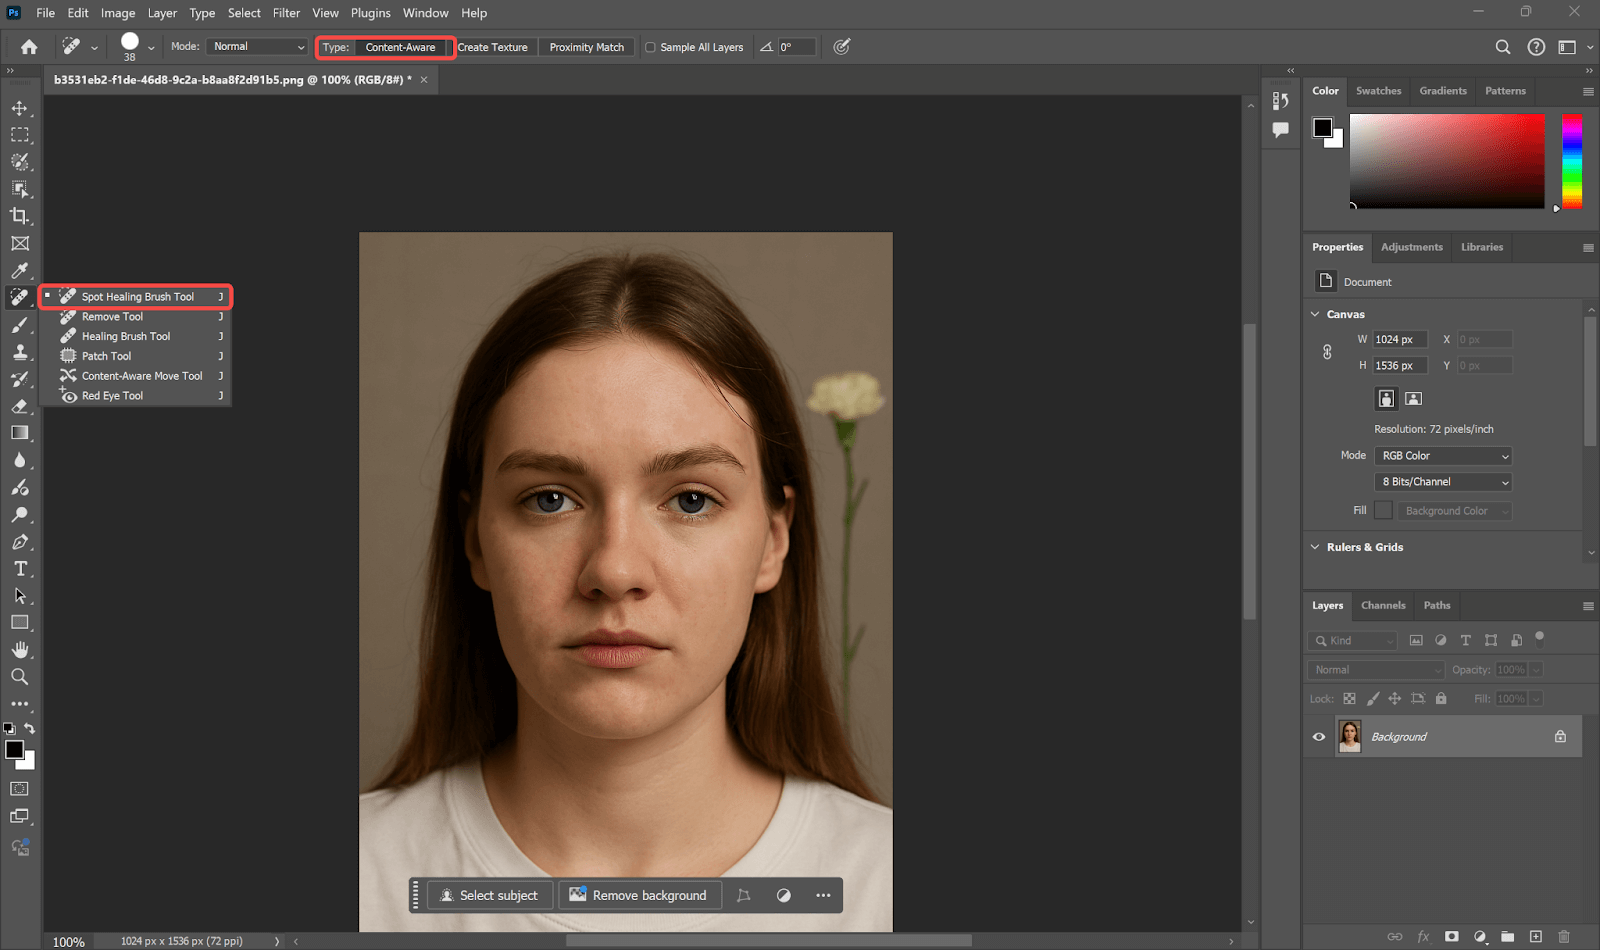
Spot healing tool
The Spot Healing Tool works like magic when it comes to small spots. You can literally just click or drag over the area you want to fix, and Photoshop automatically does the rest and matches the surrounding colors and textures. The Spot Healing Tool is faster than the Healing Brush Tool because you do not have to select a source point.
Red eye
The Red Eye Tool is used to quickly remove the red-eye effect in a photograph caused by direct camera flash. Just click on the red part of the eye, and Photoshop will change this area back to a natural eye color instantly. It’s a simple tool to correct a common problem.
Patch tool
The Patch Tool lets you select the larger area you want to correct, and then drag the selection to another area that is clean. Photoshop replaces the old part with the new part from the other clean area and blends it nicely. It is beneficial for larger marks or flaws like wrinkles.
Content-aware fill
The Content Aware Fill can fill in a missing section of your photo using the surrounding area. You select the area you want to remove, and Photoshop fills it for you automatically with similar textures/colors in the surrounding space. This is great for removing objects you do not want and replacing them with new content.
Clone tool
The Clone Tool allows you to copy exact pixels from one place on the photo into a different spot. You select the area you want to grab from and then paint over the spot you want to fix. This tool gives you full control over which pixels are replaced, but it takes a bit more skill to make it look natural.
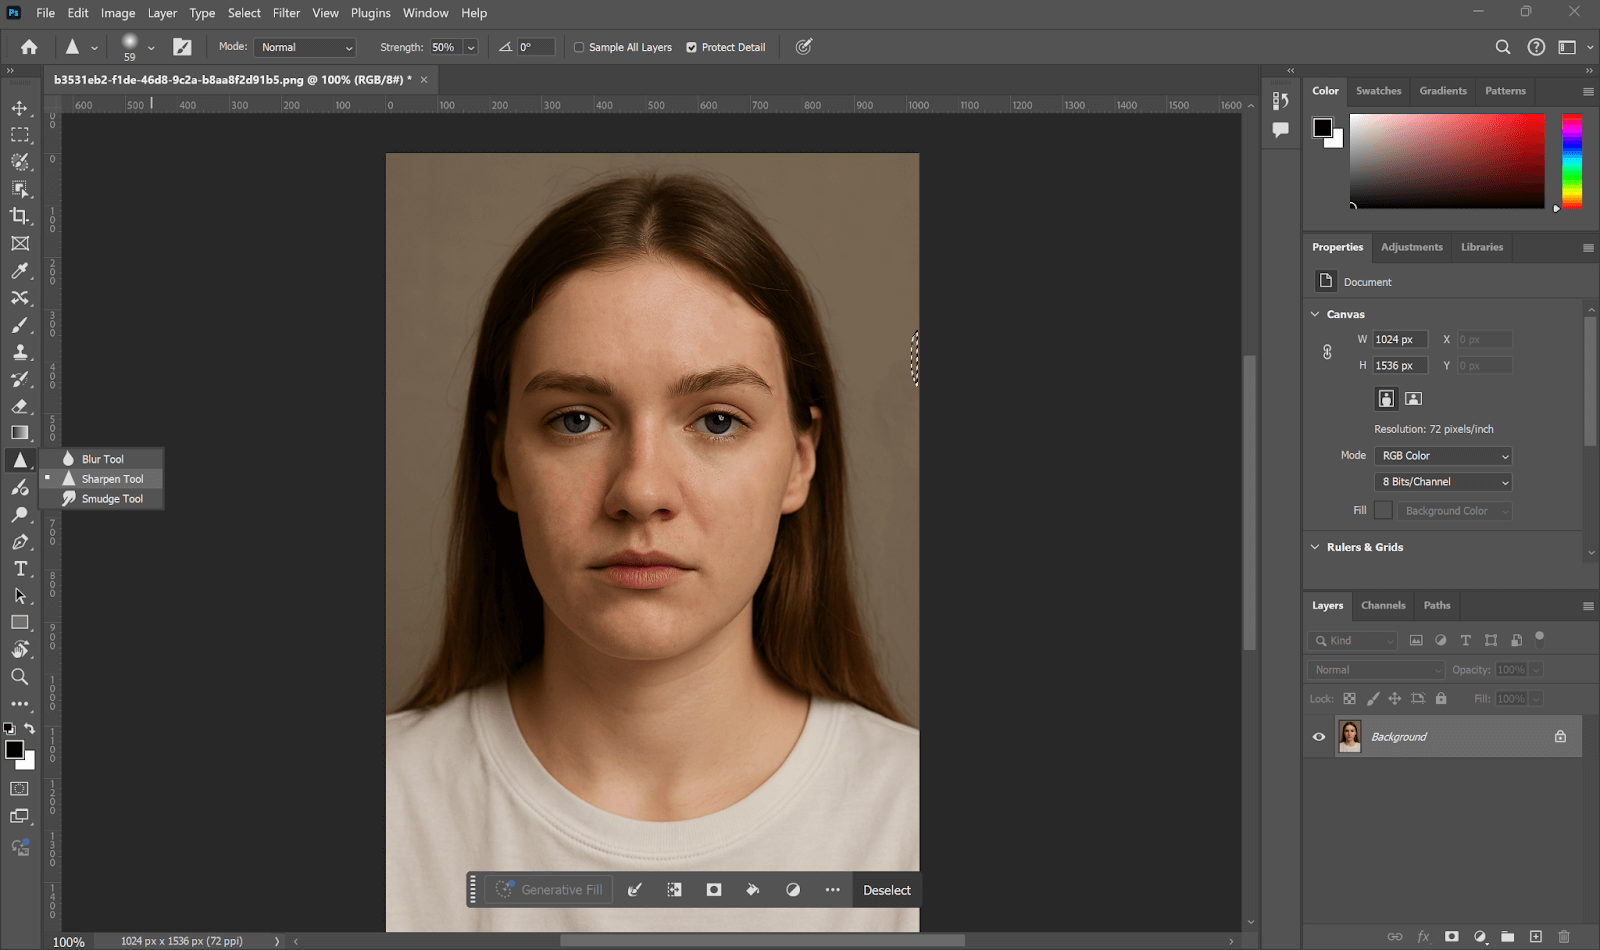
Blur & sharpen tool
The Blur and Sharpen Tools are useful for altering the sharpness of a photo. Use the Blur Tool to blur hard edges or to smooth the edges of skin. Use the Sharpen Tool to make details clearer and sharper. These tools will enhance the final look of your photo after you have made any repairs to the main issue.
How to retouch photos in Photoshop
If you have photos that you need to touch up, Adobe Photoshop will provide you with everything you need. Assuming that you are manipulating a portrait photograph that has acne, loose hairs, and a minor object in the background, you can use the basic retouching tools in Photoshop to edit it in simple steps.
Step 1: Remove acne using the Spot Healing Brush Tool
First, open the photo in Photoshop. Then, press J or select the Spot Healing Brush Tool from the left toolbox. In the settings bar on the top of the screen, ensure that “Content-Aware” is checked. Now zoom into the face using: Ctrl with the + key (Cmd + + on a Mac). Click once on each pimple or acne spot. Photoshop will take care of the rest by pulling from the contextual nearby skin.
Step 2: Get rid of large wrinkles using the Healing Brush Tool
Click and hold on the Spot Healing icon for the Healing Brush Tool. Press Alt (or Option on a Mac) and click on a clear area of skin to set the source. Then brush over a wrinkle or scar by clicking and dragging. You have more control with this tool because you choose the area to copy.

Step 3: Repair loose hair with the Patch Tool
Select the Patch Tool from the toolbar (it’s found within the same group as the Healing Brush). Make sure the Content-Aware is turned on as well. Draw around the stray hair on the forehead. Then, click and drag the selected area over to a clean area of skin. Photoshop will effectively blend the new area to match the skin.

Step 4: Move a background object with the Content-Aware Move Tool
Find the Content-Aware Move Tool by right-clicking (or long-pressing) the Healing Brush group in the toolbar. In the Options bar at the top, make sure Mode is set to “Move.” Then, draw a selection around the object you want to move (for example, a flower in the background). Drag it to a new place. Press Enter to confirm. Photoshop will automatically fill in the empty area using the nearby background.

Step 5: Use Blur and the Sharpen Tools to Smooth or Sharpen
In the toolbar, select the Blur Tool (press R). Brush effectively over the cheeks or the forehead to smooth out rough skin. When you are finished, use the Sharpen Tool to lightly make the eyes or lips pop. Generally, in both cases, you can set Strength approximately between 10–20% for the best natural look.
Step 6: Finalize the image and save it
After finishing all of the above steps, zoom out with Ctrl + – (or Cmd + – on Mac) so you can see the entire image. If you think this is ok, go to File > Save as.
Alternatives to Photoshop for photo retouching
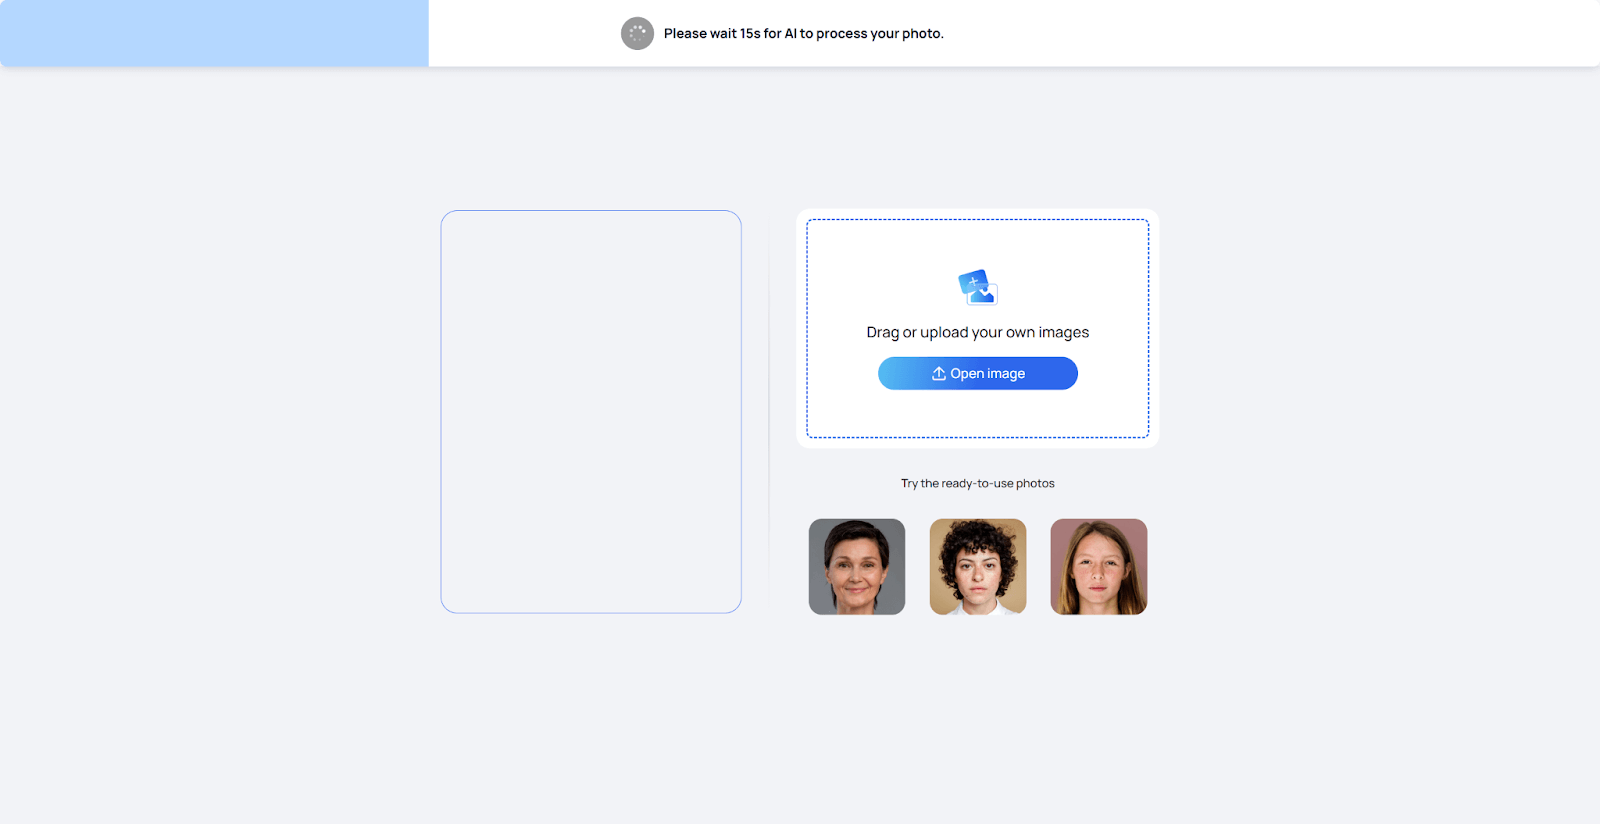
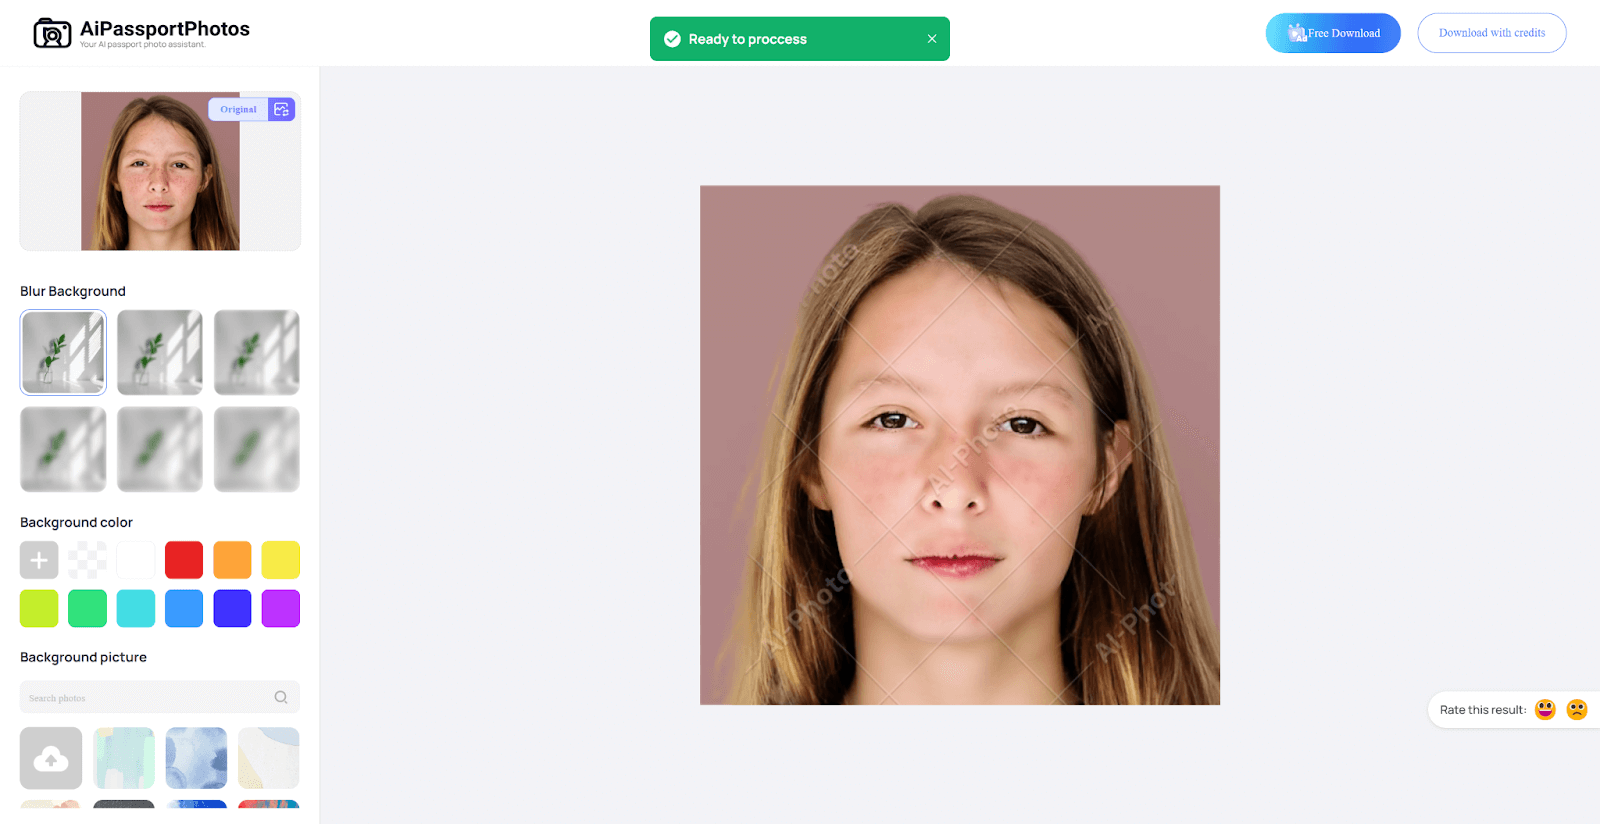
Rather than taking the time and effort to retouch photos using Photoshop, today’s AI technology provides easy and fast options that make retouching even easier and faster, without requiring any editing skills at all. One good example is AiPassportPhotos photo retouching. This online platform helps you quickly retouch any portrait automatically and with no tricky steps.
Some of the key features of AiPassportPhotos photo retouching are:
- Remove blemishes: The AI tool can quickly erase acne, pimples, and other spots on the skin. It clears the face for a clean look.
- Remove wrinkles: The AI tool can erase any wrinkles and fine lines on the face with the click of a button. The photo looks younger and fresher.
- Smooth the face: The AI tool smooths the skin for more natural results. It retains the face’s real texture but applies visual softness and smoothness.
- Color correct photos: The tool adjusts the brightness, contrast, and color balance of photos. This makes your photo bright and colorful.
AiPassportPhotos is a quick way for you to retouch your images without having to be an expert or pay for expensive photo editing software. This option is great if you choose quick and easy results.
Here is a simple guide on how to retouch your photo:
Step 1: Upload your photo to the AiPassportPhotos website.
Step 2: The AI will quickly detect your face and begin retouching it.
Step 3: Look over the changes, such as blemish removal, wrinkle smoothing, and color correction.
Step 4: If you like it, save the enhanced photo images on your device.
FAQ
Can I retouch photos without Photoshop?
Yes, you can retouch images without Photoshop. Numerous online tools and apps allow you to do that. For instance, AiPassportPhotos, Photoroom, Picsart, and Fotor. These AI editors can automatically remove blemishes, smooth skin, adjust lighting, and much more. You don’t need any kind of special talent to make them work. They are a fast and easy way to manipulate your images for retouching.
What’s the difference between retouching and editing?
Retouching is essentially small fixes to improve a photo. It can be removing acne, fixing skin color tone, smoothing out wrinkles, etc. Retouching is detail-oriented and based on looks. Editing is something larger. Editing includes cropping, adding text, changing the photo background, or changing colors, etc. So, retouching’s meaning is just part of photo editing, and editing means much more than retouching. Both photo retouching and image editing can be done in the same way, by using the retouching tools in Photoshop or using AI tools.
How do professionals retouch photos faster?
Professionals often work with keyboard shortcuts as well as layer masks and batch tools inside Photoshop. Also, they can speed things up by using AI plugins and presets. These help a photographer with fixing many images to retouch quickly. Over time and with practice, photographers know what retouching tools in Photoshop will help with particular problems. Speed comes from experience and the right tools.
Conclusion
Learning how to retouch Photoshop images is a useful skill for anyone who wants better photos. Whether you are removing small blemishes or fixing lighting, photo retouching in Photoshop helps your pictures look cleaner, more natural, and professional. If Photoshop seems too hard or slow for you, tools like AiPassportPhotos can do the job automatically with AI. In the end, remember, practice is the key. The more you explore and try, the better your photo retouching skills will become.