
If you want to make professional photos for something like LinkedIn, the key factor is to leave the right impression. You don’t need to buy expensive equipment or hire a photographer, just master some skills, and you can also make photos polished and professional. From the light to the background, every detail can make the photo more perfect. Let’s learn how to make professional photos from this post, even with just your phone.
How to take professional photos yourself
Taking a professional photo yourself isn’t as hard as it seems. These simple tips will help you make professional photos that stand out. Here’s how you can get started.
Choose the right equipment
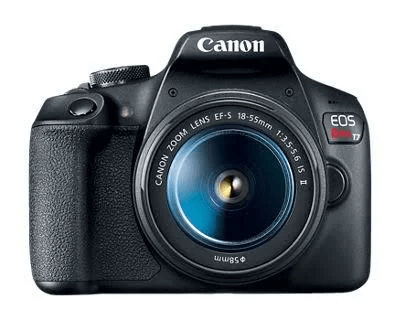
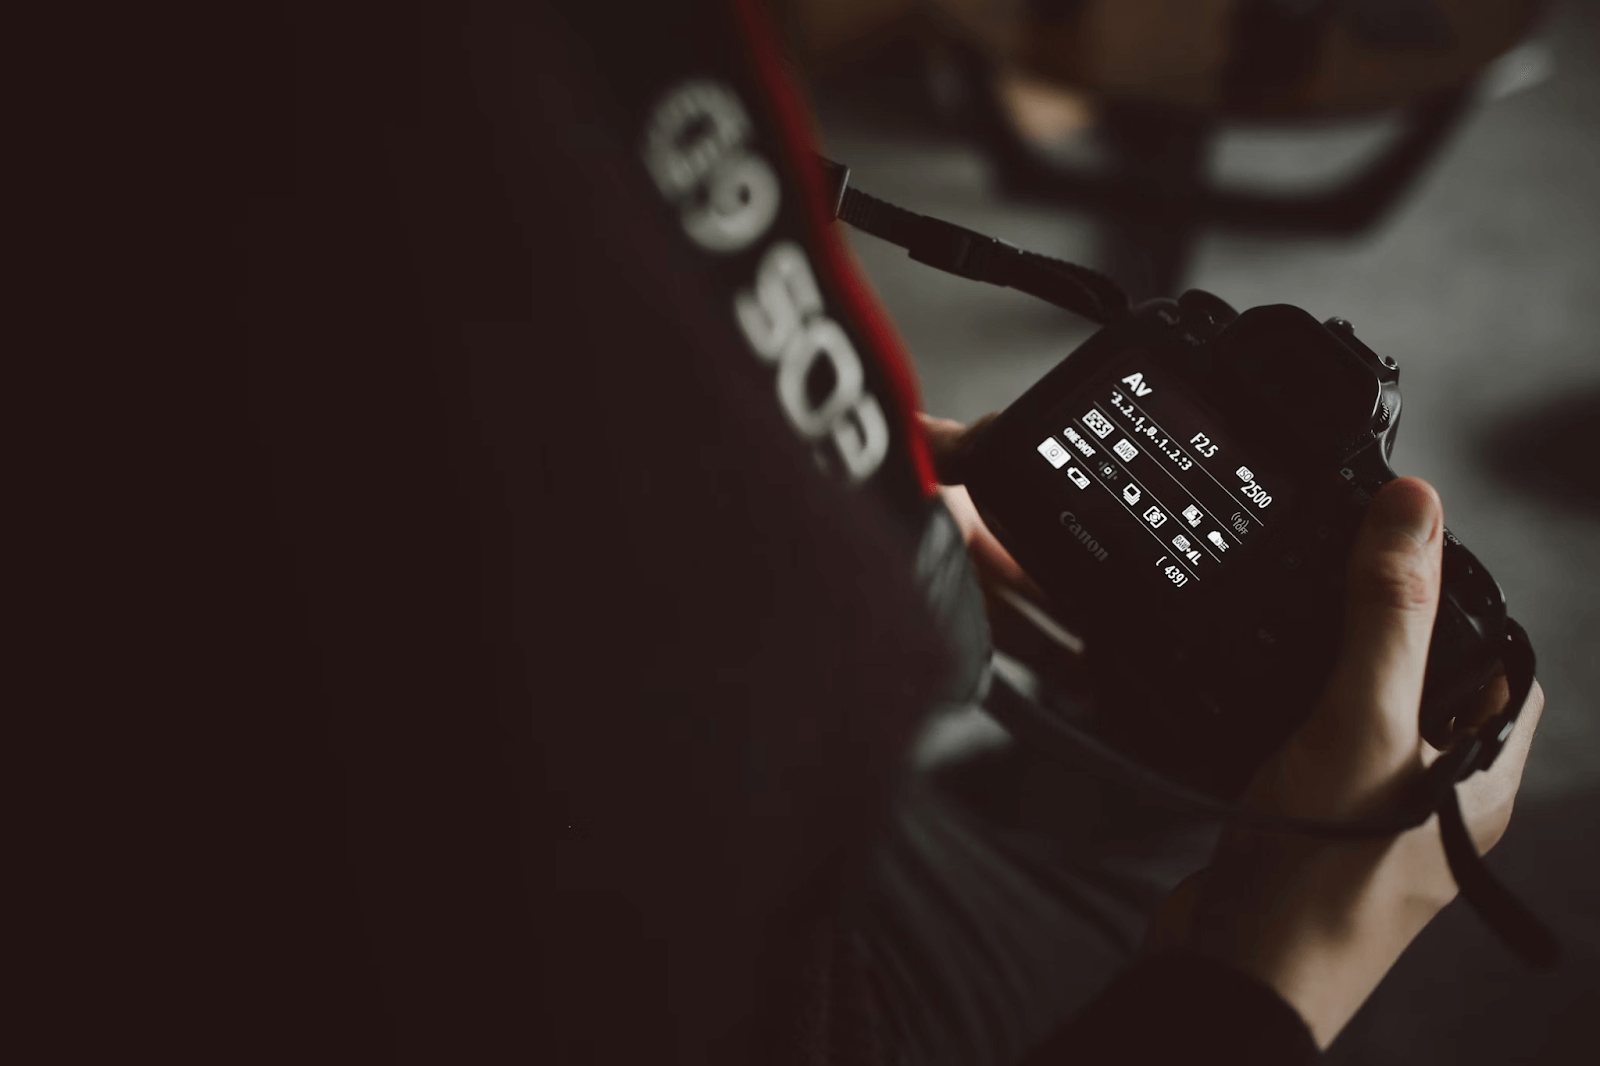
For taking professional photos, a dedicated camera is always better with great resolution and control. For high-end cameras, the Canon EOS 5D Mark IV is a full-frame DSLR with incredible image quality. If you want mid-range cameras, here are the Canon EOS Rebel T7 or the Nikon Z50, and more provide great image quality without being unaffordable. So, if your camera is too old, maybe it’s time to upgrade to a better quality. Besides using a good quality camera, you can also use some auxiliary equipment, like a tripod, to stabilize your camera.
Master the composition
If you want your photo to look professional, then how you compose it is important as well. Let’s break down the techniques you may use when taking the photos:
- Rule of thirds: The Rule of Thirds is a useful strategy to make your photographs more engaging. Instead of putting your subject right in the center, try to push it a bit to the side. Set your frame in your mind as if it is divided into a grid with two horizontal lines and two vertical lines, creating nine boxes. Place your subject on the lines that divide the nine boxes or at the intersection of the lines. For instance, if you are taking a portrait, make sure the person’s eyes are on one of the top lines, or if you are taking a landscape shot, try to place the horizon line along the bottom line of the grid. Such small shifts will make your photo feel more balanced and visually interesting to the viewer.

- Leading lines: Use leading lines when you want to give attention to your subject. Find a natural line in the scene (e.g., a road or path) that leads the viewer’s eye toward your main subject. This is an excellent idea for architectural or landscape photos, or if you’re looking to take the viewer somewhere through the image.

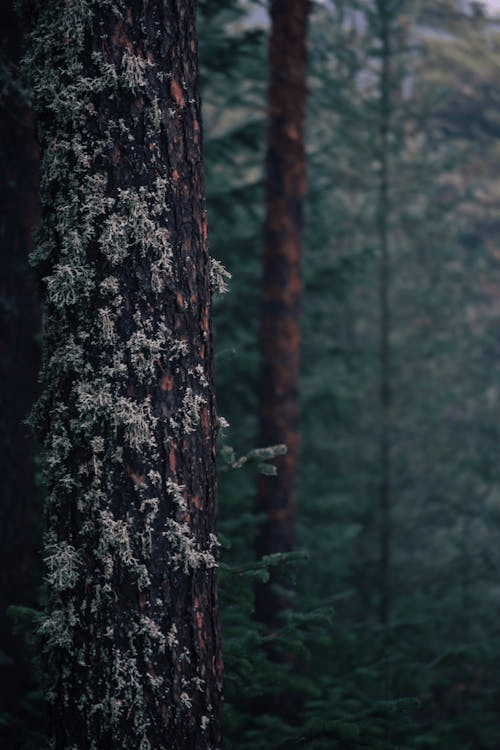
- Depth and background control: Use elements in the foreground, middle ground, and background to create depth in your photos. For example, the foreground could have a close-up of a rock or plant, the middle could have buildings or trees, and the background could include mountains or sky. This layering technique allows a feeling of depth and perspective to the photo to make it more three-dimensional.
- Framing and angles: Get creative with framing and angles to create a different perspective or draw attention to your subject. Experiment with watching your subject from above or below and use framing elements to create a frame for your subject, such as a doorway or a window, etc. Framing really works well for portraits or any shot where you want to add some creative flair.
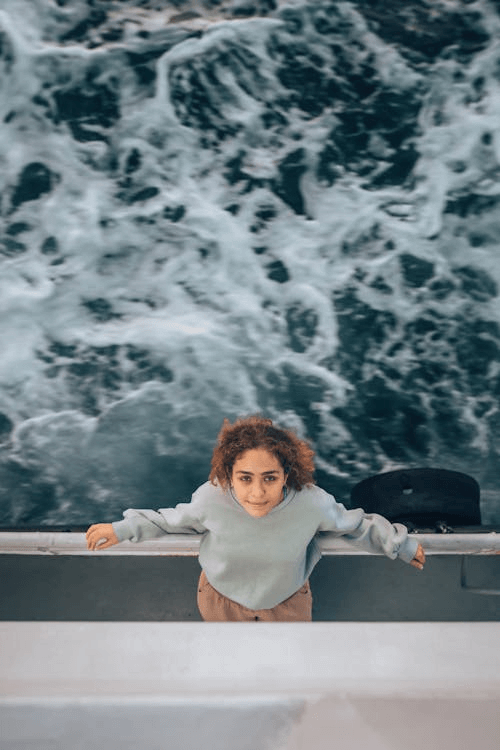
- Bokeh effect: Using the bokeh effect is great when you want your subject to pop against a soft, blurred background. It is really effective when you are taking portraits or product shots, where you want the viewer’s attention to be on the subject, not what’s behind it.

Adjust the lighting
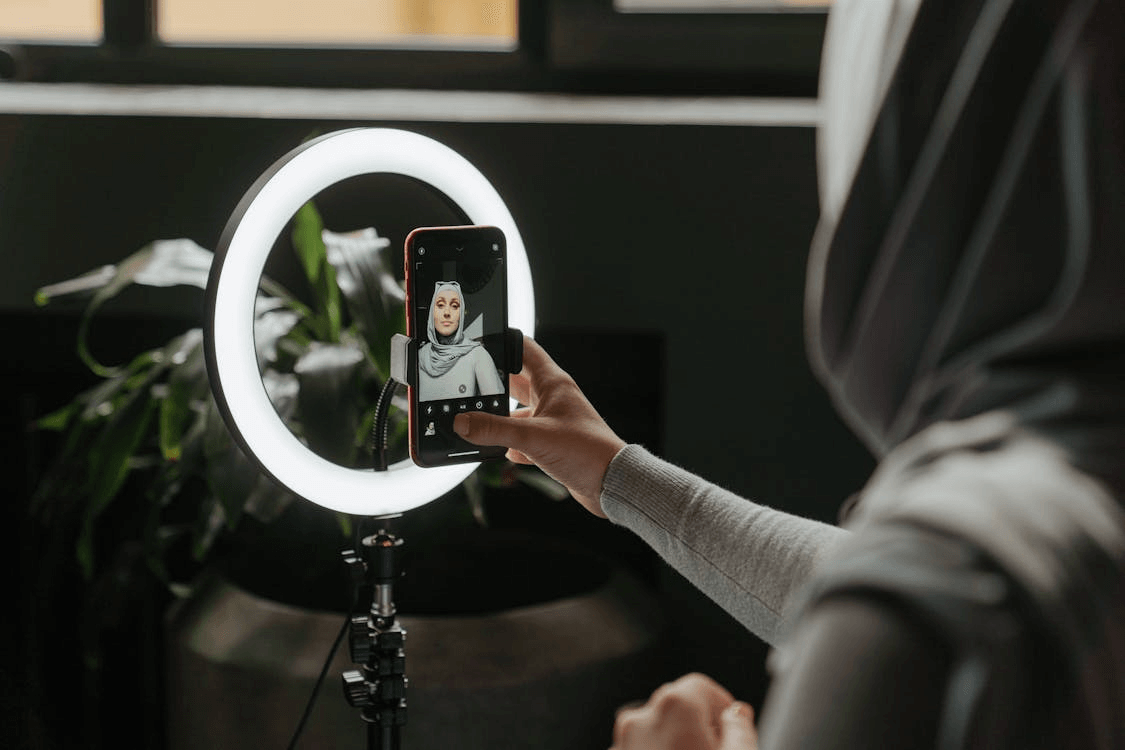
Natural light is typically the best, so try to shoot during the golden hour, early in the morning, or later in the afternoon. These times feature softer light, and it will be the most flattering. If you’re indoors, set up near a window to let in as much light as possible. Avoid standing directly under a bright overhead light to get shadows, or sometimes a flector may be better. If you’re using artificial light, consider softbox lights or a ring light to create a balanced, even glow on your subject.
Camera settings for improved quality
If you want the best quality, go for 4K/1080p. Adjust the exposure settings according to the light conditions in the daytime. During the night shooting, you can use the night mode or increase the ISO for the camera’s performance. HDR mode can capture the light and dark details to make the picture clearer and contrasted, and the camera focus settings is also useful when shooting multiple objects.
Prepare the subject
For a professional photo, the subject of the photo should look neat as well to match the photo style. There are some details you should check before shooting. For subjects as human beings, watch out for tidy hair, glare on the glasses, messed-up background, etc, make sure they pose naturally to feel confident and real. If you shoot objects, clean the object and put it in the right place. These preparations make the photo more polished and greatly save editing time later.

How to take professional photos with an iPhone
If you use an iPhone, you can also take professional photos, as long as you do the right things. Follow the steps below.
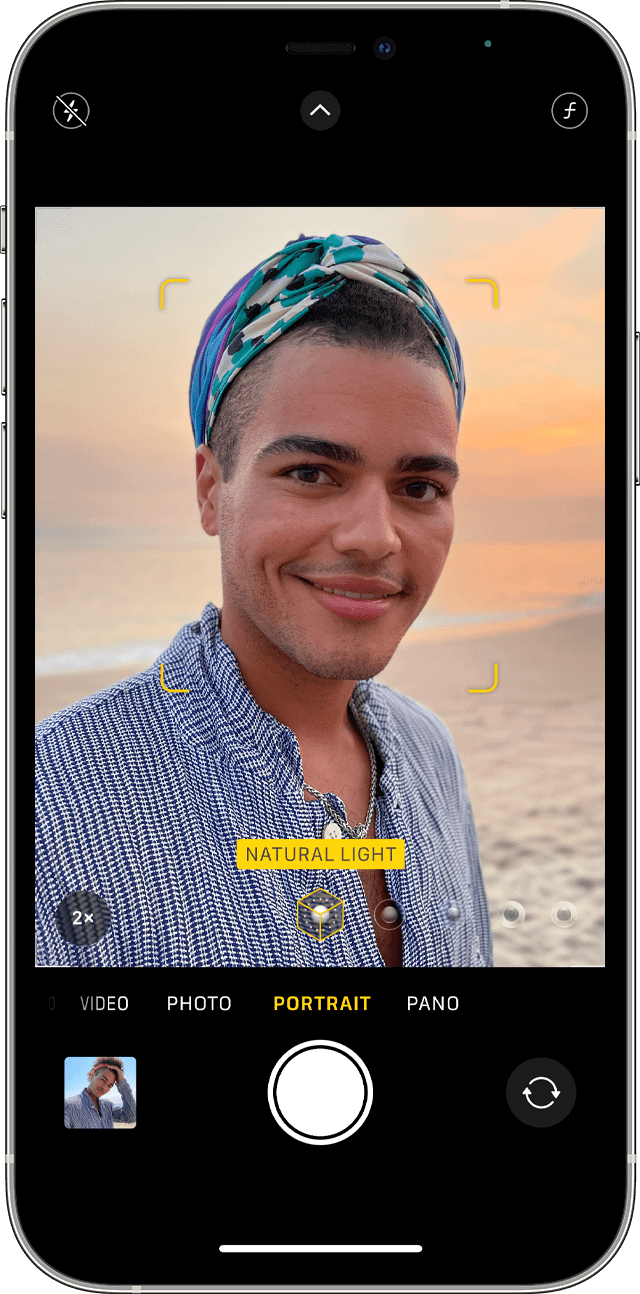
Step 1: Use portrait mode
Enable Portrait Mode to allow you to blur the background to specifically highlight your subject, the face! You can also adjust with light options and settings, such as Natural Light for a mellow look, or Studio Light for a bright, clear photo.
Step 2: Set the focus
To ensure that your photo is sharp, tap on your subject on the screen. This will tell the camera to maintain focus on your subject and keep the background blurred.
Step 3: Adjust exposure
Tap on the screen, then slide the sun icon at the top of the photo up or down to adjust the brightness of the photo.
Step 4: Apply depth with composition
In the camera settings, turn the grid on so that you can apply the Rule of Thirds, which we discussed earlier in the guide. To create a more dynamic photo, slightly offset your subject from the center of your photo to align with the lines or intersections, making a more balanced composition.
How to take a professional photo for Linkedin
If you want to get a professional photo for your LinkedIn profile, whether you are job searching or simply building a better professional image, a great photo is necessary. It’s the first thing potential employers or connections are going to see. Here’s how to create a professional photo, so you can stand out.
Step 1: Choose a recent and clear photo
Your LinkedIn profile picture should be appropriate and show what you currently look like. Your face should be recognizable and match what you look like 99% of the time.
Step 2: Focus on your face
Ensure that your face covers at least 60% of the photo. Make sure the crop is shoulders up, so that your face is the main focus of the photo.
Step 3: Select a simple background
A plain wall is usually good, so it doesn’t compete for attention with you.
Step 4: Dress professionally
Better to choose solid color clothes and suits that match professionalism.
Step 5: Take in natural light
Natural light is the most professional look you will get. Just make sure to take it near a window (and not backlit), or outdoors (preferably on an overcast day) to minimize harsh lighting.
Step 6: Smile (small, but not dramatic smile)
You need to be as personable as you can, and a genuine smile, combined with a warm, open demeanor, will help you to appear as friendly and approachable as a LinkedIn professional.
Step 7: Solo shot
Stay away from pictures that include lots of people. It leaves confusion to the viewers, so make sure it focuses on only yourself.

How to make a professional photo with AiPassportPhotos
Capturing a perfect professional photo isn’t always easy, especially when shooting conditions are not ideal. That’s where AiPassportPhotos steps in. Whether the lighting isn’t right or the background falls short, our AI photo editing tool helps fix the most common photo issues in seconds, without any technical skill.
If you don’t get proper lighting in a photo, you can use the photo enhancement tool. The AiPassportPhotos Enhancer will increase the brightness and contrast to bring out that clarity in your photo. If the colors were slightly off, the Color Correction tool can balance them out to give a more natural effect to the photo.
As for the background, you get more flexibility. The Background Remover tool can quickly remove the background so you can replace it with something that fits better. Or, if you like the idea of a blurred background to stress the subject, the Background Blur tool creates the professional depth of field look that you see in high-quality photos.
With AiPassportPhotos’ simple tools, you can effectively turn a regular or average photo into a polished and professional photo with no special equipment or hours of editing.

FAQ
What is the 20-60-20 rule in photography?
The 20-60-20 rule is not a strict photography guideline, but more of a balanced approach inspired by productivity principles such as the 80/20 rule. It suggests 20% of your time understanding how to use your equipment, 60% of your time taking photographs and developing your own artistic style, and the last 20% of sharing your work or building connections. It’s just a way to manage your time so you’re living in some balanced proportion of learning, creating, and presenting your art, thus progressing in your journey as a photographer.
What is the 1/3 rule in photography?.
The 1/3 ruler is a guideline for photo composition by organizing the photo so that the frame is divided into nine equal parts, creating a grid with two horizontal lines and two vertical lines. Putting important pieces of the photo along these lines or at the intersections creates a more moving and dynamic photo than if you simply placed the subject in the center.
Do you smile in a professional photo?
It depends on the context. In most professional photos, a soft, natural smile looks approachable and confident. However, for some industries or more serious portraits, a neutral expression might be more suitable.
How to convert a normal photo into a professional one?
Creating a professional look for your photo is all about the right lighting/color, having a clean background, a sharp subject, and the proper proportions of everything. If you have a photo that doesn’t achieve the effects of a professional, it is easy to fix. You can use AiPassportPhotos. AiPassportPhotos easily enhances sharpness, adjusts color balance, and removes or blurs the background, making your photo more professional.
Conclusion
Finally, you do not need the most expensive camera to take professional photos, but understanding lighting, composition will undoubtedly make your photos seem professional. Also, no matter whether you use a camera or a phone, you can utilize photo editing tools, such as AiPassportPhotos, to make your photos more polished as a professional. Now hit a try and walk the path to your photographer.