
In images, eyes may become misaligned due to a lazy eye (amblyopia) or simply other reasons, such as head tilt, blinking, or camera angle. Whether it be a vision issue or an inadvertent misalignment, correction of the eyes can easily be accomplished with the right tools and techniques. This guide shows you how to fix lazy eye in a photo with AI tools and Photoshop.
Common lazy eyes in pictures
As I mentioned earlier, there are many reasons why you can get lazy eyes in photographs. It doesn’t mean you have an actual eye problem. More often than not, it’s more to do with timing, expressions, or camera angle. Here are just a few of the common types of lazy eyes you might recognize.
- Uneven eyes: One eye appears higher, smaller, or shaped differently than the other, making the face unbalanced.
- Head tilt: Even a slight tilt of your head can cause the eyes to appear misaligned in photographs, even when they are straight.
- Squinty eyes or closing eyes: Another sign of lazy eyes is that one eye is closing more than the other eye is closing perhaps due to light, movement, or making a weird face or blinking while the photo was taken.
How to fix lazy eyes in photos online
These problems are easy to fix with an eye editor online to get your eye correction with AI. With the right tools, you can fix uneven eyes in photos without manual editing. Here are 3 options.
Reshot
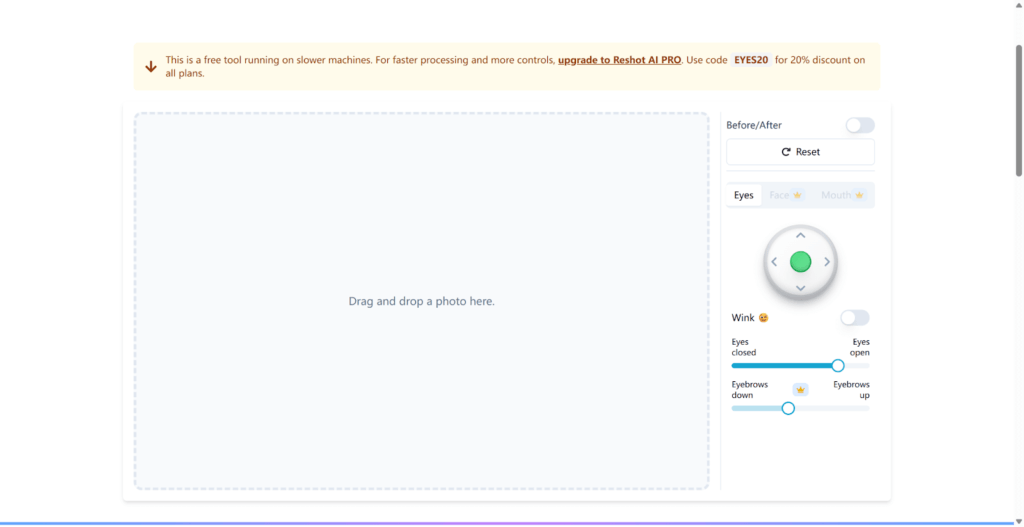
Reshot AI is an AI platform that allows you to correct lazy eyes in images by redirecting the eye direction. It can also move the eyelids, and in some cases, make your photo do a wink. This is an easy way to change expressions and enhance your portrait with a few clicks. However, if you want to do more, such as eyebrows down and up. You have to pay a premium.
Here are the steps.
Step 1: Sign in to your account or create an account.
Step 2: Upload your image.
Step 3: Use the “Precision Eye Editor” to get the eyes aligned and open and close the eyes, and correct eyelid movement.
Step 4: Finish any additional edits. Download your image.

Lazyeyefix
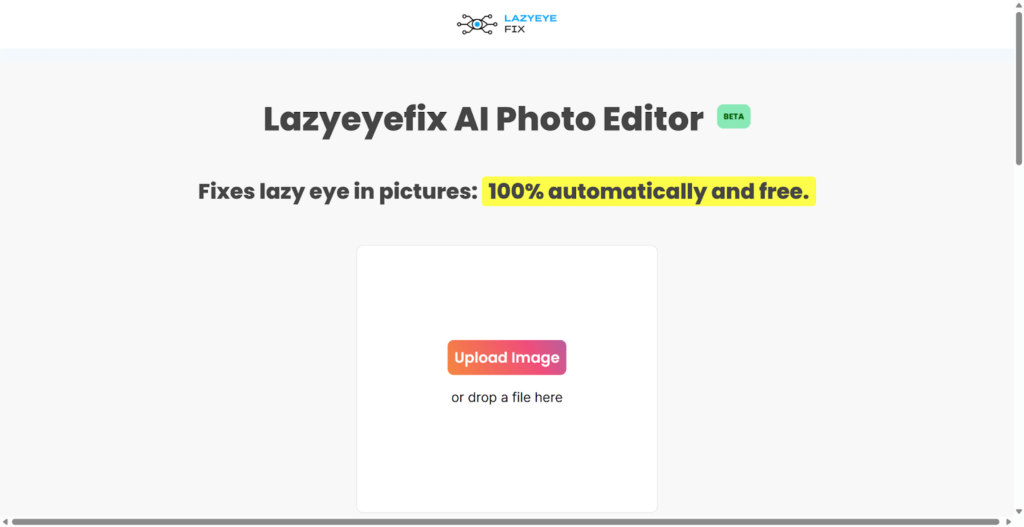
Lazyeyefix AI Photo Editor offers an automated option for fixing lazy eyes in photographs. It may not offer many adjustments and customizations, as compared to Reshot AI. It is made for anyone who wants a fast and easy lazy eye fix. Its AI will detect misaligned eyes on your face and then automatically correct them. This means you can have your photo fixed instantly without any extra effort.
Here are the steps:
Step 1: Go to Lazyeyefix and upload your photo.
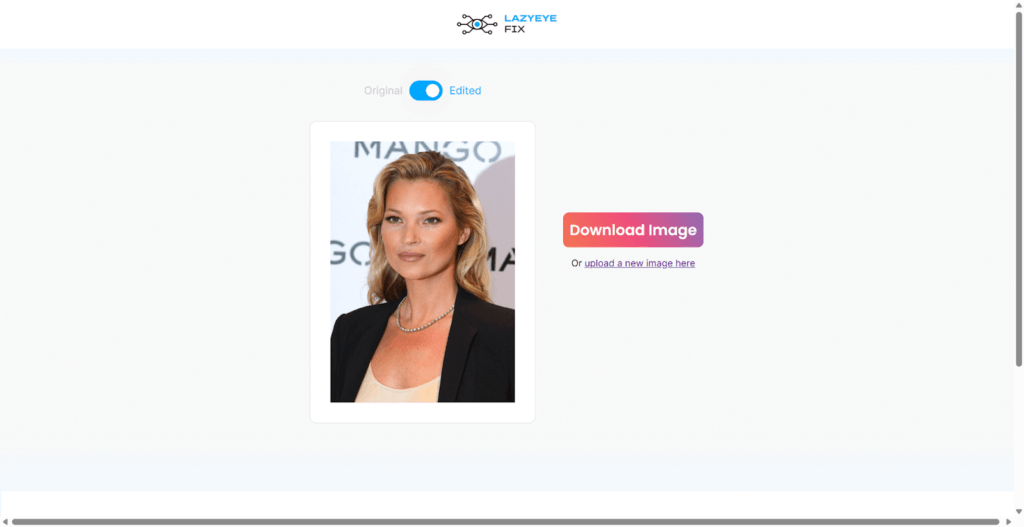
Step 2: The AI will automatically detect your lazy eye, such as a flip of the misaligned eye, and correct it.
Step 3: Instantly, you get the result, and you can download your fixed photo.
Lazy Eye Fixer
Lazy Eye Fixer is a powerful tool that offers one-click lazy eye correction and options for more customization. It can fix lazy eye in seconds or refine the results to your specifications. It is perfect for those who want quick, quality results with the added flexibility of modifying it as needed.
Here are the steps:
Step 1. Go to Lazyeyefixer and upload your image.
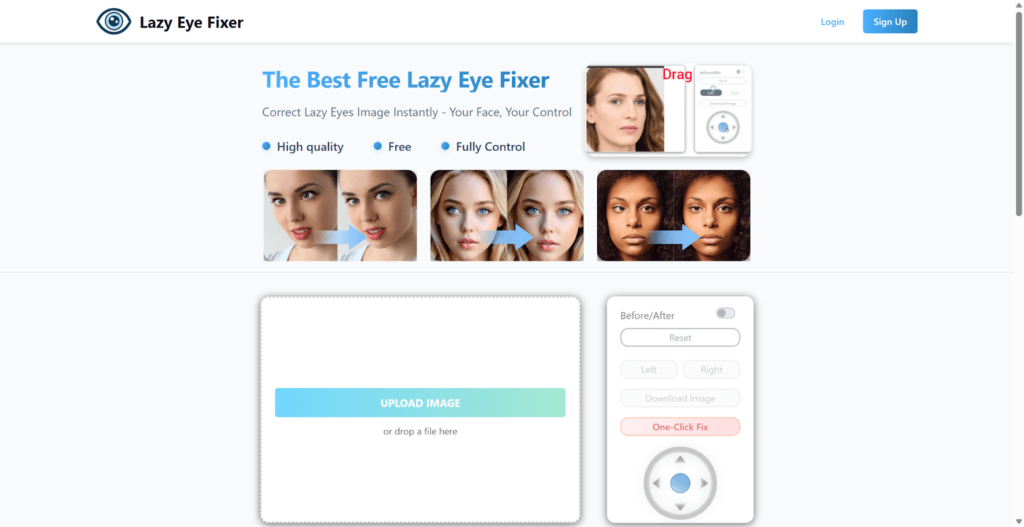
Step 2. You can choose to use the One-Click Fix for instant lazy eye correction, or customize and move eyes for more easily controlled precision.
Step 3. You can view the comparison of before and after preview, and finally download

How to fix lazy eyes in Photoshop
If you like manual editing, Photoshop also provides two good solutions to fix lazy eyes, such as the Liquify Tool and the Clone Stamp Tool. The Liquify Tool is just what you require when you want to perform a few changes on the eye direction in pictures. Conversely, where the more detailed repairs are overdue or you need to smooth out patches of the skin around the eyes more harmoniously, the Clone Stamp Tool will prove to be more successful.
Method 1: Use the Liquify Tool
Step 1: Load the picture into Photoshop.
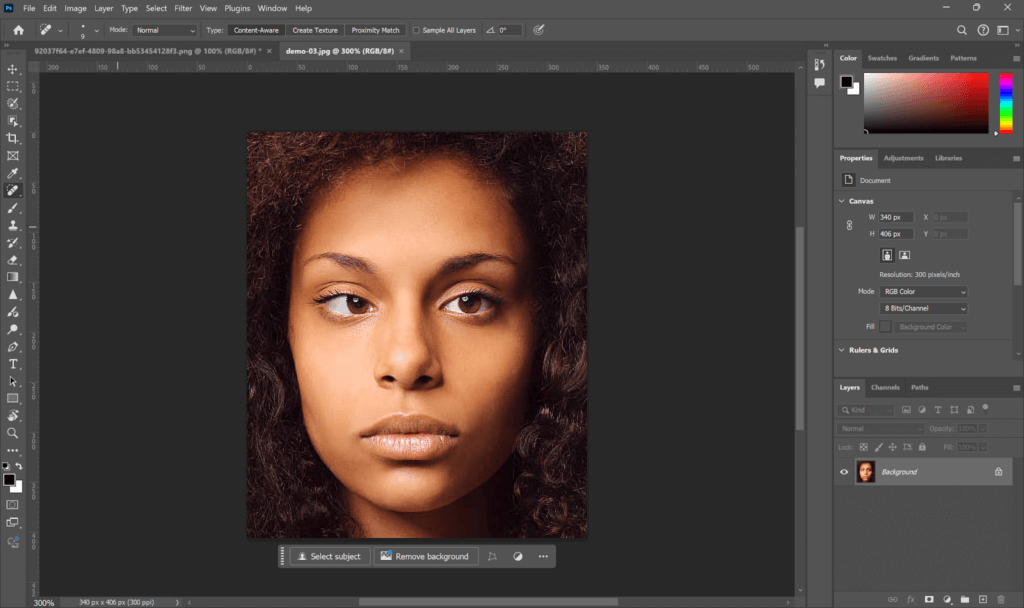
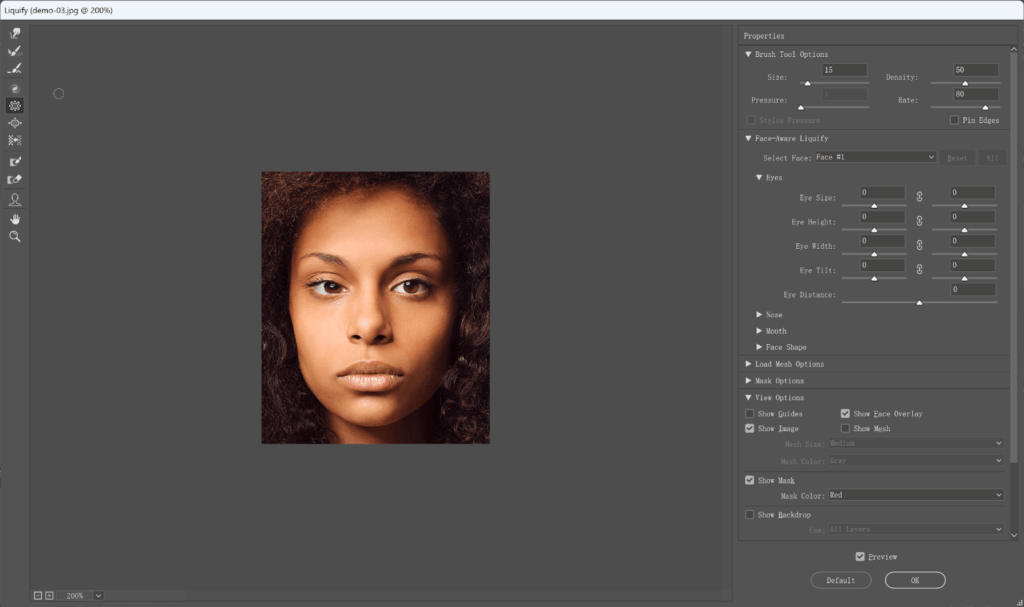
Step 2: Go to Filter > Liquify.
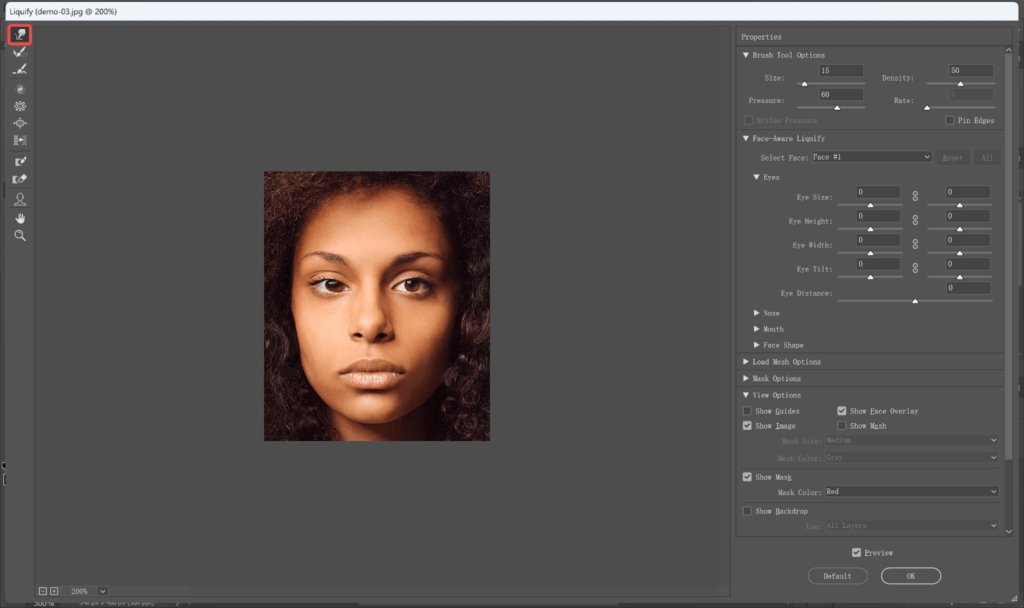
Step 3: Choose the Forward Warp Tool (brush size: 20-30px, pressure: 50%) and slightly push the misadjusted eye into position bit by bit.
Step 4: Apply the Pucker Tool (brush size: 1015px, pressure: 40%) to modify the shape of eyelids, should there be a necessity.
Step 5: Click OK to apply the changes.
Step 6: Save your fixed picture if you are ok with it.
Method 2: Use Clone Stamp Tool (Replace Lazy Eye + Highlight Fix)
Step 1: Load the photo in Photoshop.
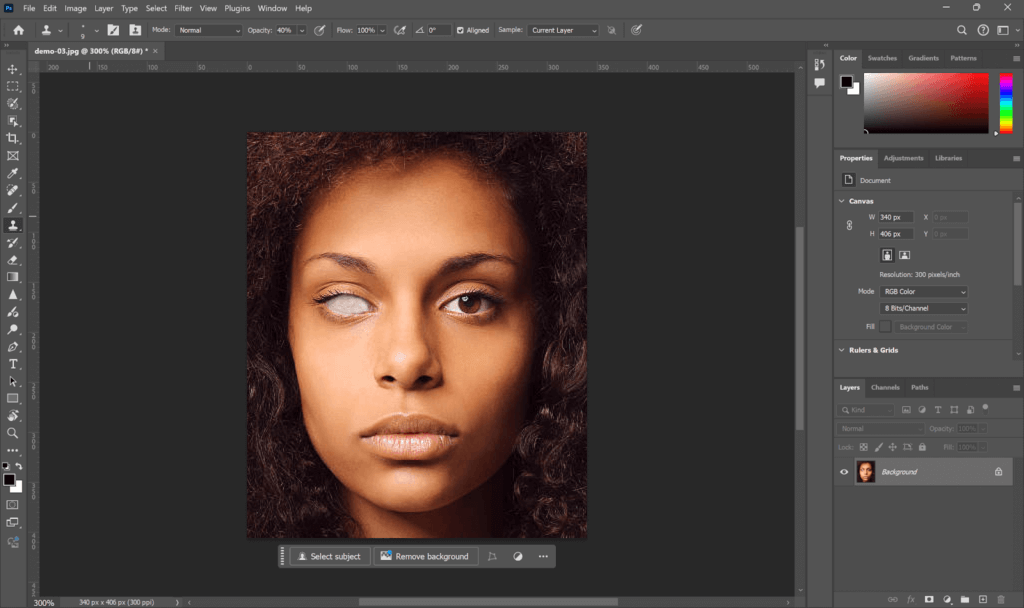
Step 2: Click on the Clone Stamp Tool located on the left toolbar or press the S key. Set: Painting brush size: 15-20px, Hardness: 0%, Opacity: 40%
Step 3: With Alt pressed down, sample a region next to the white of the non-lazy eye.
Step 4: Mask the paint tool with the Clone Stamp Tool, and paint over the misaligned eye, covering over the iris and pupil with white eye. You need to fill up this space (where eyeballs only) with a white, clean space, and this is like a blank canvas.
Step 5: Pick the iris and pupil on the non-lazy eye using the Lasso Tool.
Step 6: Press Ctrl+J to copy it to a new layer.
Step 7: Open Edit > Transform > Flip Horizontal to have its direction reversed with the flow to fix the highlight of the eye.
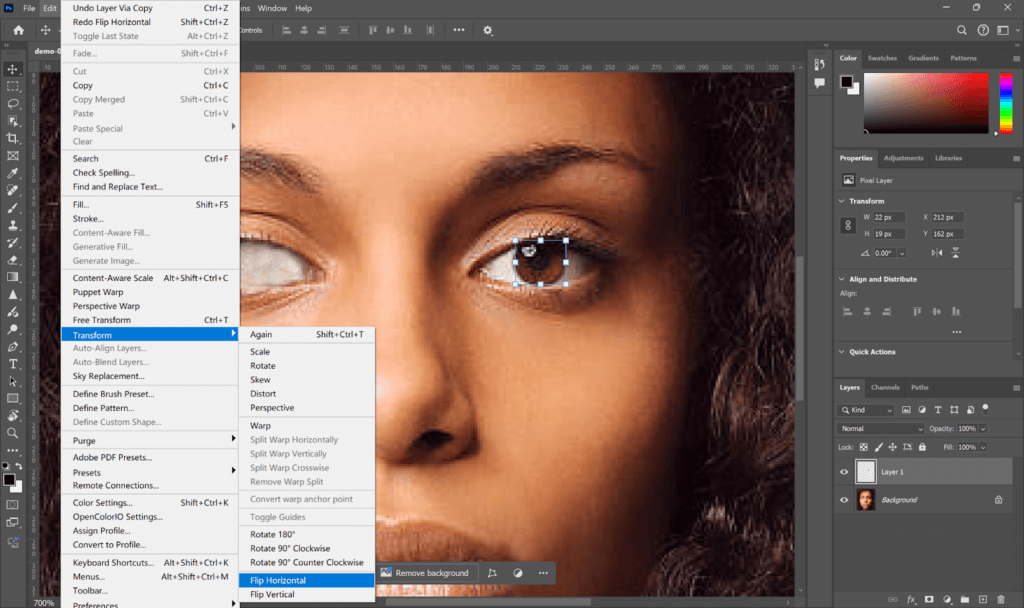
Step 8: Using the Move Tool, just drag the flipped iris/pupil on the white space you have created.

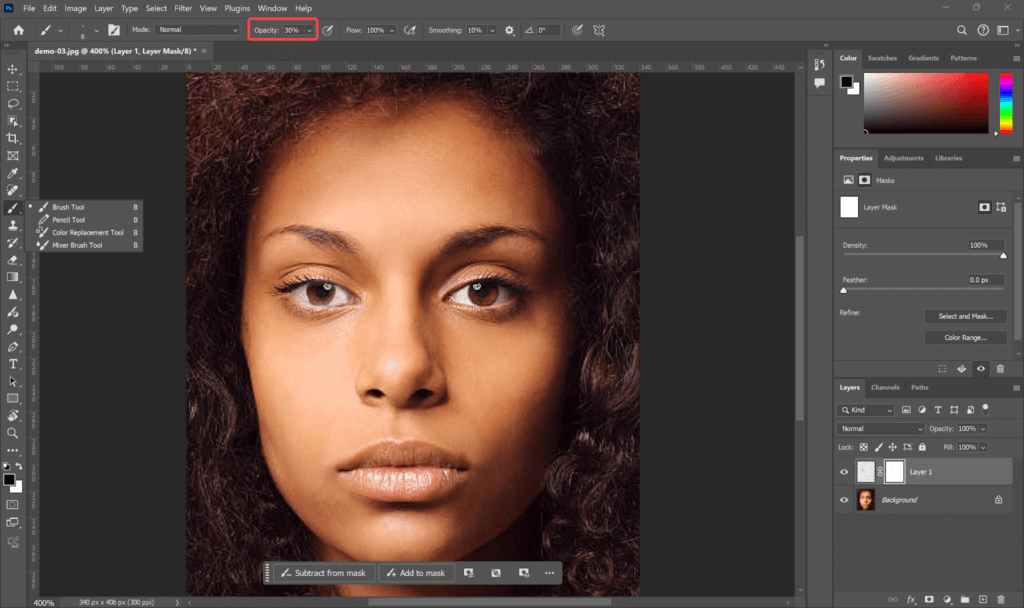
Step 9: Add a layer mask and then, with a soft brush (opacity: 30%), blend the edges with the eye naturally.
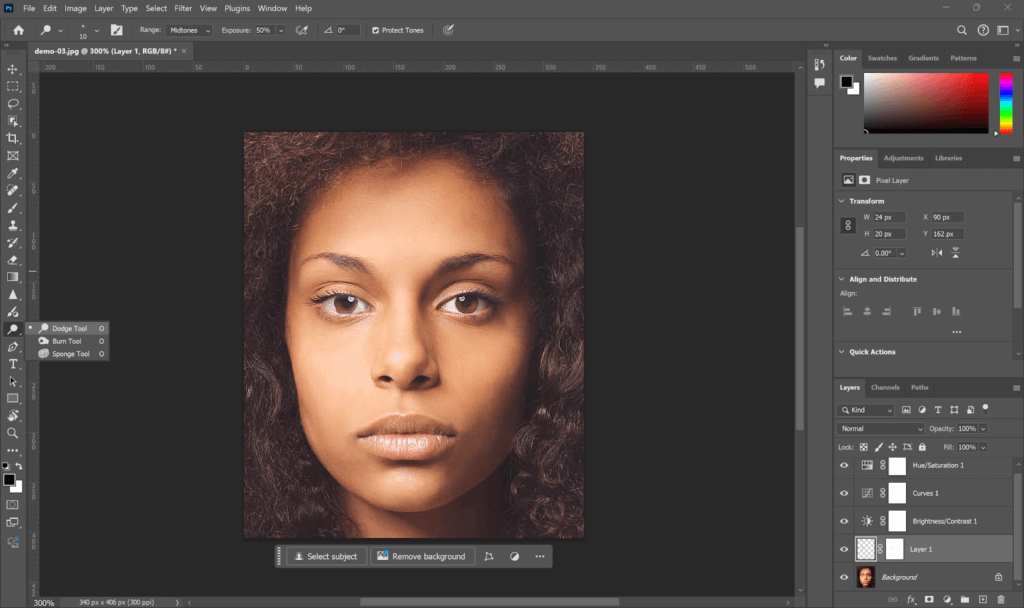
Step 10: If needed, you can go to Brightness/contrast (Image > Adjustments) to adjust the light to match the two eyes.
Step 11: To add the catchlight in the same location as the other eye (e.g., top-right or top-left), you can use the Dodge Tool (Exposure 10-15%).
Step 12: Zoom out to see the picture overall visually. If it is ok, you can save it.
Tips for a natural-looking photo
When editing the photos, to make the photo more natural, you need fine and slight changes rather than changing the photo a lot. To help you correct the eye directions more easily and better. Here are the tips.
- Avoid over-correction: Smaller corrections are important to be realistic. For example, when you attempt to move an eye beyond a certain degree, it may seem artificial and overdone.
- Keep pupils centered and balanced: Make sure both pupils are aligned and at the same level. As an example, in case one is higher than the other, the face will be out of balance, and will not look symmetrical and natural.
- Use reference images if needed: if you cannot be sure of the changes you make, then use other photos to check what the normal eyes should look like.
- Zoom out regularly to check realism: Zooming out periodically would help to examine the entire image after the adjustments are made. This will assist you in detecting any improperly looking detail before it’s done, such as eyes that are too big or small in comparison to the other areas of the face.
FAQ
How to fix the eyes not looking at the camera?
If the eyes aren’t looking at the camera in a still image, you can use AI tools like Reshot to realign the eye position. In video, there are programs like Descript or CapCut that can adjust gaze direction to create the illusion that the person is looking at the camera. You can remind yourself to look directly at the lens and practice doing so.
How to correct a squint eye naturally?
To naturally fix squinting eyes, first adjust your lighting, which may be causing the squinting. Bright lights create glare, and glare promotes squinting. Plus, you should take breaks to rest your eyes regularly, especially when using a screen (computer, smartphone, etc.). Additionally, you can perform eye exercises to strengthen your eye muscles and develop your hand-eye coordination. If squinting continues, this is a sign you could have such vision problems, such as myopia (nearsightedness) or astigmatism. You may need corrective lenses or a professional’s guidance and treatment.
How to fix cross eyes naturally?
Crossed eyes are typically a result of muscle imbalance or vision complications, and usually end up being treated medically. If the case is mild, natural techniques might help, such as eye exercises (i.e., pencil push-ups or the Brock String), patching the stronger eye to train the weaker eye, or doing focus drill exercises for a number of days. Although these strategies may help with eye coordination, lasting improvement should be evaluated by an eye doctor.
Conclusion
Don’t let lazy eyes in photos spoil a great photo. Whether it’s due to blinking, head tilt, or anything like amblyopia. The good news is that you don’t need to be a pro designer or have to spend hours in Photoshop to remove lazy eyes. There are tools out there, like Reshot or Lazyeyefix, that will literally just take a few clicks, and your lazy eye problem will be gone. If you want to edit yourself, you can follow the Photoshop steps to correct your lazy eyes as well. Just be careful not to overdo. A little change goes a long way to keep a photo looking realistic and natural.