Size
Width: 35 mm
Height: 45 mm

Is it suitable for online submission?
yes

Resolution
600 dpi

Is it printable?
yes

Image definition parameters
Head height: 34.5 mm
Top of the Photo to Top of the Hair: 3 mm

Background Color
.webp)

Get your global compliance visa picture with an infallible editor


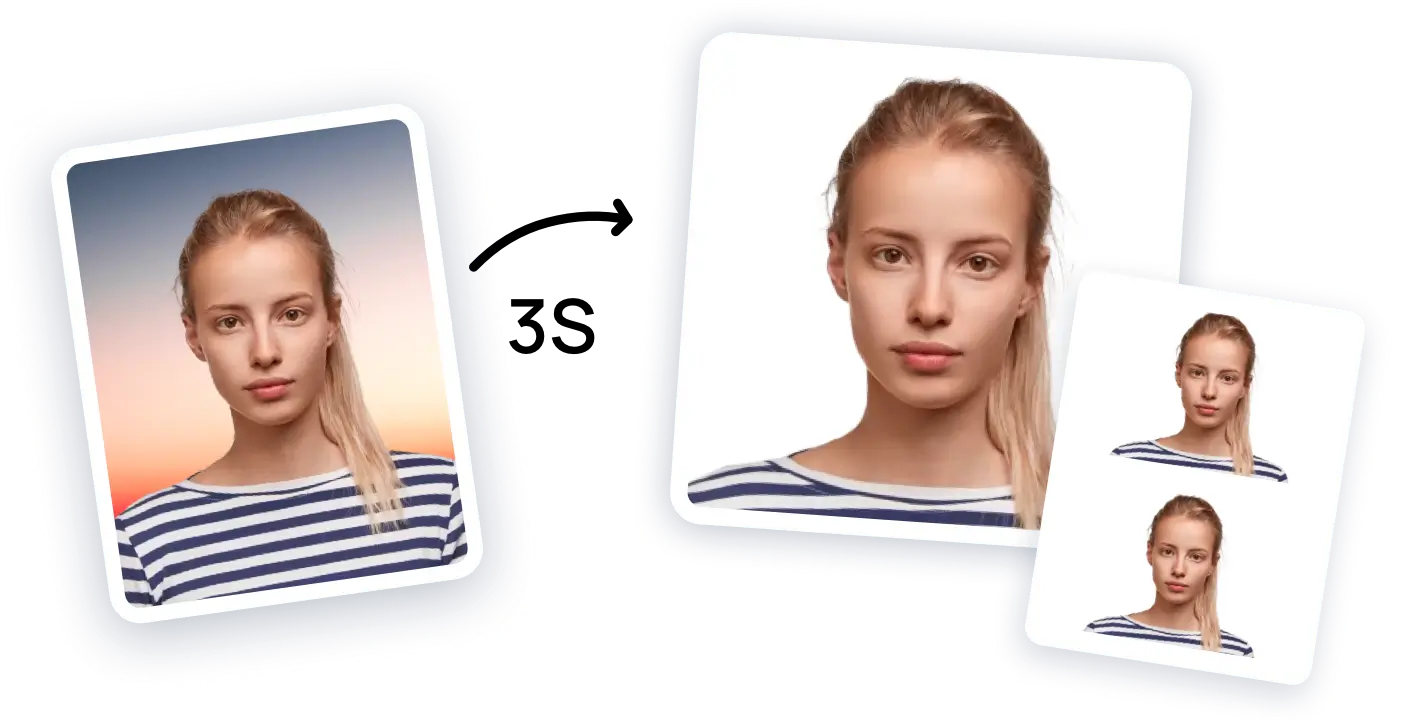
AiPassportPhotos can generate your digital biometric photos online in seconds, allowing you to get them printed at stores that provide photo services at a more favorable price.

The inception and application of AI technology is our trump card, which examines your passport photos online intelligently. Let modern technology escort your passport photos!

Rejection is depressing, but you will never experience discouragement anymore with the fully-featured photo tool, for AiPassportPhotos will ensure 100% acceptance of your photos.

Gone are days when you have to spend hours lining up for taking photos at a photo studio. With the help of AiPassportPhotos, you can get your online passport photos at home in seconds.


.webp)

Size
Width: 35 mm
Height: 45 mm

Is it suitable for online submission?
yes

Resolution
600 dpi

Is it printable?
yes

Image definition parameters
Head height: 34.5 mm
Top of the Photo to Top of the Hair: 3 mm

Background Color
.webp)
Knowing all the rules of a visa photo can prevent you from making unnecessary mistakes. Please do not skip scanning these tips we selected for you.
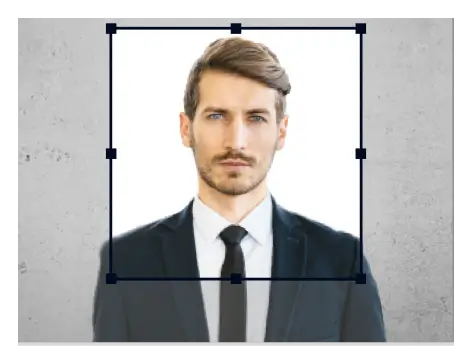
Everyone seems to be very busy in this world and is unwilling to spend his precious time on some time-consuming activity like taking visa photos. Fortunately, with the development of the Internet, it is possible for people who are not professional photographers to get their visa photos at home. Try out these steps for making your visa picture more quickly and conveniently.
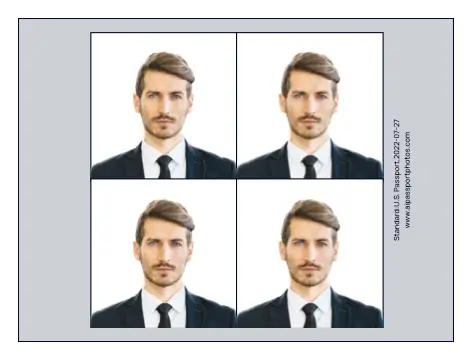
After getting the digital version of your photo, you must feel puzzled about how to print it. Here are some tips for you to print your photo at home.
You can wear your T-shirt in your visa photo provided that its neckline is not very low enough to show your chest. Besides, the color of your T-shirt should not be white to differentiate your clothes from the background. The Philippines government suggests wearing decent clothing for passport photo capture. Clothes that have V-neck, or clothes that are sleeveless or see-through are not allowed to wear.
Popular Documents
Rating: 4.71 - number of votes: 0