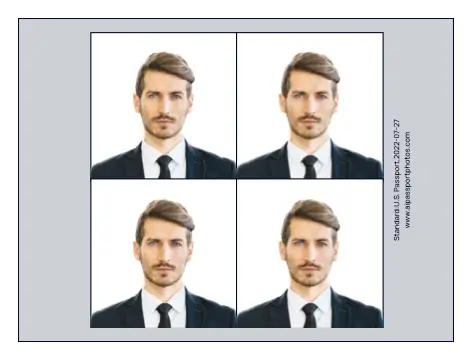
New Zealand Visa Onlilne Photo Creator

Get your New Zealand online visa photo in a cost-effective way

Ireland

Spotlights of AiPassportPhotos

Advantages of our solution

Cost-Effective Solution

AiPassportPhotos can generate your digital biometric photos online in seconds, allowing you to get them printed at stores that provide photo services at a more favorable price.

AI Processing Technology

The inception and application of AI technology is our trump card, which examines your passport photos online intelligently. Let modern technology escort your passport photos!

Ensured Compliance

Rejection is depressing, but you will never experience discouragement anymore with the fully-featured photo tool, for AiPassportPhotos will ensure 100% acceptance of your photos.

Time Saver for Photos

Gone are days when you have to spend hours lining up for taking photos at a photo studio. With the help of AiPassportPhotos, you can get your online passport photos at home in seconds.

How Does AiPassportPhotos Work?

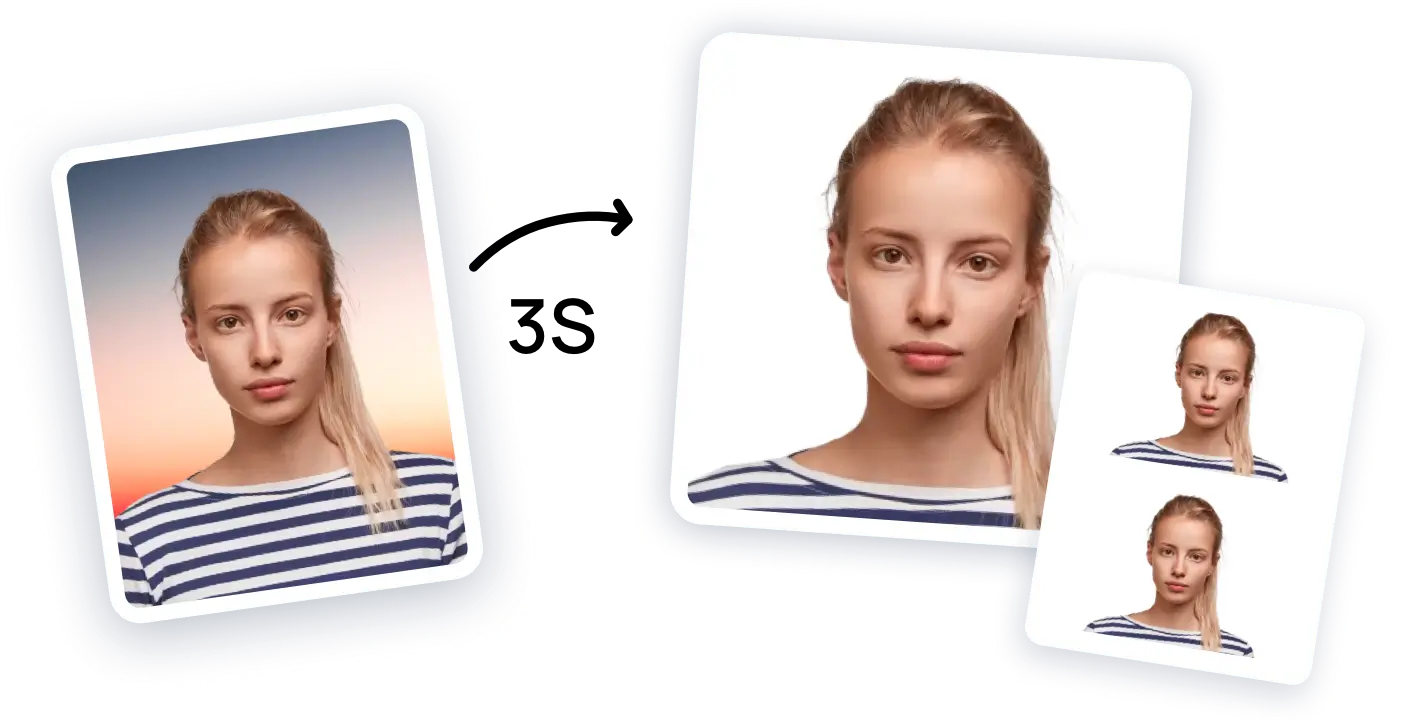
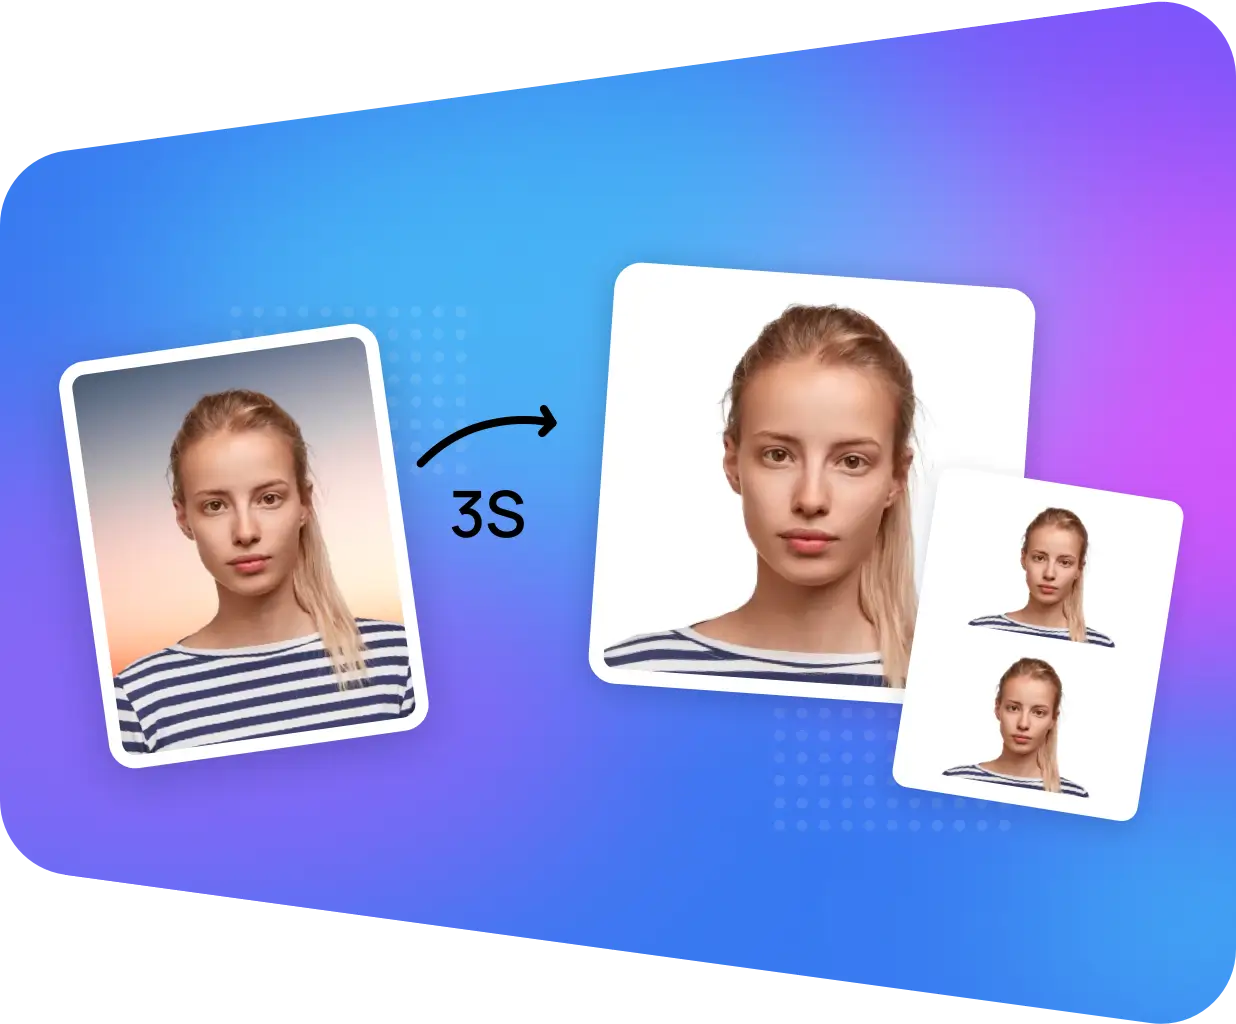
  • Upload an image

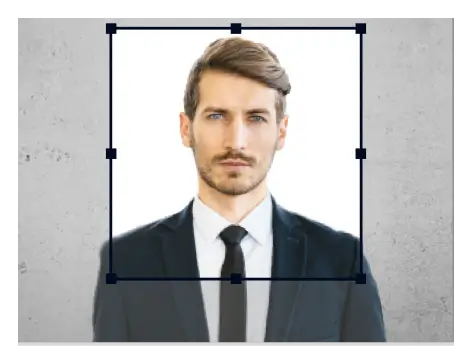
  • Crop size automatically

  • Save printable template

  • Cut it out and use it

Technical Requirements for New Zealand Online Visa Photos

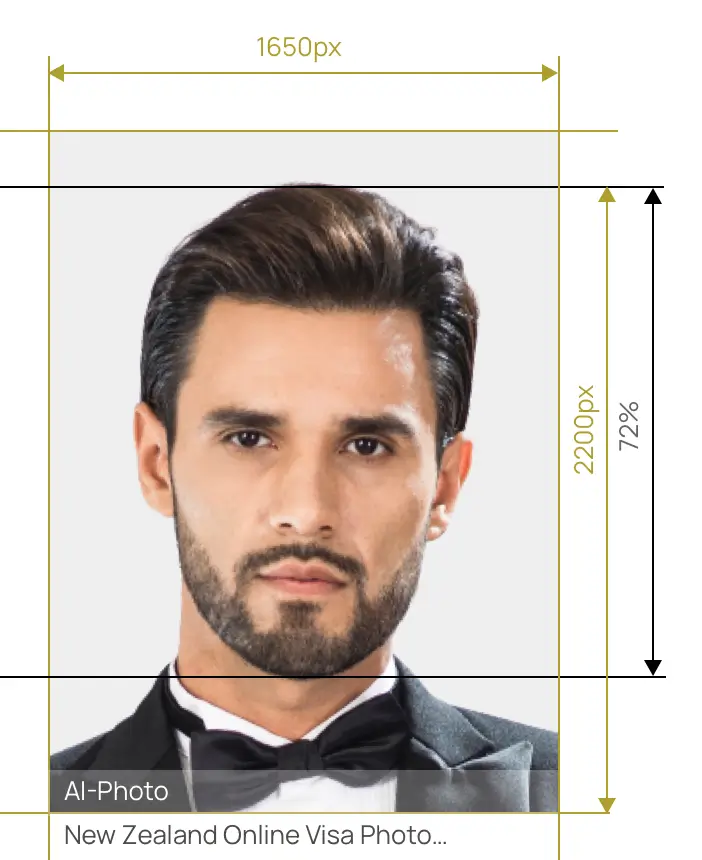
  • Size

    Width: 1650 px

    Height: 2200 px

  • Is it suitable for online submission?

    yes

  • Resolution

    300 dpi

  • Is it printable?

    no

  • Image definition parameters

    Head height: 72%

    Top of the Photo to Top of the Hair: 8%

  • Background Color

Ireland

Matters Needing Attention in Your Photos

Your application for a visa can be rejected if your visa photo is not up to standard due to inappropriate dimensions, background, or other rules. Every country is particularly strict with these requirements. Here are some suggestions for you.

  • Your visa photo must be a portrait of you, rather than a photo of your other documents or a selfie.
  • New Zealand visa photos must be in color.
  • The background color can not be white, it can be plain and light-colored.
  • Your photo must be taken within 6 months old and can identify you.
  • Make sure that there are no other objects or people in your photo.
  • No need to smile. All you have to do is keep a neutral expression.
  • You can wear your glasses provided that your eyes can be seen clearly. However, tinted glasses or sunglasses are not allowed to wear when taking a photo.
  • Red eye is not allowed to be in your photo.
  • Keep your eyes open and mouth closed.


Pay Attention to the Light When Taking Your Visa Photos

The light can be a big obstacle preventing your visa photo from being accepted. Since we do not have much professional photographic equipment like a digital camera or fill-in lights, it is easy to make mistakes with light. Therefore, pay special attention to the light when taking your pictures.

  • Try your best to make the light of your picture even. If your photo’s light is not even, a shadow is bound to appear in it, which can be a serious problem that makes your photo fail to meet the requirement.
  • Adequate light is important. Too much light will lead to overexpose while too little makes your photo looks dark. Choosing a proper place with appropriate light is of great significance if you do not want to make mistakes with light.
  • Always be cautious about the shadow. If you find any shadows showing up on your face, your background, or in any position of your picture, try to take a new one again.


Requirements for Hair in Your Visa photos

Your hair will not be an important factor that prevents you from obtaining a qualified visa photo as long as it not cover your face. Of course you can put down your hair, provided that it will not cover your ears. Tucking them behind your ears is a smart choice. As for the color of your hair, it also affects your choice of background color. Therefore, avoid picking the background color that is familiar to the color of your hair. When it comes to the fringe, you need to make sure it will not cover your eyes or eyebrows. You can clip it aside with a hairpin.


Steps for Applying for a New Zealand Visa

If you want to go to New Zealand, you must apply for a visa in advance. You need to follow mainly these steps.

  1. Figure out what kind of visa you need to apply for. If you want to have a trip to New Zealand, just apply for a visitor visa. If you need to study there, apply for a student visa.
  2. Apply for your visa online.
  3. Prepare all the documents for your application. The document should be valid enough to prove that you are qualified to apply for a visa.
  4. Prove your identity. You need to prepare two color photo and a passport that’s valid for at least 3 months after the date you plan to leave New Zealand.
  5. Apply for your visa. Upload all the documents you have gathered.
  6. Receive your visa. When your application is approved, you can receive your visa.


Where Can You Get Your Visa Photo Printed?

If you are going to apply for an offline visa, you need to prepare a printed version of your picture. Therefore, finding a place where you can print your photo is also necessary. You can print your photo at the places listed below.

  • The post office. In New Zealand, the post office can offer you the service of printing your visa photo and passport picture.
  • Home. If you have a printer at home, you can finish this task by yourself. Locate your photo, choose the paper size and type, make clear how many copies you want to make, confirm the settings and wait for your photo to be printed. Do not forget to bear the size requirements in mind when printing your photo. The size should be 35x45 mm. 
  • Print shop. Check whether there are some print shops near you. You can ask them to help you to print your picture too.
Last updated: - -
Was this information helpful?

Rating: 4.71 - number of votes: 0